Starting your first cutting garden may be much easier than you would think. Planning your garden is the best way to start: a 3 foot x 10 foot garden bed will produce more than enough flowers to make a bouquet for yourself and a friend each week. Your garden plot must be in a place that receives at least 6-8 hours of sunlight every day. If you are unsure about the amount of full sun a certain spot receives each day, dedicate a day to checking the same spot hourly: from 8am until 5pm. Take notes each hour on what the sun conditions in that spot are. This may sound menial, but when planting near trees, the sunlight can be tricky! The next thing to consider is the location of your garden in reference to a viable water source. Keep it simple for yourself rather than having to constantly drag a garden hose. The final thought in choosing a location for your cutting garden is to place it out of sight. This may sound crazy to you, but will you be able to cut the beautiful flowers if you can see them from your favorite spot in the house or on the porch?
Creating your garden bed is the most important part of starting to grow any plants, especially cut flowers. You will need enough compost to add 6 inches to your 3’ x 10’ bed and enough mulch to cover 3-4 inches to cover your 3’ x 10’ bed. Feeding your plants with fertilizer is not the same thing as feeding your soil, you must plan to continuously add compost to be feeding your soil. You should be mindful of the hundreds of thousands beneficial microbes in the top 6 inches of your soil and your goal should be to constantly feed them and keep them in your garden as they are helping to keep the bad bugs away and to keep your garden soil aerated and stronger. By continuously adding organic matter, you are setting your garden up to become more self-sustainable each season.
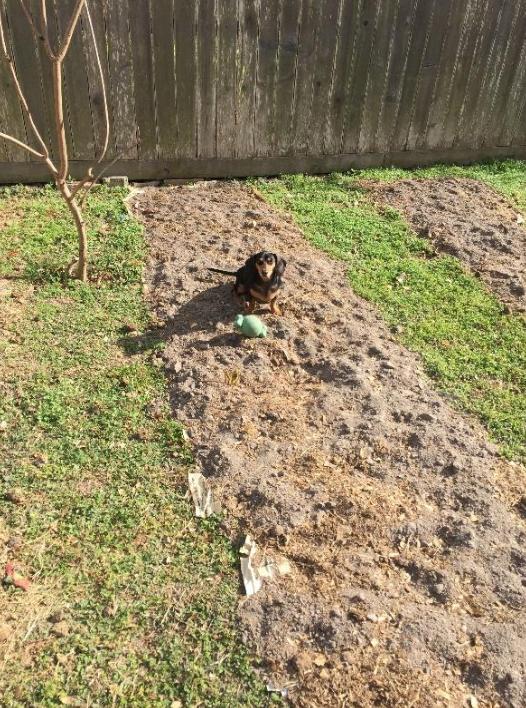
My sweet boy, Baylor, always loves to inspect my freshly prepped garden beds. Photo courtesy of The Honey Bee & the Hound
To start making your 3’ x 10’ garden bed, first you must clear the designated area of any vegetation. Burn Out and Horticultural Vinegar are great organic herbicides. Once your bed area is free and clear of grass and weeds, you will start turning the soil in your bed simply by using a shovel. You will dig down as far as you can and place the shovel-full of dirt and make a pile of the dirt you have dug out. You should be digging out 3”-6” of soil. Next you will need a fork to put in the very bottom of the bed you have dug out to aerate and open the sub-soil. Your goal should be to make as many little holes in the very bottom of the bed as possible. Now you will need to get some compost, such as Cotton Burr Compost, to add about 3” of compost to the bottom of the newly dug-out bed. After you have added some compost, you will now add back in the soil that you have dug out to begin with. To top off your bed, you will add another 2”-3” of compost. Your end result should be a 3’ x 10’ bed that is raised about 6” above the ground. While this method of “double-digging” is much more labor-intensive than using a piece of machinery such as a tiller, but it more beneficial for your garden in many ways: it protects the beneficial insects and tiny microbes living in the top six inches of your soil that protect your plants from harmful pests and keeps the soil a healthy, living, necessary part of your healthy, happy flowers. It also helps to keep you accountable for your care of your garden – when you put that much work into starting a garden, you are bound to keep it up and to love and care for it often!
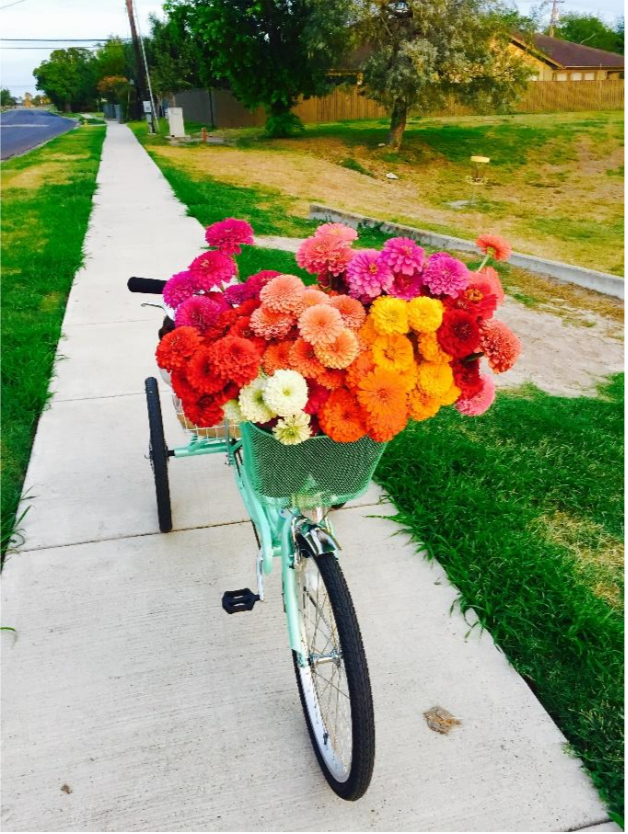
My favorite activity these days is riding around to find someone to share my flowers with! Photo courtesy of The Honey Bee & the Hound Cut Flower Farm
Next is the fun part: picking out the seeds to plant in your brand new garden bed! My three recommendations would be a Zinnia (Pumila Cut & Come Again), a Basil (such as Petra), and a
Sunflower. You will plant all of your seeds on a 6” x 6” grid. This will give the plants enough room to fully grow in while utilizing every bit of your space. With this combination of flowers you will easily have flowers for a bouquet that smells good and will come back week after week in your garden.
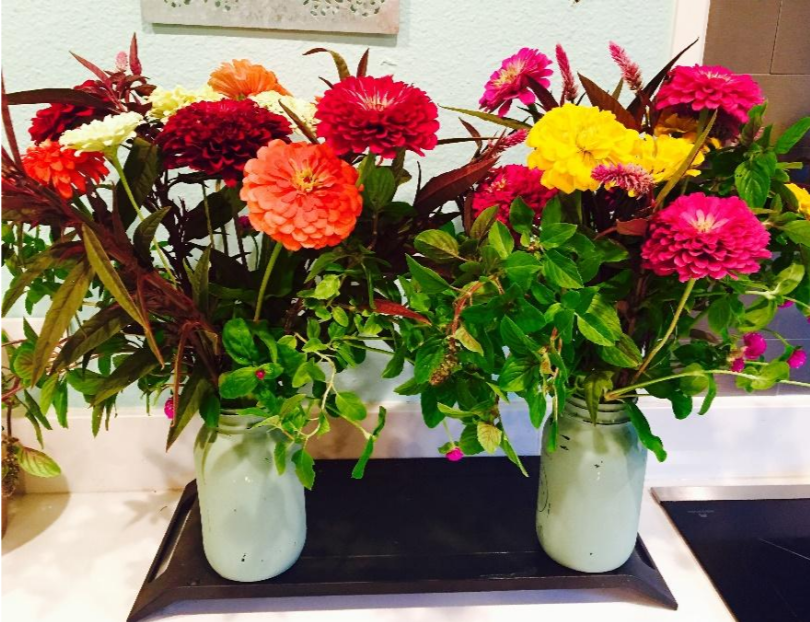
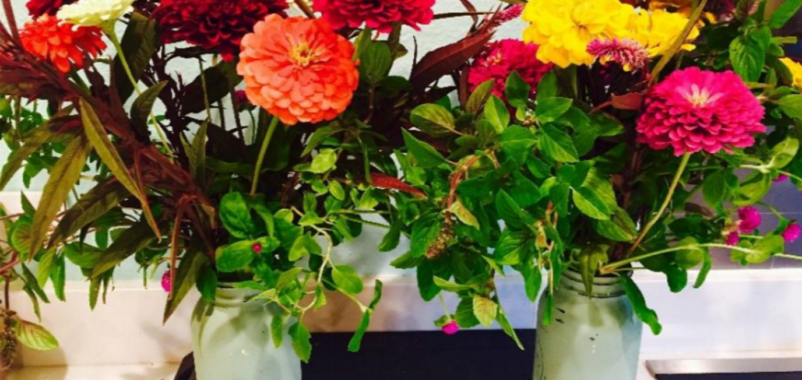
Fresh bouquets of zinnia and basil – photo courtesy of The Honey Bee & the Hound Cut Flower Farm
In order to maintain your new cut flower garden, you must stay on top of the weeds! The easiest way to get ahead of the weeds is to begin mulching your garden when your seedlings have grown 6” tall. Add 3” of mulch at a time using grass cuttings and old leaves that you have collected. This should allow you to have a whole season of no weeding necessary!
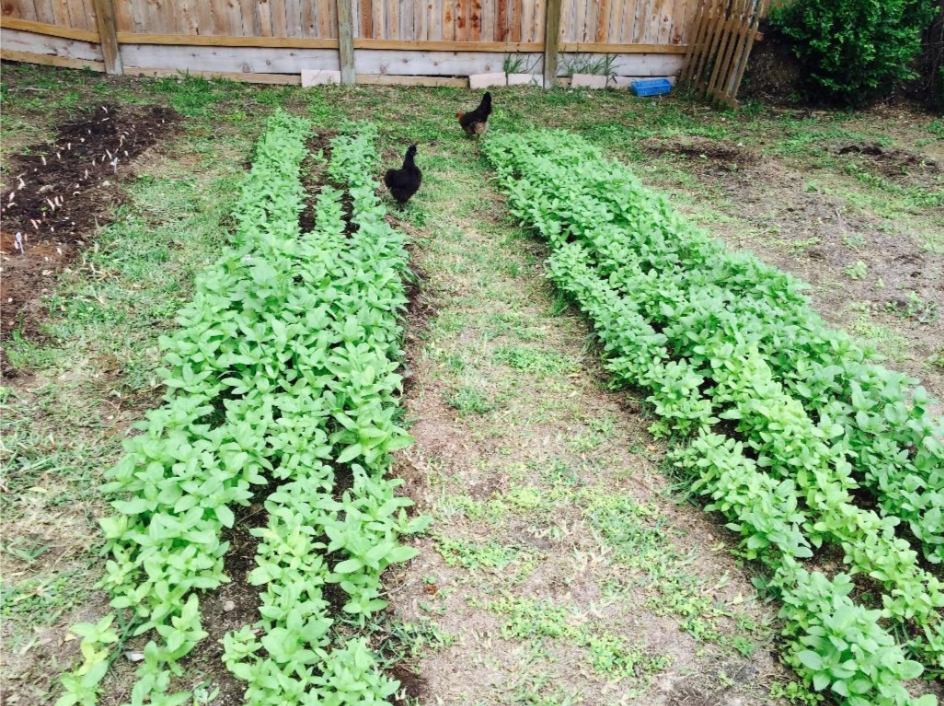
Enlisting your feathered ladies to help keep the weeds and pests down is always a good idea as long as they do not try to sit on your seedlings! – Photo courtesy of The Honey Bee & the Hound Cut Flower Farm
Lastly, when you go to cut your flowers be sure to do it in the cool part of the early mornings or late evenings. If you cut during the high noon sun, your flowers will likely wilt. Allow your flowers to sit in a bucket of water for at least six hours before beginning to arrange them in a bouquet. This allows them to get maximum hydration. Once you have gone through a season with your first cutting garden, I encourage you to begin looking for the seeds of the flowers that your mother and grandmother grew. This is what helps to make me feel so connected with my cutting gardens – I can cut the same bouquet that my late grandmother used to put on her dining room table and it makes me connect with her in a very special way. Enjoy!
To learn more, be sure to come to Gill’s on Airline this Saturday (September 10, 2016) for Emily’s Garden Talk:
”From Beginning to Bouquets – Cultivating Cut Flowers”
If you would like to connect with a local cut flower farm, visit
www.thehoneybeeandthehound.com
 -Emily Capule, Flower Farmer and Gill’s Landscape Design Assistant
3 Comments on “Cut Flower Gardening”
What a wonderful step-by-step – and inspiring too! Are there other annual flowers that you have found do well in south Texas? I love zinnias but feel I need to branch out a bit.
Mary Beth, sorry I have not figured out how to closely follow questions on this blog. My favorites are zinnia for summer and snapdragon for winter. Stocks are another good winter cutflower. You can also set out some perennial Mystic Spires salvia, and have cutflowers off them almost year round. I like Lindheimers Muhly blooms at this time of year if you have space for a large perennial grass.
i like your flower, very beauty