Our low-water section here at Gill’s is stocked full of all kinds of tough plants for dry areas, including something very special…Opuntia ficus-indica aka the choice edible Prickly Pear cacti used for making nopales! Here are our tips for growing and preparing them for all kinds of delicious recipes!
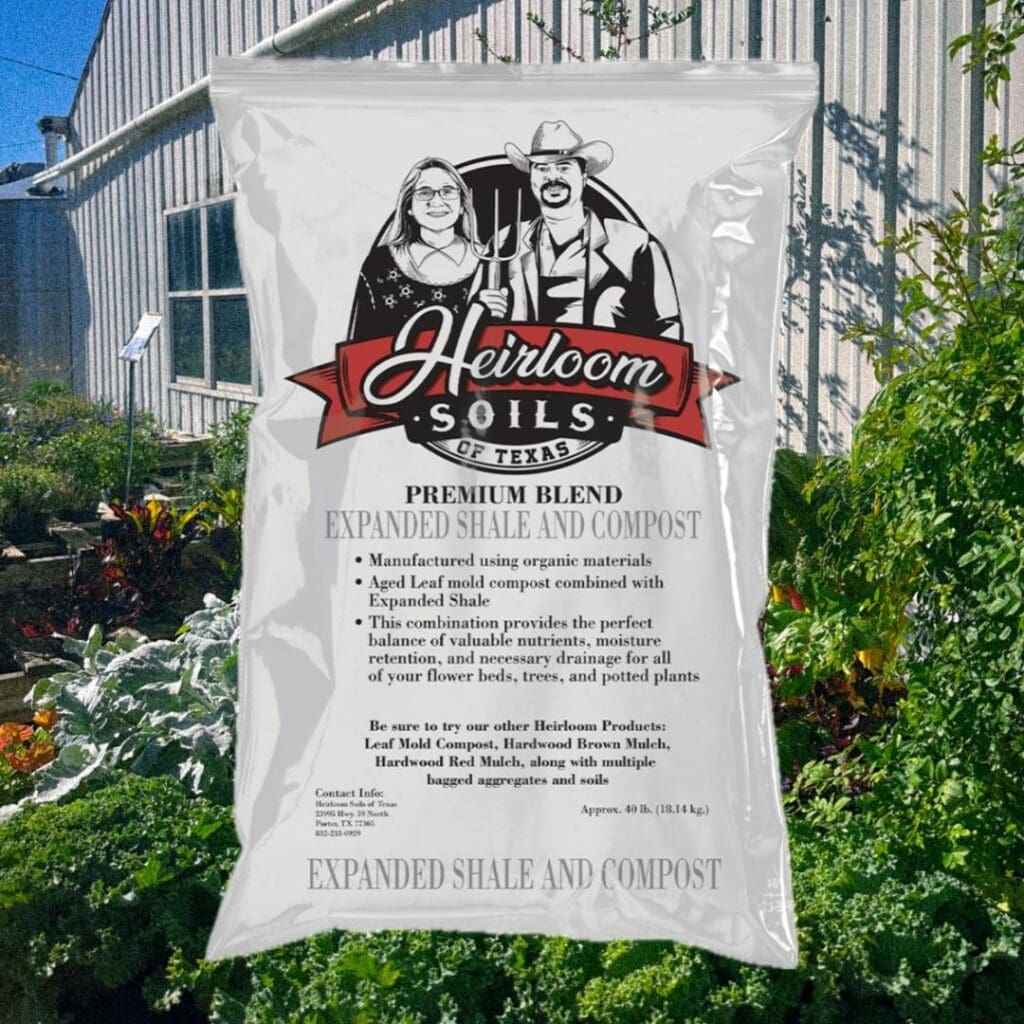
There are over 100 species of Prickly Pear cacti known in Mexico as well as the Texas Prickly Pear (Opuntia engelmannii), and almost all of them are edible. This one, Opuntia ficus-indica is one of the most commonly farmed for food due to its tender pads with a great texture for cooking. Our climate is excellent for growing Prickly Pear – they love the heat and they can handle a freeze too. They love full sun, but they can tolerate some shade. If you live in an area with sandy soil, Prickly Pear will thrive with very little soil amendment. They love good drainage. If you have heavy clay soil, it’s a good idea to amend your soil with Premium Blend Expanded Shale and Compost to create better drainage. Another good idea for clay soil is to plant high! Mound up your amended soil a bit when you plant Prickly Pear so water will run off and won’t be able to collect at the base of the plant. A good mulch or rock layer on top will also keep water from splashing up onto the cactus. Water every day for about a week to get roots established, then taper down. Once established, Prickly Pear will thrive with very little water long-term.

Before long, you’ll have buds emerging and new pads growing out from old pads. When selecting pads to harvest, look for the bright green ones that are soft, but not limp. Using a nice sharp knife, cut them off at the base of the pad. A sharp knife and clean cut will allow the wound to heal over quickly without putting much stress on the plant. To prep for cooking, lay the pads flat on a cutting board, trim off the tough outer edge all the way around, then use a peeler or small knife to remove all the bumps and thorns. Gloves help! Keep as much of the dark green skin intact as you can. Many people like to boil and rinse the nopales first to help remove some of the gelatinous liquid inside the flesh. Or, you can skip this step and cook the whole pads on the grill or chop and cook with a little fat in a cast iron pan, uncovered until most of that mucilage is cooked out.

Now if you had a few backyard chickens, you’d have your own steady supply of nopales and egg breakfast tacos!


Reader Interactions