This new flyer from the City Of Corpus Christi explains our current landscape water guidelines. We’re happy we are able to pick the one day of the week that works best for us to water!

This new flyer from the City Of Corpus Christi explains our current landscape water guidelines. We’re happy we are able to pick the one day of the week that works best for us to water!

Now that the temperatures have soared and the rain has stopped, be on the lookout for Chinch bugs in the lawn. The areas of the lawn near the sidewalk and driveway will be the first to look dry and in need of water. Take a shovel width scoop of the lawn, (grass and soil in tact)and shake it over a piece of white paper to expose black bugs with a white stripe across their back. That would be chinch bugs. Chinch bugs are a hot weather insect and can continue to be a problem all summer long. I prefer to use a hose-end spray like Spinosad or powdered Diatomaceaous Earth which are both organic. You could also use Cyonara, Triazicide or any Permethrin product ex. Mosquito Beater Hose-end. Make sure when watering the lawn that you do reach those edges. Once a week, slow and deep with 1 inch of water is recommended. Place a cat food or tuna fish can in the sprinkler zone and when the can is full, you have watered long enough. Remember to water before 10:00 am and after 6:00 pm, and now you can pick your water day. The lawn will recover quickly, but be on the lookout since the pests can return.
Photo: k-state.edu
 -DeAnna
In the past week or two lawns all over town are looking like they are drying up from the heat of summer. Well, this could be true if you are not watering slow and deep enough. Make sure you are applying a least an inch of water when you do water. Use a cat food can or tuna fish can to measure. Set the can in the lawn, turn on the sprinkler and when the can is full to a 1″ mark, you have watered long enough. Since temperatures have soared to the upper 90’s , everything is super dry. Chinch bugs like it hot and dry so be sure and check for signs of them. The grass will look like you haven’t watered, but when you push a shovel into the lawn it goes in easy and you reach your finger in and feel moisture (If you can’t push a shovel in, see above). You can dig up a shovel width sample, (dirt and all) and turn it upside down over white paper and see if any chinch bugs fall out, or you can bring it to us and we will check. Using a liquid insecticide like Cyonara Hose-end or Triazicide Hose-end works well. You can use Spinosad or Diatomaceous Earth as an organic option. Once the Chinch bugs are dead the lawn will recover quickly. You may need to reapply in a few weeks since we have another month of hot weather ahead and chinch bugs love the heat. Another summer insect is grub worms. They begin feeding usually around June – July and by now the damage begins to show up. If the grass lifts up easily (no roots), and you dig down and find grubs ( more than 4 in one square foot) apply Bayer 24 hour Grub Worm Killer or Triazicide granules and water in thoroughly.
 -DeAnna
Chinch bugs in the lawn are still active and can be all summer as long as the weather stays hot and dry. Treat as needed with hose-end Bayer Complete, Cyonara, Natural Guard Spinosad or Diatomaceous Earth.
Mealybugs on tropicals like Hibiscus , Jatropha and Mystic Spires Salvia can still be found. Look for the white cottony insects on the stems and undersides of leaves. Treat with Safer Insect Killing Soap or Natural Guard Neem Oil in the evening once the plants are in the shade and temperatures have cooled down for the night. You can also use Bayer Complete or Cyonara.
The last problem bug is the Asian Cycad Scale on Sago Palms. If your Sagos have white specks on the top and bottom of the fronds then you have scale. These can be much harder to control since they also live on the root system of the palm. Treat the fronds with a contact insecticide combined with an oil spray to kill and suffocate any eggs. It is also important to drench the root system with the same mixture. Repeat applications every week or two until all evidence of the scale is gone then follow up with Bayer Tree & Shrub Liquid Systemic drench for long term control.
 -DeAnna
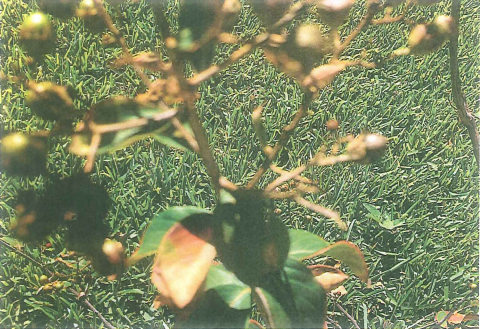 Crape Myrtles will always have some leaf scorch the first summer, despite adequate watering, and we should inform customers of that. Also, that watering needs to be frequent – apply enough water to replace what is lost from the rootball every day, twice a day the first two weeks if planted March thru September, then once a day for the next two weeks, then every other day for two weeks, then twice a week through October. Water to soak the surrounding area once a week, but just a few gallons per plant the additional watering days each week.
Do not let grass grow over the rootball and around the trunks of the crape myrtle. Do now stack soil onto 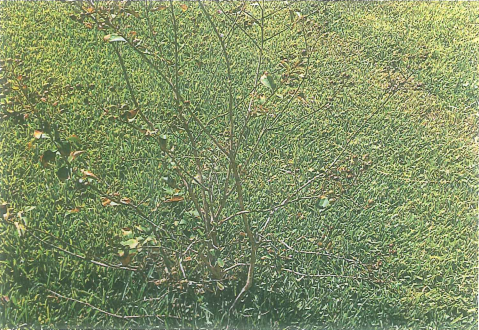 the trunks of the crape myrtle. Mulch a 3ft. or larger circle. Remove spent bloom heads for faster growth and more blooms while you can still reach them safely.Do not prune off branches larger than your thumb unless you have good reason (hitting the roof, blocking the walk, or rubbing against another branch).
Starting your first cutting garden may be much easier than you would think. Planning your garden is the best way to start: a 3 foot x 10 foot garden bed will produce more than enough flowers to make a bouquet for yourself and a friend each week. Your garden plot must be in a place that receives at least 6-8 hours of sunlight every day. If you are unsure about the amount of full sun a certain spot receives each day, dedicate a day to checking the same spot hourly: from 8am until 5pm. Take notes each hour on what the sun conditions in that spot are. This may sound menial, but when planting near trees, the sunlight can be tricky! The next thing to consider is the location of your garden in reference to a viable water source. Keep it simple for yourself rather than having to constantly drag a garden hose. The final thought in choosing a location for your cutting garden is to place it out of sight. This may sound crazy to you, but will you be able to cut the beautiful flowers if you can see them from your favorite spot in the house or on the porch?
Creating your garden bed is the most important part of starting to grow any plants, especially cut flowers. You will need enough compost to add 6 inches to your 3’ x 10’ bed and enough mulch to cover 3-4 inches to cover your 3’ x 10’ bed. Feeding your plants with fertilizer is not the same thing as feeding your soil, you must plan to continuously add compost to be feeding your soil. You should be mindful of the hundreds of thousands beneficial microbes in the top 6 inches of your soil and your goal should be to constantly feed them and keep them in your garden as they are helping to keep the bad bugs away and to keep your garden soil aerated and stronger. By continuously adding organic matter, you are setting your garden up to become more self-sustainable each season.
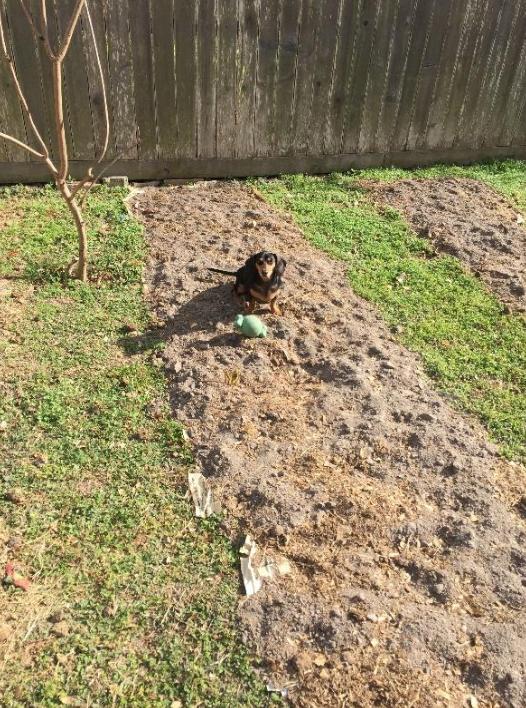
My sweet boy, Baylor, always loves to inspect my freshly prepped garden beds. Photo courtesy of The Honey Bee & the Hound
To start making your 3’ x 10’ garden bed, first you must clear the designated area of any vegetation. Burn Out and Horticultural Vinegar are great organic herbicides. Once your bed area is free and clear of grass and weeds, you will start turning the soil in your bed simply by using a shovel. You will dig down as far as you can and place the shovel-full of dirt and make a pile of the dirt you have dug out. You should be digging out 3”-6” of soil. Next you will need a fork to put in the very bottom of the bed you have dug out to aerate and open the sub-soil. Your goal should be to make as many little holes in the very bottom of the bed as possible. Now you will need to get some compost, such as Cotton Burr Compost, to add about 3” of compost to the bottom of the newly dug-out bed. After you have added some compost, you will now add back in the soil that you have dug out to begin with. To top off your bed, you will add another 2”-3” of compost. Your end result should be a 3’ x 10’ bed that is raised about 6” above the ground. While this method of “double-digging” is much more labor-intensive than using a piece of machinery such as a tiller, but it more beneficial for your garden in many ways: it protects the beneficial insects and tiny microbes living in the top six inches of your soil that protect your plants from harmful pests and keeps the soil a healthy, living, necessary part of your healthy, happy flowers. It also helps to keep you accountable for your care of your garden – when you put that much work into starting a garden, you are bound to keep it up and to love and care for it often!

My favorite activity these days is riding around to find someone to share my flowers with! Photo courtesy of The Honey Bee & the Hound Cut Flower Farm
Next is the fun part: picking out the seeds to plant in your brand new garden bed! My three recommendations would be a Zinnia (Pumila Cut & Come Again), a Basil (such as Petra), and a
Sunflower. You will plant all of your seeds on a 6” x 6” grid. This will give the plants enough room to fully grow in while utilizing every bit of your space. With this combination of flowers you will easily have flowers for a bouquet that smells good and will come back week after week in your garden.
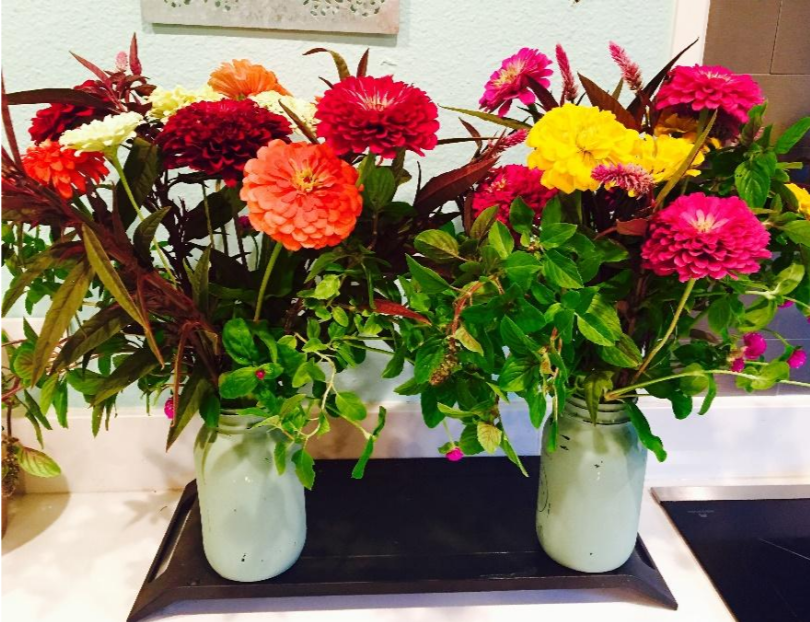
Fresh bouquets of zinnia and basil – photo courtesy of The Honey Bee & the Hound Cut Flower Farm
In order to maintain your new cut flower garden, you must stay on top of the weeds! The easiest way to get ahead of the weeds is to begin mulching your garden when your seedlings have grown 6” tall. Add 3” of mulch at a time using grass cuttings and old leaves that you have collected. This should allow you to have a whole season of no weeding necessary!
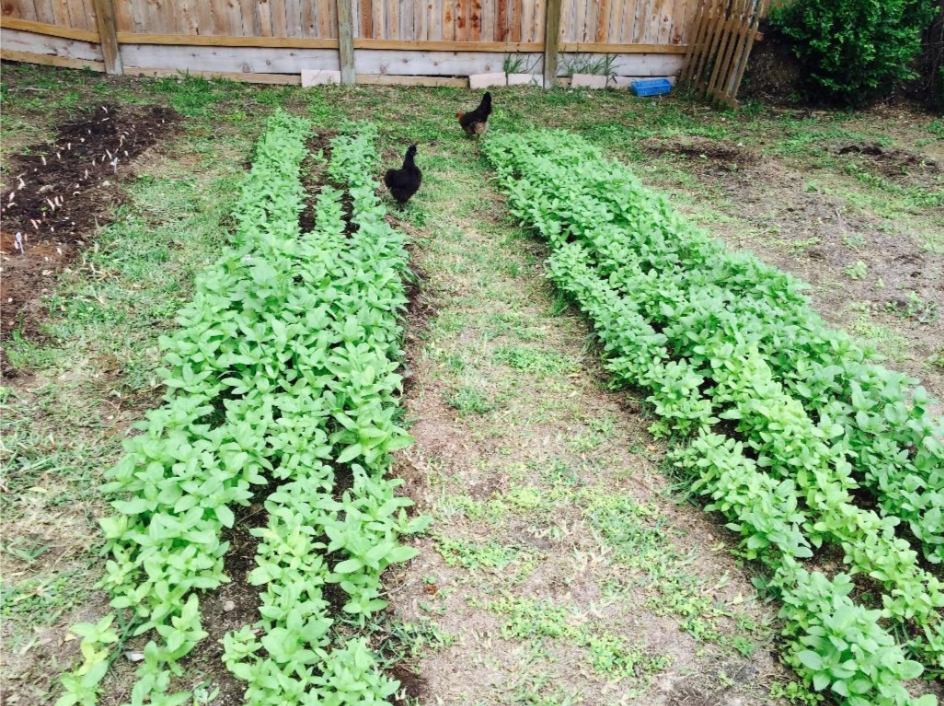
Enlisting your feathered ladies to help keep the weeds and pests down is always a good idea as long as they do not try to sit on your seedlings! – Photo courtesy of The Honey Bee & the Hound Cut Flower Farm
Lastly, when you go to cut your flowers be sure to do it in the cool part of the early mornings or late evenings. If you cut during the high noon sun, your flowers will likely wilt. Allow your flowers to sit in a bucket of water for at least six hours before beginning to arrange them in a bouquet. This allows them to get maximum hydration. Once you have gone through a season with your first cutting garden, I encourage you to begin looking for the seeds of the flowers that your mother and grandmother grew. This is what helps to make me feel so connected with my cutting gardens – I can cut the same bouquet that my late grandmother used to put on her dining room table and it makes me connect with her in a very special way. Enjoy!
To learn more, be sure to come to Gill’s on Airline this Saturday (September 10, 2016) for Emily’s Garden Talk:
”From Beginning to Bouquets – Cultivating Cut Flowers”
If you would like to connect with a local cut flower farm, visit
www.thehoneybeeandthehound.com
 -Emily Capule, Flower Farmer and Gill’s Landscape Design Assistant
Anytime between mid-September to mid-November is prime time to fertilize the lawn, trees, shrubs, vines and groundcovers. Fertilizing while it is still warm is best because plants are still in their active growing season and taking up the nutrients provided. Once the weather starts cooling down plants begin going into dormancy and therefore are not as likely to take up the nutrients needed for the fall and winter. Remember to water in the fertilizer with at least a ½ inch of irrigation. Never depend on the rain to water in your fertilizer, because as you know, it never rains when predicted, and also never gives us that perfect ½ inch. It either rains too much, too little, or not at all. Making sure the timing is right and proper amount of water is applied assures your lawn of getting the full benefit of the nutrients it needs to maintain healthy leaves and roots for the dormant season. We carry our Gill Lawn and Garden and also several organic lawn fertilizers. Never use Weed and Feed if you have any trees or shrubs in the yard. Trees are a broadleaf just like a weed, so it will try to kill them as well. Weed killers and weed preventers can be used in October once our temperatures moderate in the 80’s. We will talk about them more as the season approaches.
DeAnna 
There are almost never seedlings growing from acorns. If there were, you would be able to pull them up easily. What you see are sprouts from the roots of the existing tree; therefore, you do not want to spray a herbicide on them in an attempt to eliminate the sprouts for you will hurt the “mother” tree along with the sprouts.
Only a small percentage of oaks send up suckers from the roots. It is a genetic trait, like freckles, except I like freckles. But like freckles and sunshine, some trees have the ability to sucker, but do not unless stimulated to do so. Oaks having a slight tendency to sprout suckers will often do so when roots hit a barrier, such as trees confined to a parking lot planter, or between a sidewalk and driveway. Also, when roots are disturbed and damaged by rototilling, they are more likely to sprout suckers. But some trees never will make suckers. When choosing an oak in a garden center, if there are sprouts coming up at the inside edges of the container, I would avoid that tree.
You may choose to mow them along with the grass, if grass still exists. Or if the grass has thinned too much, you might plant Asiatic Jasmine groundcover, and use hedge trimmers to trim the jasmine and oak sprouts to a uniform height. You can cover the area of sprouts with a heavy gauge woven geotextile, and then either mulch or spread large gravel or decomposed granite over the top of the geotextile. My favorite solution, when appropriate, is to cover the ground with geotextile and then build a wood deck.
Or if you prefer a thick green lawn, you may remove the oak tree, and all of the tree roots with a backhoe. If you just cut down the tree, grind down the stump and all the large roots you can see, there will still be thousands of oak sprouts emerging from the remaining roots in your new lawn or bed area for a few years afterwards. The area will need to be continually sprayed with an herbicide.
James 