Video
The Potting Shed is up and running at Gill’s, so we thought we’d go over a few pro tips to help ensure success with indoor and outdoor potted plants.
1. Pick the right size pot
Generally, it’s good to pick a pot that allows for some room to grow all the way around the root ball when you plant. You don’t want to go too big because the soil will hold too much moisture.
2. Use a good potting soil (potting mix)
Potting soil (potting mix) is made for use in pots – its’ specially blended to have the right drainage. You notice that it’s a lot lighter and looser than topsoil or soil you dig out of the ground.
3. Give your plant some food!
We recommend using organic Bio-tone fertilizer when planting to help your plant get a great start. Then use a good organic such as liquid Medina Hastagro once every 2-4 weeks.
4. Plant at the proper depth
All plants have surface level roots that you do not want to cover up with soil, so don’t plant too deep. You also don’t want soil all the way up to the lip of your pot or it will overflow when you water!
5. Use a Moisture Meter
Quick and easy way to tell if you are watering too much, not enough, or just right!

Happy Potting,
Wyatt
You can grow food just about anywhere in just about any container! Join James Gill as he discusses the benefits of container gardening and demonstrates how to get the best harvest. We’re very excited to present this video in collaboration with Grow Local South Texas.

Start Veggie Seeds Now for a Spring Harvest
Spring in South Texas starts around February 15th – only 31 days away! We may have a couple more cold snaps ahead of us, but it’s time to start planning our Spring projects and planting veggie seeds. The first day for planting Spring seeds is January 15th give or take a few days – aka RIGHT NOW!
Simple Method for Starting Seeds
I’ve tried a few different methods for starting seeds but have been most successful using a damp paper towel, then folding the seed inside the towel and placing it in a sealable bag or dish. This will create a “mini greenhouse” effect and will help the seed germinate. I leave them in the bag for no longer than 24 hours, then put them into soil. When planting, I make the hole about a fingernail’s depth, gently place the seeds in the hole, and cover lightly with soil. Check out my video demo of this process – quick and easy!
We also carry seed-starting trays, peat pots, and special cutting/seedling soil if you’d like to skip the wet paper towel method. Either way, a good rule of thumb is that once the seedlings have made their first true set of leaves, they are ready to be transplanted into a larger container or directly into the garden bed.
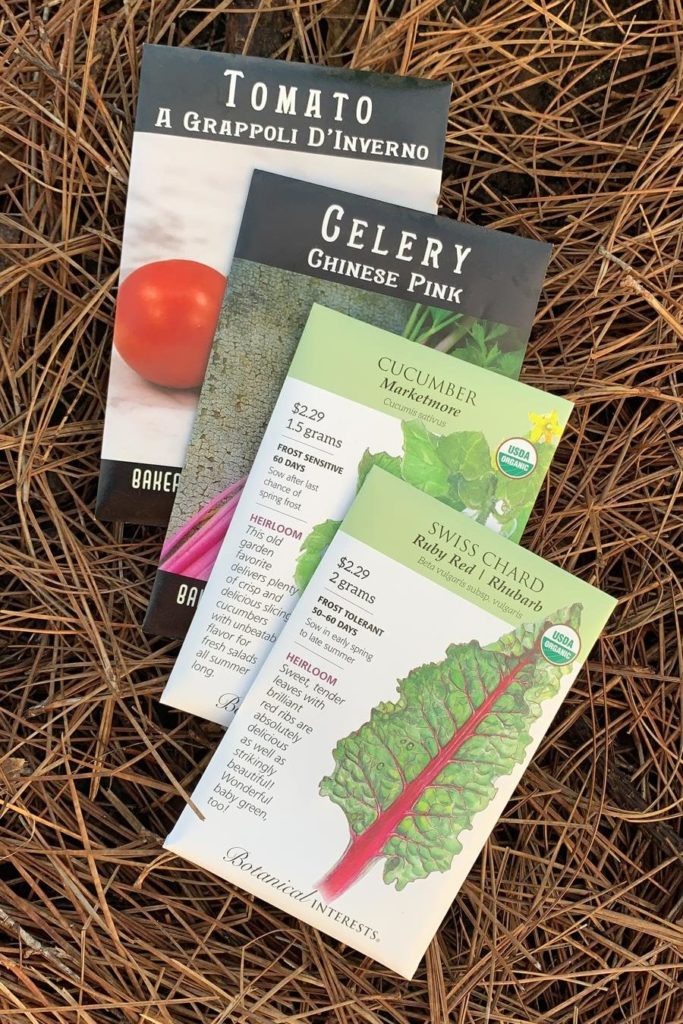
Seeds to Start in January
- Tomatoes!
- Cold Crops and Greens: broccoli, cauliflower, kale, swiss chard, lettuce, spinach, and mustard greens
- Root Crops: onions, carrots, beets, and potatoes
- Herbs: parsley
Check out our full Spring planting guide here.
Pro Tip: When planting new seed be sure the soil is wet at the time of planting and always water with a light sprinkle. This will prevent your seeds from floating/washing out of the soil.
-Wyatt
It’s Wyatt again – welcome to part 3 of my Fall Veggie Vlog. I decided to start all my cool weather veggies this year from seed and share video tips along the way – take a look at Part 1 and Part 2 (ICYMI). After sprouting in peat pots, my seedlings are ready to transplant into the ground. Check out my tips for transplanting young seedlings, including protecting them from still-warm temps, spacing, watering, and feeding.
Video Recap:
- Protect Cool Weather Seedlings from High Temperatures
It’s time to get cool weather veggies like cabbage and broccoli planted into the ground, but we are still having some 90+ degree days. Using a thin layer of Pine Straw Mulch over your young plants can help protect their surface roots from heat and help retain moisture.
- Tips for Transplanting
Not too deep! Be sure to plant level with the surrounding soil so you don’t suffocate the surface/feeder roots. Use a good organic starter fertilizer like Biotone when you plant. Mix a small handful with the soil, then backfill around your new plant.
- Give Them Plenty of Space
A good rule of thumb is 12-16” spacing between most cool weather veggies. Visualize their full-grown size. Plants that are too crowded can encourage bad bug infestations.
- Gentle Watering!
Don’t blast your tender young plants with a water hose. They need a gentle “blessing” of water from a watering can. Since you can’t drench them yet, they will likely need a gentle watering 2-3 times a day until they are established.
- Feed Regularly
Liquid Hastagro is an excellent organic plant food that’s great for young plants. You can hook it up to your hose and broadcast it over the whole garden about once every 2 weeks. Liquid fertilizer is easier to apply accurately on young plants. Using a granular is ok too, but it’s easy to use too much.
-Wyatt
Grow Local South Texas and Gill’s share a passion for organic vegetable gardening and helping local gardeners be successful growing their own food. Here in South Texas we have 2 great seasons for growing food each year – Spring and Fall. Join Gill’s Wyatt Page as he demonstrates how to grow veggies using only organics.
Beautiful Fall weather is ahead and it’s time to get started planting veggies! I’ve decided to expand my veggie garden at home and invite you all to follow me this season for some of my best tips, successes, and failures to overcome. I’ll be posting video updates here in the Garden News and on Gill social media pages.
Part 2 – Starting Veggies from Seed
This Fall, I’m starting all my veggies from seed. Check out my video below to see how I start my seeds, and read tips below for additional info and a recap:
Video recap:
- Timing is everything. Make sure you are planting your seeds at the right time! Check the Gill’s seed planting guide for the best times to plant veggie seeds this Fall.
- Germinate overnight before planting. Put your seeds in a damp paper towel and leave them in a plastic bag overnight to help the seed germinate. (Don’t leave the seeds in the bags for too long or they may root to the paper).
- Small containers + Potting or Seed-Starting Soil. I like to start my seeds in peat pots but using things like egg cartons or paper cups works just as well. Fill your containers with a good potting soil or seed-starting soil and plant seeds at proper depth according to the directions on the seed packet.
- Pro tip: Water the soil thoroughly, then plant the seeds. That way you don’t need to blast your new seeds with water and risk displacing them.
- Tender young plants need love. Keep the soil damp, but not too wet. Gradually introduce the plants to more sun as the sprouts grow.
- Transplant. Once the seedlings reach approximately 3 inches tall (this is a general rule of thumb and depends on the plant), transplant into the ground or a raised bed. Be gentle to keep the soil intact around the root.
Happy gardening,
-Wyatt
Beautiful Fall weather is ahead and it’s time to get started planting veggies! I’ve decided to expand my veggie garden at home and invite you all to follow me this season for some of my best tips, successes, and failures to overcome. I’ll be posting video updates here in the Garden News and on Gill social media pages.
Part 1 – Prepping a Veggie Garden Bed
A bountiful veggie garden starts with the soil! Check out my time-lapse video of creating a new veggie bed, and read my tips below for additional info and a recap:
A couple of things I didn’t mention in the video that are very helpful:
- If the ground is dry and hard, you can water the area thoroughly for 2-3 days before turning the soil. This will loosen it up and make it a lot easier.
- Get rid of all grass and weeds before prepping the bed. Pull them out making sure you get the roots.
- The fork tool I’m using in the video is actually called a spading fork, not a pitchfork. Great tool to use!
Video recap:
- Amend your soil with compost. Whether you are using an existing garden or starting a new bed it is important to use compost every season. Compost should be tilled (by hand and/or with a tiller) into the top 6-8 inches of soil. Compost helps build the soil structure and has great benefits for your plants including stronger root growth.
- Create a barrier. I like to edge the garden with bricks or timbers, but you can use bendaboard, stone, steel edging, logs, etc. This stops weeds from creeping into the garden and helps keep things organized.
- Top dress with mulch. Mulching is greatly beneficial to a healthy veggie garden. Mulch helps keep the weeds down, helps retain moisture in the soil, and when you use natural mulches like Hardwood or Pine Straw, they break down in the top layer of dirt building your soil structure even more.
Happy gardening!
–Wyatt