Garden Center Hours: Mon-Sat 9am - 5:30pm • Sun 10am - 5:30pm

Traditional St. Augustine or Bermuda turfgrass lawns can be nice if you use them a lot for sports and rolling around on. But the truth is, much of the time, lawns are mostly for show. Plus, they take a lot of time, effort, and water to maintain. Many folks are rethinking their lawn space for these practical reasons as well as the desire to attract and support pollinators. If you’re ready to un-lawn, we can certainly help with that! Take a look at these recent lawn replacement projects designed and installed by Gill’s Landscape Designer, Harry Villarreal using a wonderfully tough and ecologically beneficial Texas native plant…Frog Fruit!

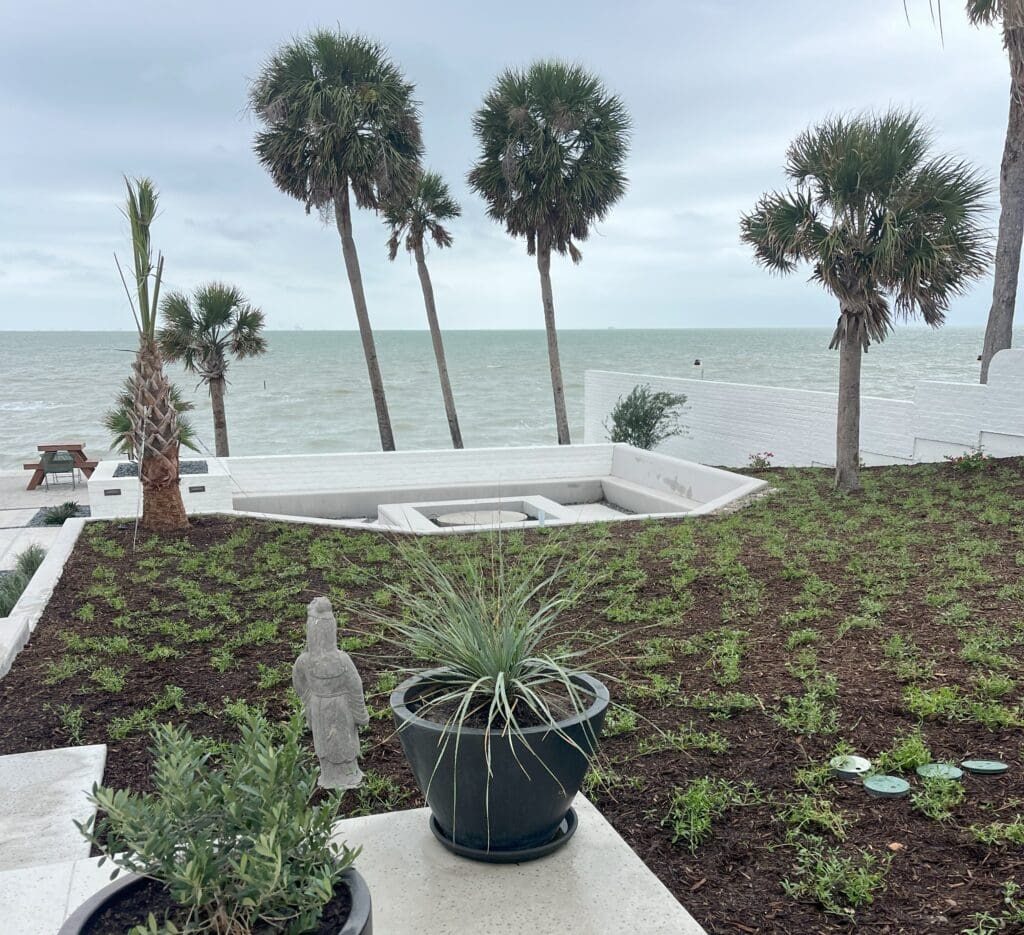
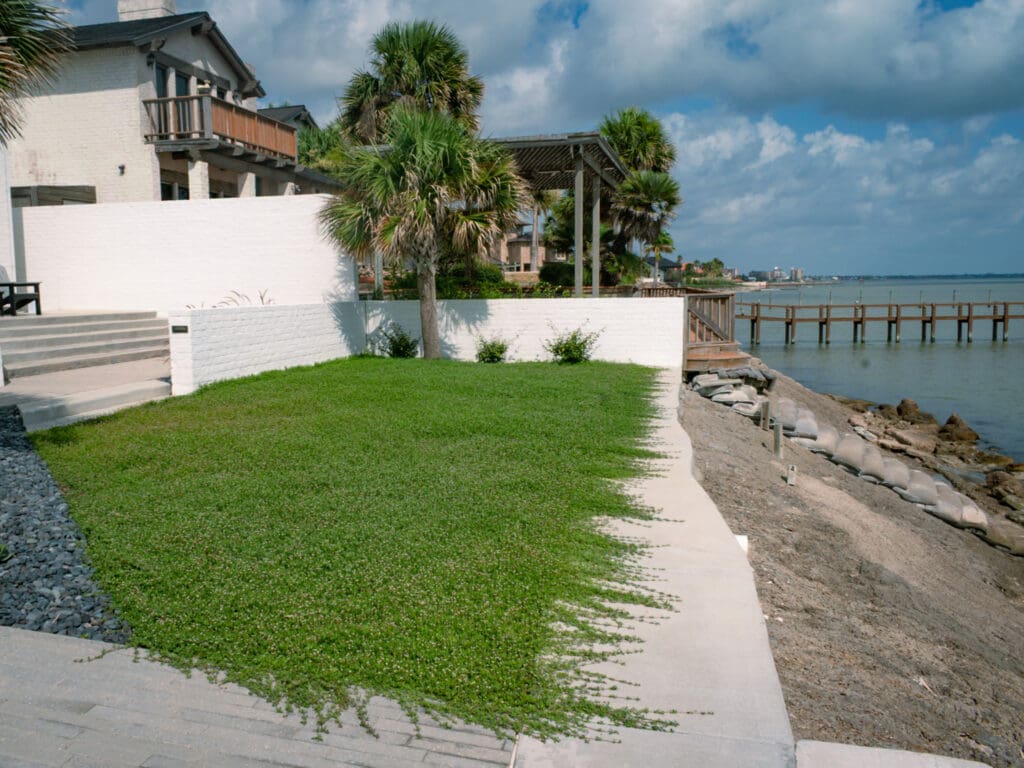
On May 1, Harry and the Gill’s landscape crew stripped out what remained of a patchy turf lawn and planted a total of 1,332 small 4″ Frog Fruit plants across several large areas in this Ocean Dr. landscape. This is what it looks like just 8 weeks later! The clients were interested in bringing in bees and butterflies to their property, and they had these mostly unused areas that they wanted to put to work. They wanted something tough, cold hardy, salt-tolerant, low-water, and very low-maintenance for these ex-lawn areas that don’t get a lot of traffic. Perfect job for Frog Fruit!

Here are a couple of pics from planting day. We prepped the soil by doing a shallow 3″ till, then graded the areas to remove any dirt clods and achieve a smooth finish. We then top-dressed the areas with a thin layer of Nature’s Blend compost and a light sprinkling of Medina Growin’ Green fertilizer. Before planting, we applied a 2″ deep layer of natural hardwood mulch to the entire area. This makes planting very fast – just pull back mulch, dig a small hole, plant, and gently push the mulch back into place. The Frog Fruit runners have no problem rooting into the mulch, and the mulch helps prevent weeds from popping up while the Frog Fruit is getting established and helps with moisture retention. A good trick for getting even spacing on mass plantings like this is to use an 18″ piece of dowel rod or pvc to measure the space between plants as you go. Much easier than a tape measure!  

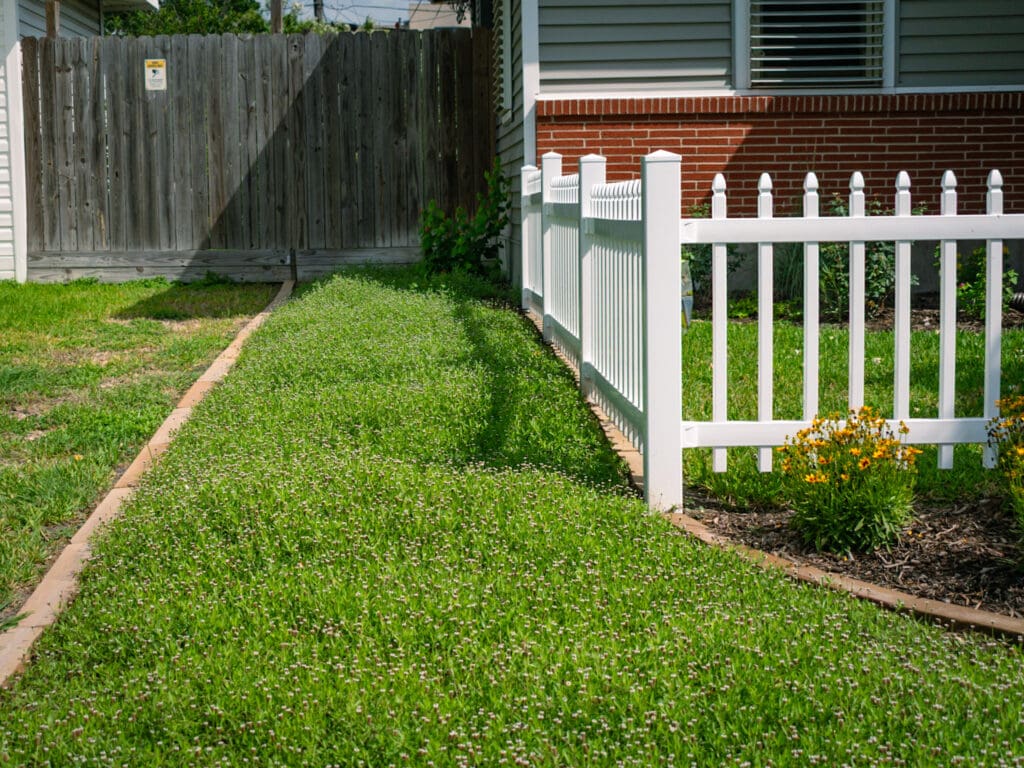
At another property in the Corpus Christi bay area, Harry used 469 small 4″ Frog Fruit in dense shade under trees where turf grass struggles to perform. As you can see, the small Frog Fruit lawn is filling in nicely! Neither of these Frog Fruit lawn projects require any irrigation. Even if we hadn’t been getting any rain, it would be happy with the occasional gentle blessing of water from the hose. Compared to a turfgrass lawn, a Frog Fruit lawn uses almost no water. 

Before!

These projects are proof that what some consider a weed can look elegant and beautiful in the right context! The bees, butterflies, and clients couldn’t be happier. Us too! 


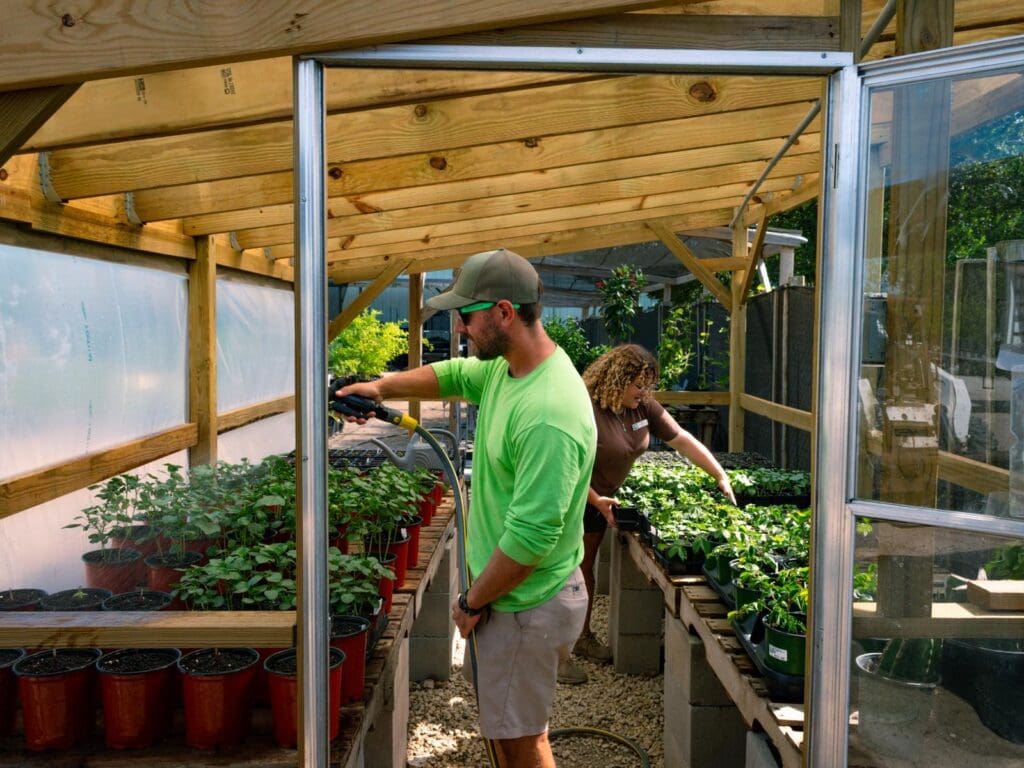
We find growers who grow the best plants. If plants we source are not Gill quality when they arrive here, we send them back! We have long-standing relationships with our suppliers and they know we expect the best. Through our network of awesome growers in Texas, Florida, and California, we can find most plants most of the time, but sometimes there are plants our customers need that are not available on the market. So, we’re taking matters into our own hands – just for a few things! This spring, we got a new license to grow some of our own plants here at Gill’s, and Ori and Wyatt set up our first-ever grow house! Here’s what they’ve been up to. 

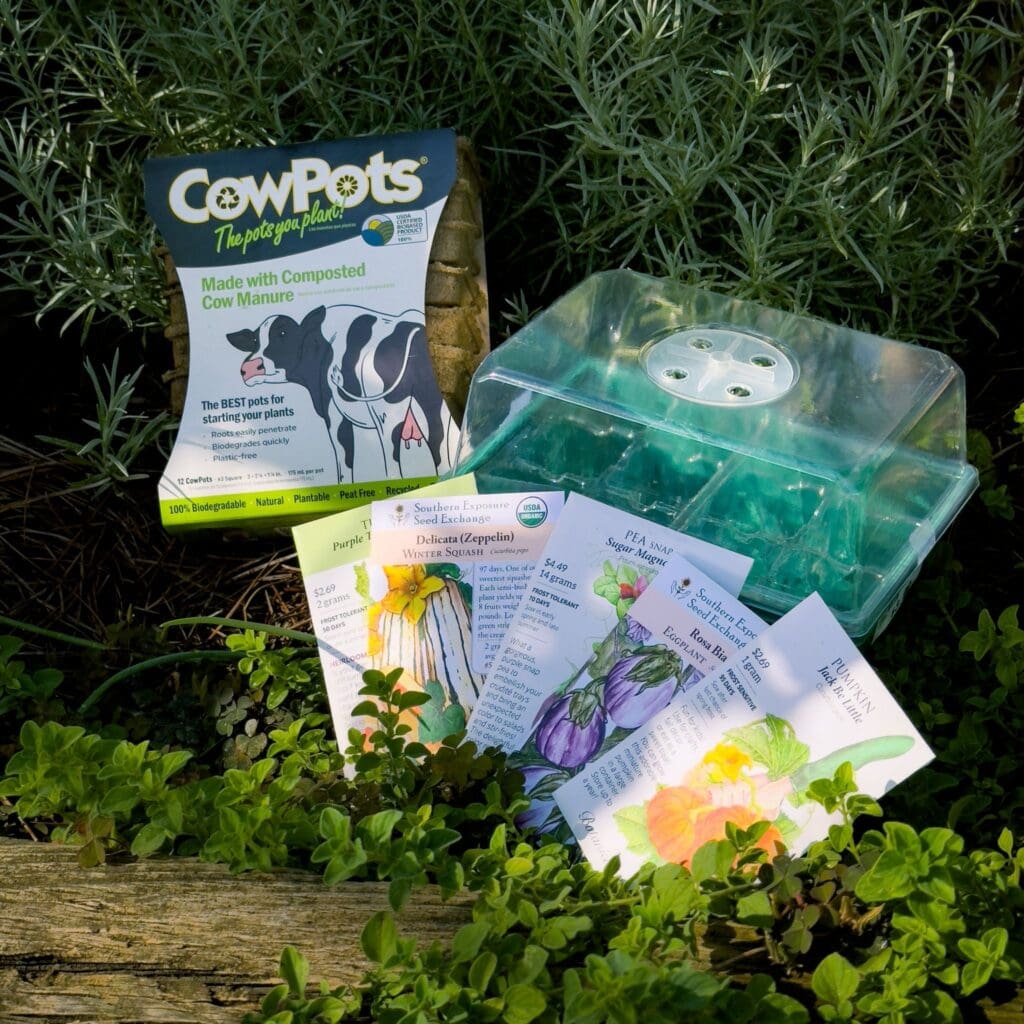
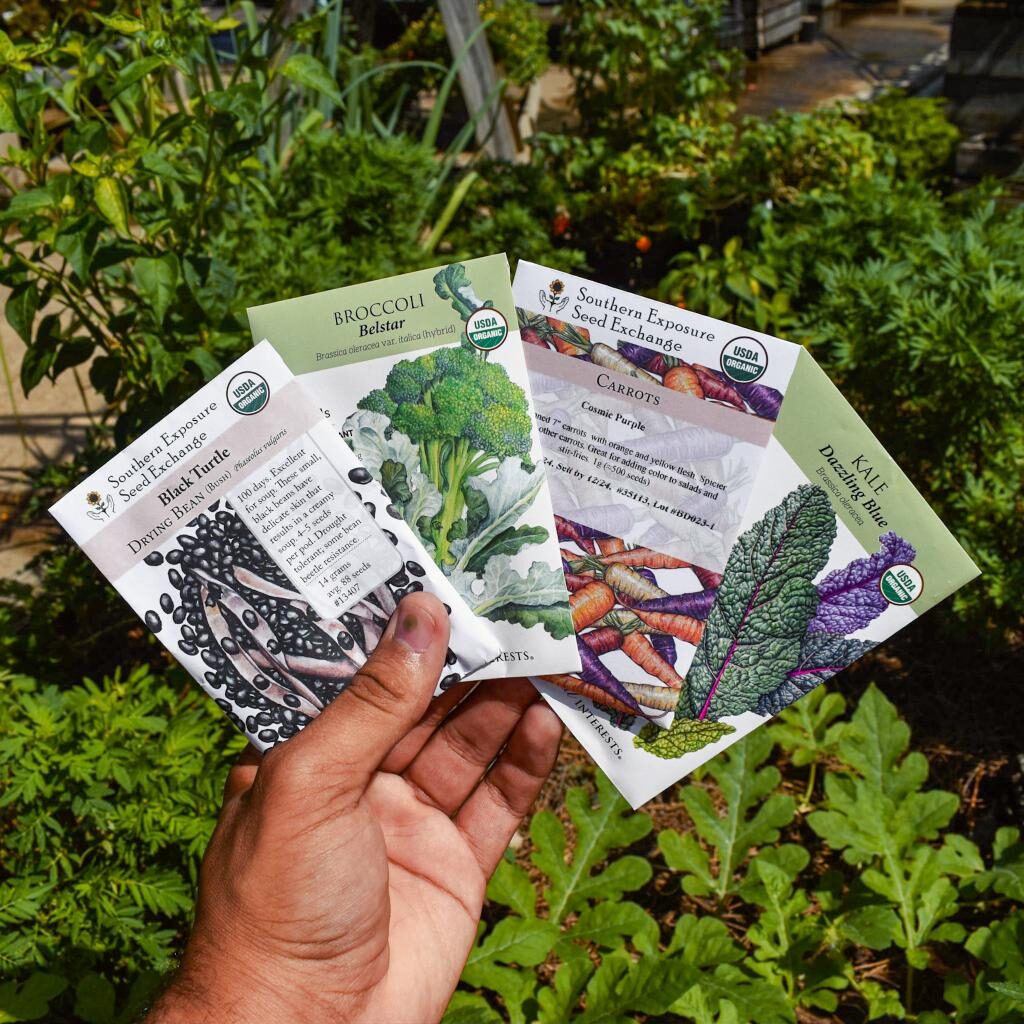
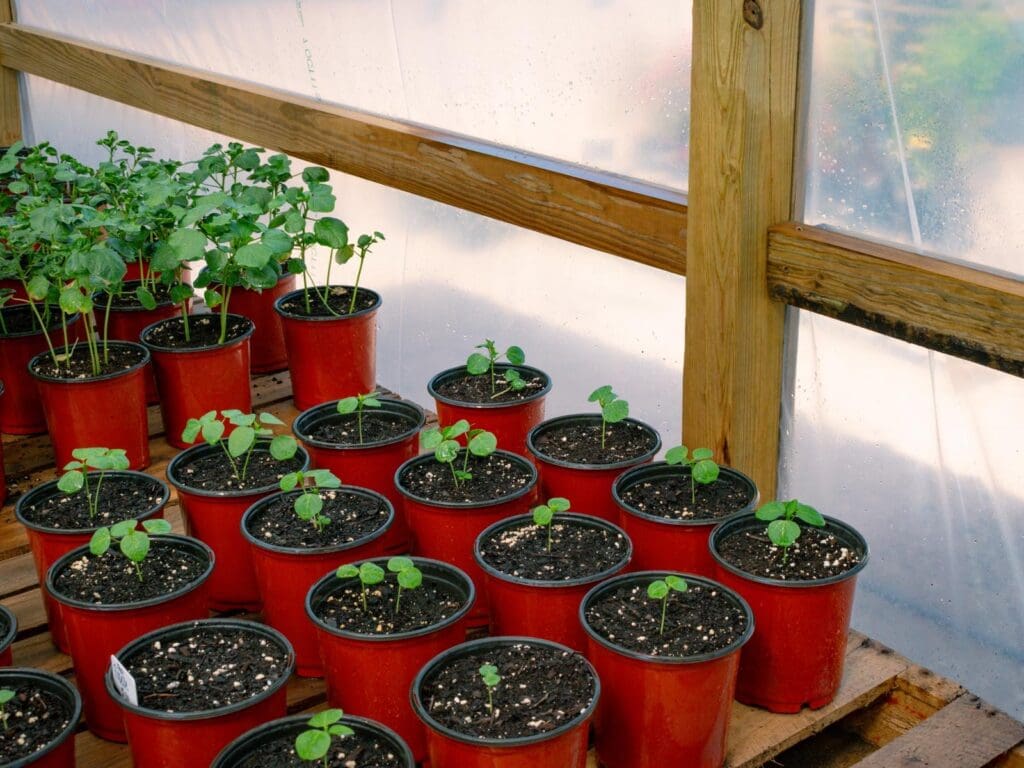
For our growing projects, we use the same tried and true products that we sell and recommend to customers. Most of our babies were started using Southern Exposure Seed, a seed company we love that carries lots of unique varieties. For most seeds, we start by soaking them in a mixture of water and Liquid Seaweed to encourage good germination. Then we plant the seeds in small seedling containers using our Ultimate Potting Soil by Ferti-lome. After they sprout and grow a bit, we move them into larger pots with a 50/50 blend of Ultimate Potting Soil and our all-purpose potting soil from Landscaper’s Pride, plus a little Bio-tone starter fertilizer. Once they really get growing, we use Medina Growin Green granules and Medina Super Gro liquid to keep feeding them. All organic!

Right now we’ve got Burmese and Hill Country Red okra, Hale’s Best cantaloupe, Moon & Stars watermelon, Rosita eggplant, Amethyst basil, and more that will all be ready in the next few weeks. And we’re experimenting with growing native Zizotes milkweed (Asclepias oenotheroides), which is proving to be a challenge! Once the plants are nicely rooted and we can be confident that they’ll perform well for customers, we put them out for sale here in the garden center. Some of you have already taken home our 1gal Thai Red Roselle hibiscus and 4in Holy basil!

Does this mean we plan to start growing a lot more plants?? Nope! We plan to grow interesting varieties that we can’t find anywhere else, as well as a few key plants (like geraniums) that we need more of at specific times. If there’s something you’d like for us to try growing, let us know! We won’t be able to accommodate every request, but some we might! 


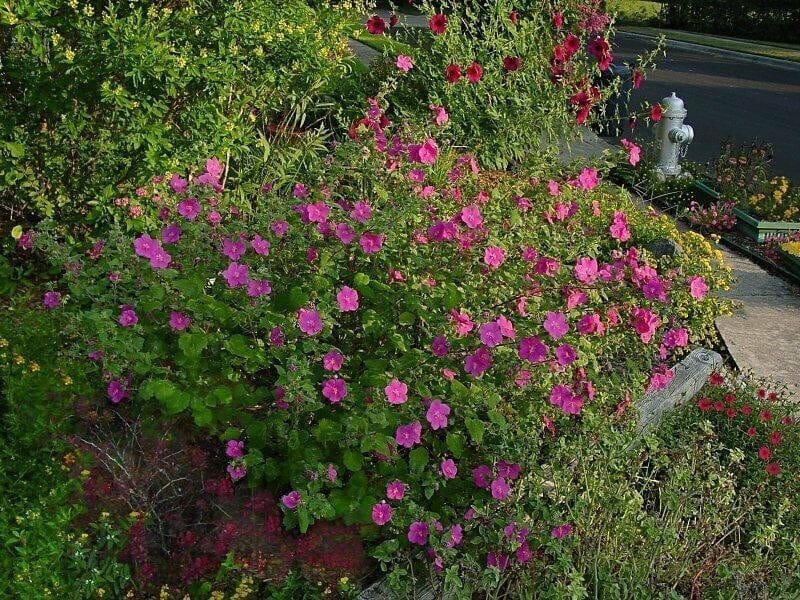
If you’re looking for a hardy, beautiful, and beneficial plant to add to your garden, Pavonia lasiopetala—commonly known as Rock Rose—is a perfectly pink pick! With its cheerful pink flowers, impressive drought tolerance, and versatility, this native perennial is a gem for local landscapes.

Why Choose Rock Rose?

Rock Rose typically grows 2 to 4 feet tall and wide.  Like its native relative Turk’s Cap, it can be grown in lots of different areas in the landscape – very versatile! Its mini-hibiscus-like flowers bloom from spring through fall, and attract lots of hummingbirds, butterflies, and bees. We planted Rock Rose in the front raised beds here at Gill’s back in February, and it’s been a show-stopper! 

Growing Tips for Our Area

  • Soil:  Rock Rose loves well-drained soils. Excellent for sandy soil, raised beds, and pots. It can do well in heavy clay soil too, just amend your soil well with compost and plant high (on a slight mound).

  • Sun:  Full sun is great, but it can tolerate some shade, especially from afternoon sun.

  • Water:  Once established, it’s very drought-tolerant. Water young plants regularly to help roots develop, then it won’t need much attention.

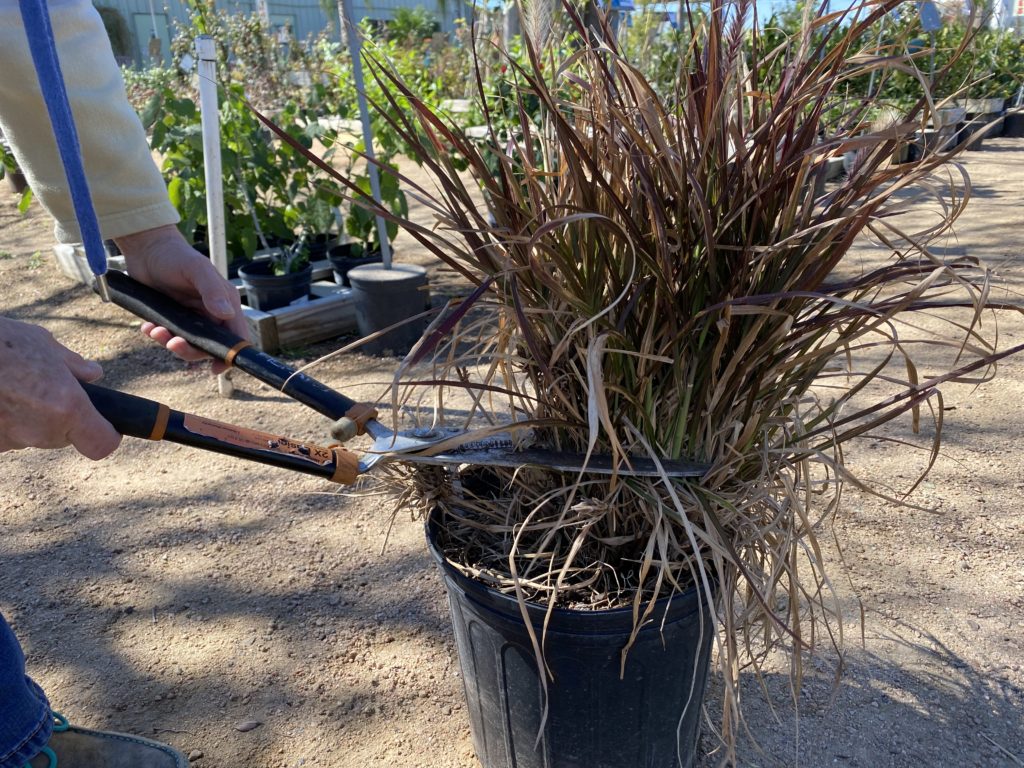
  • Pruning:  Light trimming after blooming keeps it tidy and encourages more flowers. Cut it back hard in February to refresh its shape.

Medicinal and Historical Uses

While not primarily a medicinal herb, Pavonia has traditionally been used in folk remedies. The mucilaginous leaves (meaning they have a soothing, gel-like texture when crushed) have been used to relieve minor skin irritations or sunburn, similar to aloe. Along with other plants in the mallow family (like Turk’s Cap and Hibiscus), it’s also been used in teas to ease respiratory issues and cough. 

Plant it with These Native Friends

Rock Rose plays well with others! Pair it with other heat-loving Texas natives for a stunning and sustainable garden. Try these companions for a rainbow of colors:

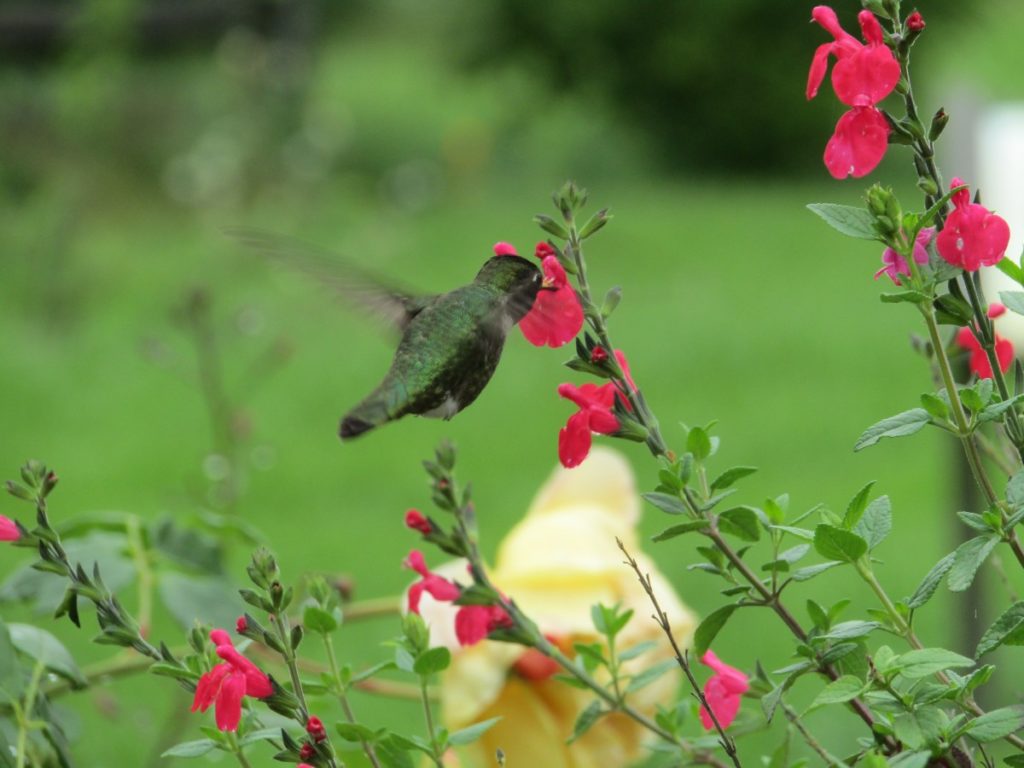
  • Salvia greggii (Autumn Sage) – Hummingbird magnet with long-lasting blooms.

  • Zexmenia (Wedelia acapulcensis var. hispida) – A sprawling yellow daisy-like flower that thrives in hot, dry areas.

  • Blackfoot Daisy (Melampodium leucanthum) – Low-growing with sweet white flowers and a delightful fragrance.


Our low-water section here at Gill’s is stocked full of all kinds of tough plants for dry areas, including something very special…Opuntia ficus-indica aka the choice edible Prickly Pear cacti used for making nopales! Here are our tips for growing and preparing them for all kinds of delicious recipes!

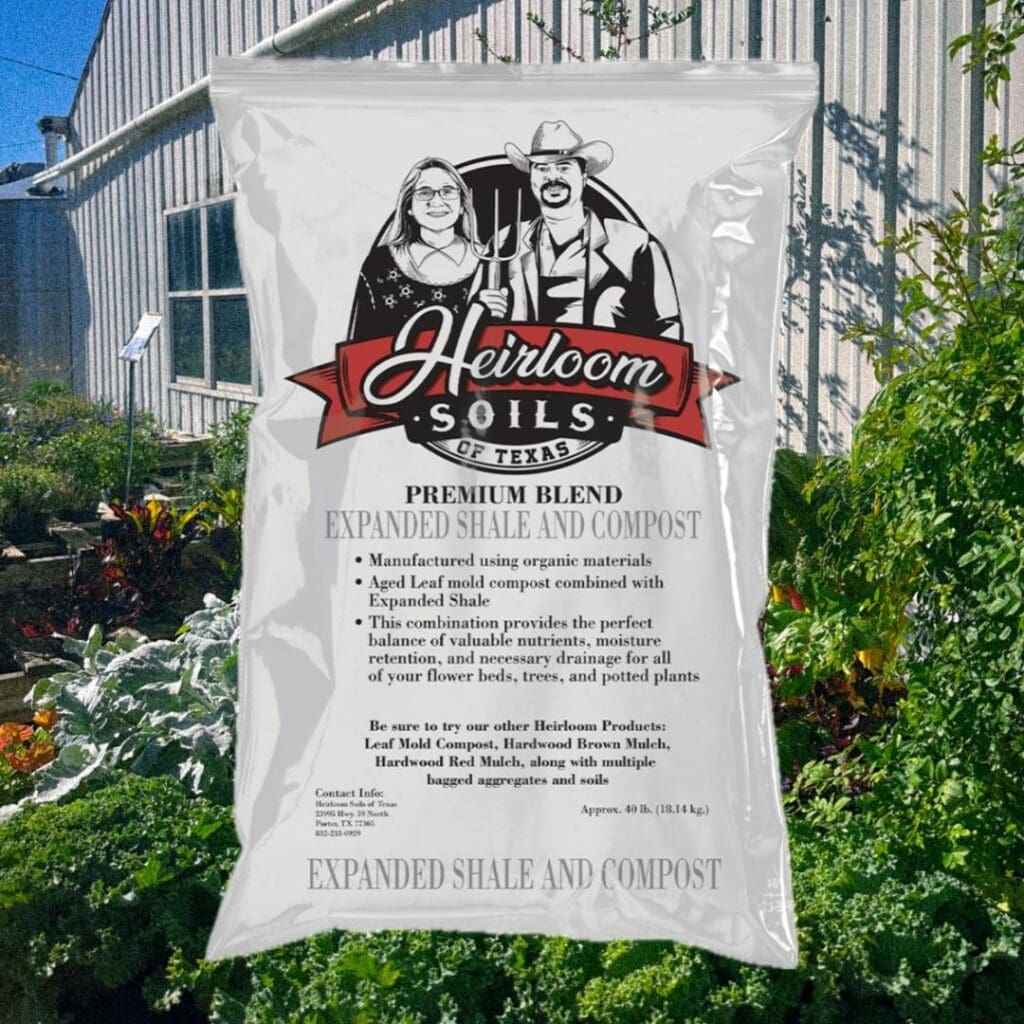
There are over 100 species of Prickly Pear cacti known in Mexico as well as the Texas Prickly Pear (Opuntia engelmannii), and almost all of them are edible. This one, Opuntia ficus-indica is one of the most commonly farmed for food due to its tender pads with a great texture for cooking. Our climate is excellent for growing Prickly Pear – they love the heat and they can handle a freeze too. They love full sun, but they can tolerate some shade. If you live in an area with sandy soil, Prickly Pear will thrive with very little soil amendment. They love good drainage. If you have heavy clay soil, it’s a good idea to amend your soil with Premium Blend Expanded Shale and Compost to create better drainage. Another good idea for clay soil is to plant high! Mound up your amended soil a bit when you plant Prickly Pear so water will run off and won’t be able to collect at the base of the plant. A good mulch or rock layer on top will also keep water from splashing up onto the cactus. Water every day for about a week to get roots established, then taper down. Once established, Prickly Pear will thrive with very little water long-term. 

Before long, you’ll have buds emerging and new pads growing out from old pads. When selecting pads to harvest, look for the bright green ones that are soft, but not limp. Using a nice sharp knife, cut them off at the base of the pad. A sharp knife and clean cut will allow the wound to heal over quickly without putting much stress on the plant. To prep for cooking, lay the pads flat on a cutting board, trim off the tough outer edge all the way around, then use a peeler or small knife to remove all the bumps and thorns. Gloves help! Keep as much of the dark green skin intact as you can. Many people like to boil and rinse the nopales first to help remove some of the gelatinous liquid inside the flesh. Or, you can skip this step and cook the whole pads on the grill or chop and cook with a little fat in a cast iron pan, uncovered until most of that mucilage is cooked out. 

Now if you had a few backyard chickens, you’d have your own steady supply of nopales and egg breakfast tacos!


Fresh mulch is like a fresh coat of paint for your garden – beautiful instant makeover! But it’s not just for looks. Natural mulch has so many other critical benefits, especially as we move into warmer summer temperatures. Read to learn more about how mulch keeps plant roots healthier, adds nutrients to the soil, suppresses weeds, prevents plant disease, and very importantly right now, saves water!

Mulch Keeps Plant Roots 20 Degrees Cooler!

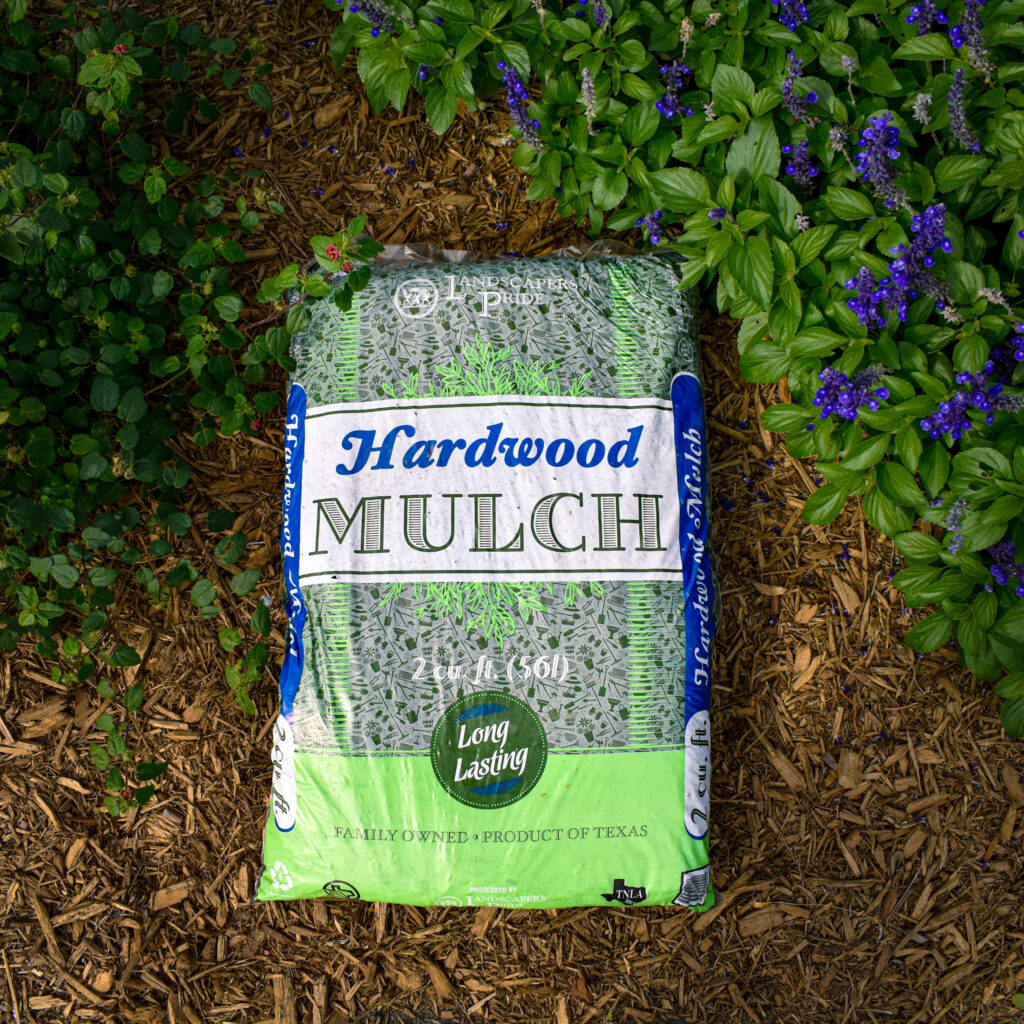
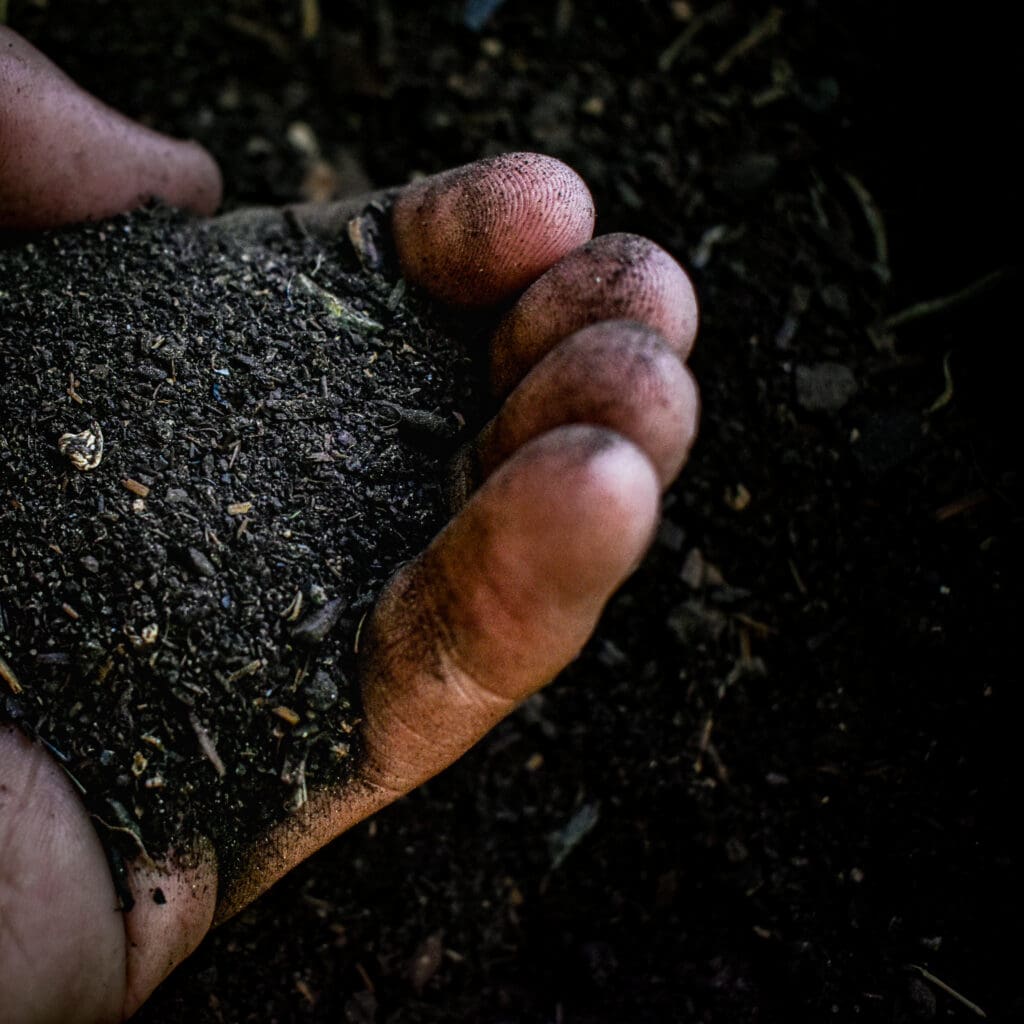
Did you know that applying a proper 3” layer of natural mulch, like hardwood, cedar, or pine straw mulch, keeps underlying soil temps more than 20 degrees cooler?! Gill’s Landscape Designer, Kathy Hubner attended a webinar presented by Bartlett Tree Research Laboratories in which they shared amazing results from a mulch study in San Antonio. Soil temperatures were measured at 6″ deep (where plant roots live) on a 105 degree summer day. Bare soil with no mulch, 6″ down was 102 degrees. Soil under grass was 92 degrees. Soil beneath a 3″ layer of mulch was only 76 degrees!! Keeping plant roots cool helps them take up water and nutrients and prevents heat stress on the plant. To achieve a 3″ layer of mulch takes about 1 bag per 12 sq. ft.

Mulch Suppresses Weeds & Builds Healthy Soil!

A 3″ mulch layer also helps suppress weeds by blocking light that weed seeds need in order to sprout, while still allowing good water, oxygen, and nutrient transfer for plants. And speaking of nutrients, natural mulches break down over time and help build healthier, looser soil. For these reasons, mulch can also act as an excellent placeholder for areas that you plan to plant in the future. For example, once you harvest your spring veggies, mulch that area to keep weeds from invading and to keep soil nice and healthy for when you get ready to plant again. Or, if you’re working on your landscape in phases, go ahead and create and mulch new beds, then plant when you’re ready – very few weeds to deal with and easier digging!

Mulch Saves You Water!

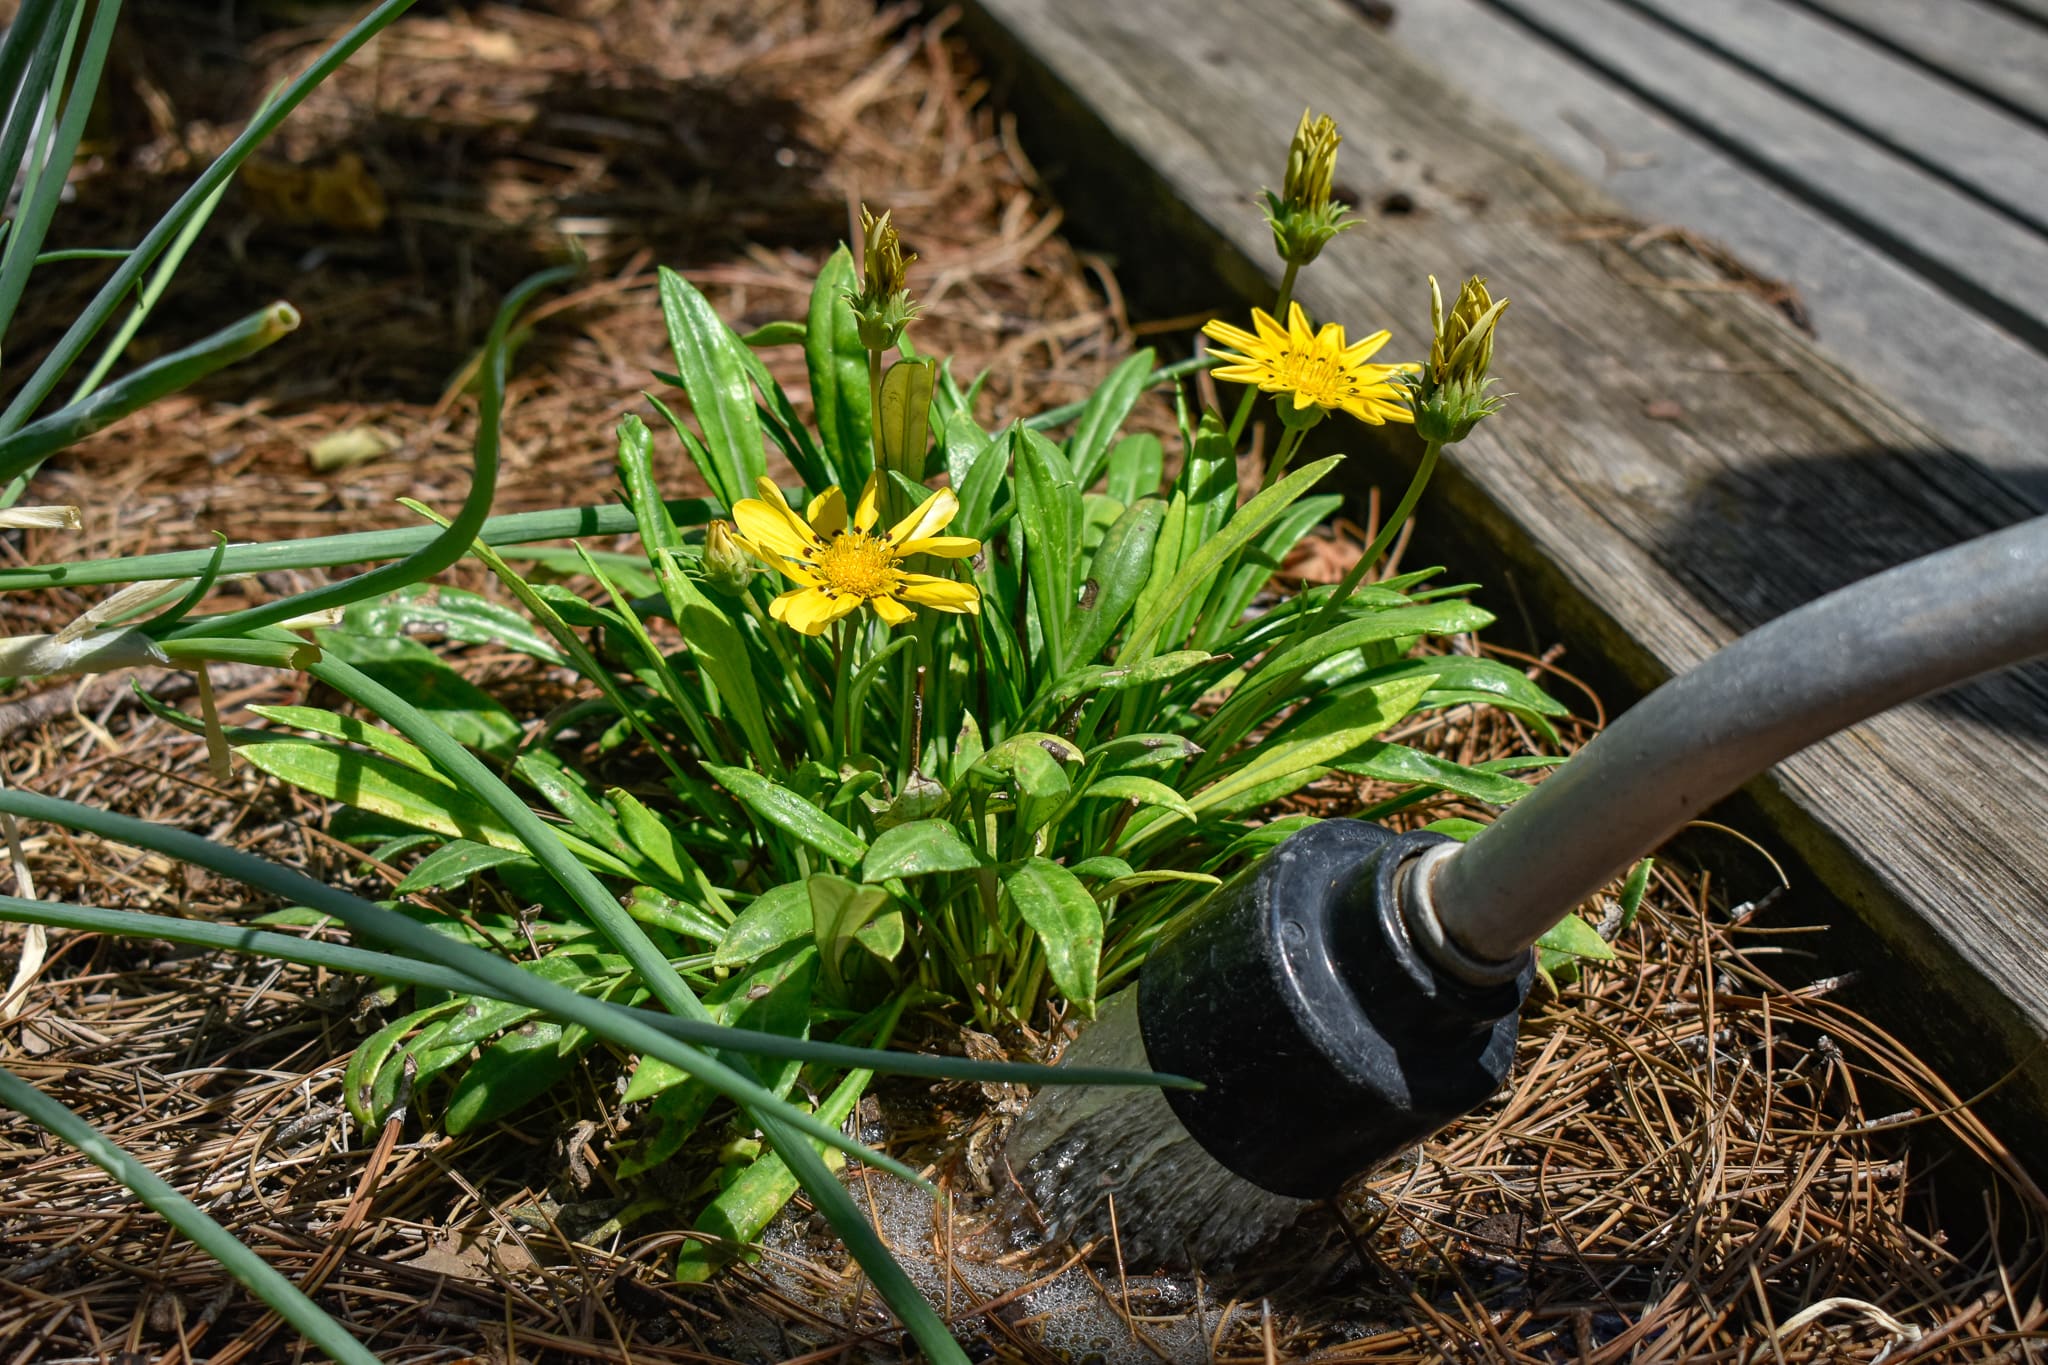
The name of the game for summer watering is to maintain depth moisture. This means watering plants slow, low, and deep. Use a watering wand and water at ground level to get water down to the roots – don’t water over the top of your plants!  Also, don’t water full blast. Turn down the pressure, water slowly, and use the cycle-soak method which means water once, let it soak in, then water again to get water down deep. A proper mulch layer is your best friend for maintaining this depth moisture due to the cooling/insulating effect we’ve discussed, and because it prevents evaporation. Not only does mulch help the soil retain moisture, it also keeps soil from splashing up onto the plant when you water, which prevents fungal disease. Be sure you spread the mulch evenly and avoid creating the dreaded “mulch volcano” around the trunks or main stems of plants and trees. Mounding mulch up against the trunk can invite disease. Best to mulch around trees and plants then pull mulch away from the trunk to create just a little space.