Food from a garden is one of life’s best experiences. You get to play in dirt, sweat with a purpose, and the payoff is just plain rewarding: nutritious, delicious foods for you and your family. Not only is food-gardening fun, but it teaches us patience, trust, and connects us to where life begins – in the soil. So let’s get started!
1. Keep it Simple
Not too big, not too much. Gardening is fun and laborious. Your first few gardens should be manageable enough for you to have fun and success with.
2. Choose Your Food
We have two great seasons for growing food. Spring (Feb. 1st – June 1st) and Fall/Winter (Sept. 15th – Jan 31st). Each offers their own bounty. Mother Nature plays a vital part in this – check out “Gill’s Spring Vegetable Planting Dates For Nueces County” to help you decide what to grow and when to plant.
3. Pick Your Spot
All food gardens need: Adequate sun, nearby water source, good soil, and proper drainage. Whether you are planting in the ground, raised beds, or in containers, 4 to 6 hours of mid-day sun is generally enough for popular edibles like tomatoes, peppers, squash, beans, and most herbs.
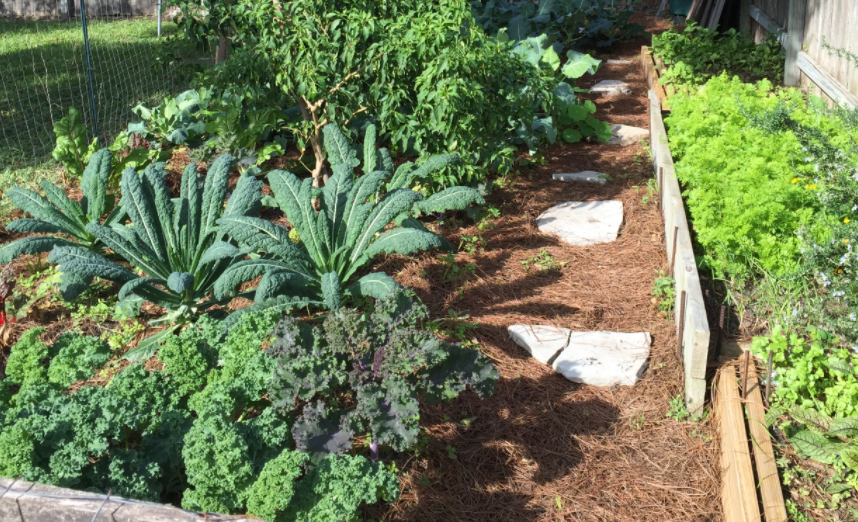
Above: Last year, Debbie shared a weekly log of her fall/winter veggie garden – check it out!
Planting in: The Ground
Most vegetable plants will enjoy a good 12 inches of rich soft loam to grow in. You can make your own by adding Nature’s Blend or Cotton Burr Compost, to your existing soil. Follow this with Dried Molasses to attract good soil microbes.
Here’s my recipe for ground planting:
- Clean/clear area of all weeds and grass
- Moisten soil a couple of days before breaking ground-good for your back!
- Break soil with a dirt fork if it’s hard packed. Then till the soil.
- Add compost, till some more
- Add molasses and Medina Growin Green Organic Fertilizer. Chicken feed it across the bed.
- Hand rake into soil, water and rest the soil, at least a few days
The end result should be good rich soil, slightly mounded and ready for planting.

Above: A raised bed we installed for one of our landscape customers – all ready to plant!
Planting in: Raised Beds
Raising the bed has some great benefits including reducing weeds, helps with soil compaction, concentrates your energy in smaller spaces, easier to maintain, and it’s easier on your back…for those of us who need all the help we can get!
Here’s my recipe for planting in raised beds:
- Build your gardens up as little as 4 inches, as much as 24 inches, more is better, with cinder blocks, rocks, or treated lumber.
- Add sandy loam, purchased in bulk, and Nature’s Bend Compost. Mix it up.
- Add Medina Growin Green and dry molasses.
- Mix in, water, and rest; a few days for the soil & as needed for you.
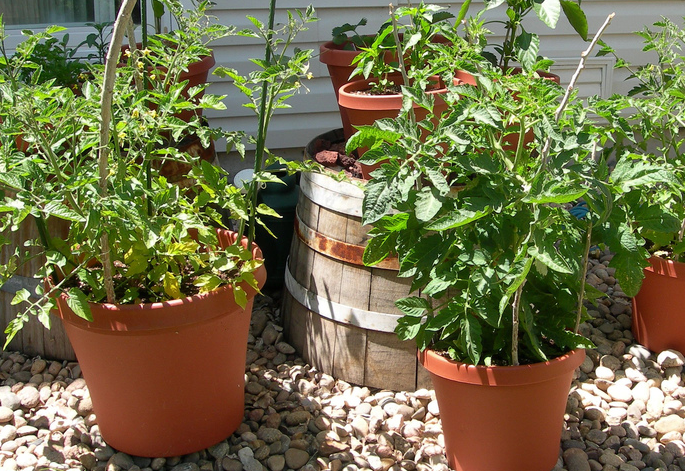
Planting in: Containers
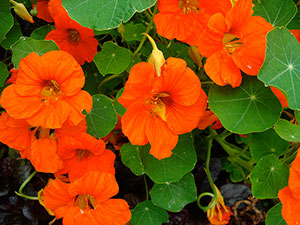
Using containers for growing food is perfect for small spaces or those who just want a little something to grow…a tomato, a pepper, a few herbs. You can add a trellis for beans and a few herbs or edible flowers for a pop of color.
HERE’S MY RECIPE FOR PLANTING IN CONTAINERS:
- Choose some large pots, at least 5 gallon size, 10 gallon is better. Something pretty or old used nursery pots are fine.
- Fill with good potting soil. Potting Soil by Landscaper’s Pride and Premium Potting Soil by Back to Nature are quality mixes for containers.
- No need for anything to rest, the soil’s already blended and the work is easy!
Look ahead for the next part of this series. We’ll talk about what to plant this spring, seeds and transplants, growing vertical, fertilizing, and watering.
-Debbie 

 -Whitney
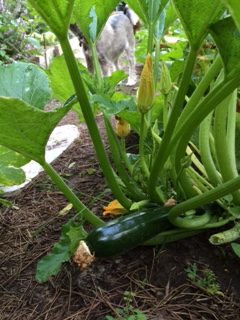
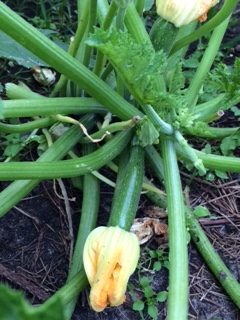
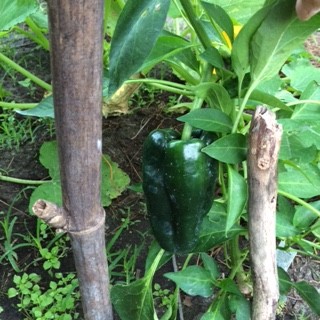
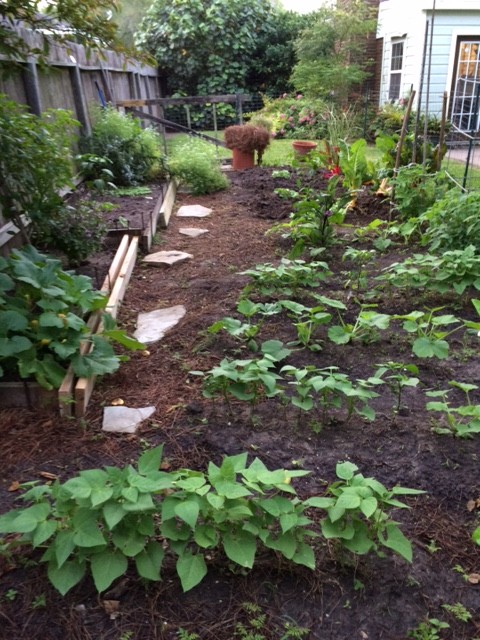
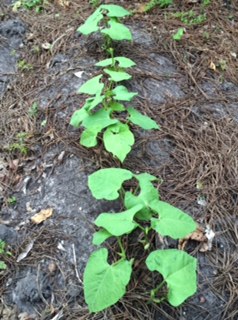


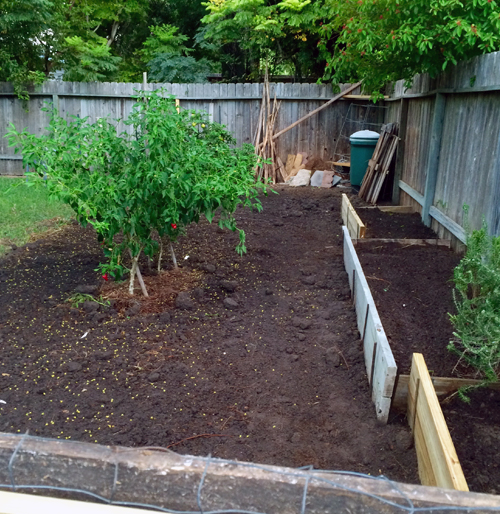
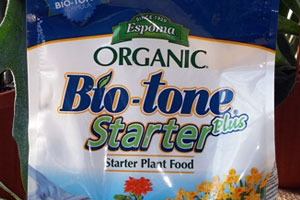 I purchased our first plants for our spring garden and got them planted finally on Sunday afternoon. I started working outside Saturday morning with the best intention to get the garden planted. But the trimming, weeding, and fixing broken things in other areas around the yard postponed my goal. I planted 2 tomatillos near the fence so I can train them up. I added 2 more tomatoes to our volunteer Cherry tomato, a Roma tomato and a Valley Girl. Roma is a paste type and Valley Girl is an early slicing type. I also planted an Ichiban Eggplant, a Poblano Pepper, & Magic Mountain Basil to attract bees. Everything got a handful of Espoma Bio-tone in the hole. It is the fertilizer with the Mycorrhizal Fungi that boost root development, very important going into spring and summer. I will be adding a hot jalapeno plant this week. The zucchini squash, sweet basil, and pinto beans I am starting from seed. Let the growing begin!
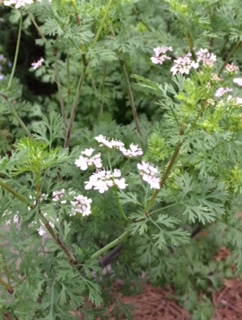
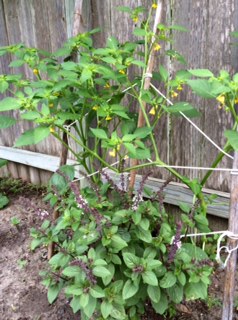
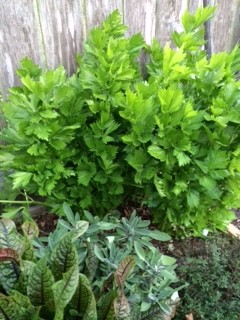
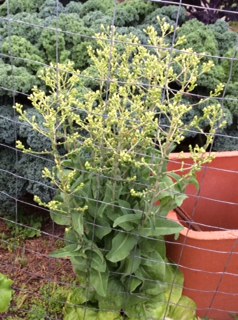 I have cleaned out the turnip/radish/lettuce bed and pulled the remaining green cabbage. I am leaving the kale, chard, carrots, celery, broccoli, and herbs until I deem we want to plant there. Part of the beauty of leaving end of season veggies is watching them mature to their flowering stage. Our cilantro is bolting and begins to flower tiny white stars. The volunteer lettuces are setting their flower stalks as well. The culinary sage is showing off with periwinkle blue flowers. All of these help provide food for butterflies and bees, both of which we desperately need to pollinate other food we plant during spring.
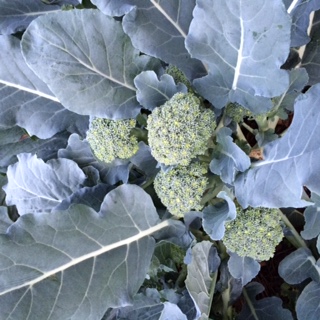
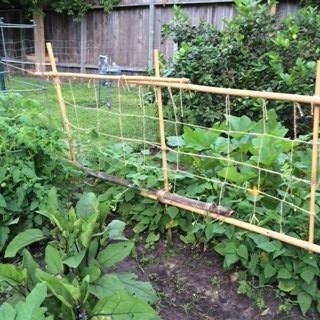
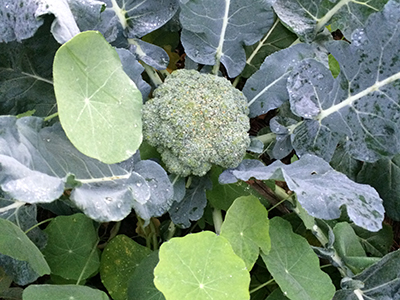
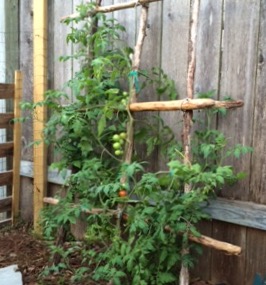 In our garden, sticks and stones are always helpful! Here’s a rustic trellis I built for our volunteer tomato plant. I used some old cedar sticks collected from a hill country trip years ago. Our broccoli just keeps on giving…here’s one of our 8 plants full of florets ready to harvest!
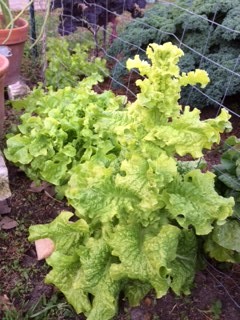
 In just a couple of weeks, we’ve harvested most of our Cauliflower and will begin pulling plants up soon.
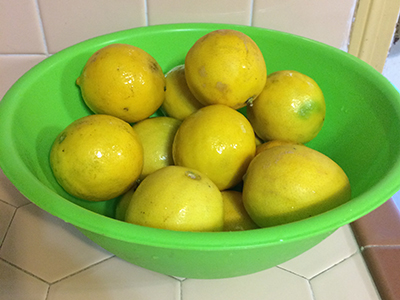
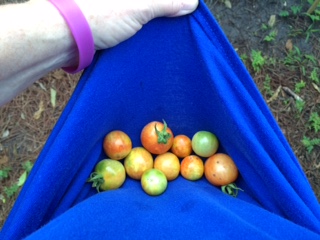
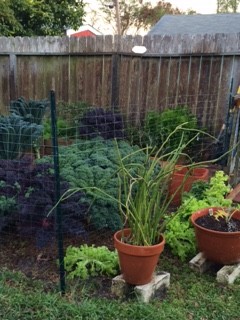
 It’s been a couple weeks since we did an update on our garden. Holidays and weddings have kept us busy but we are still enjoying the fruits of our labor, as you can see! Our celery has gone nuts, broccoli and cauliflower getting bigger every day and we’re finally seeing a few radishes and tons of chard and kale. There are still no shoulders showing on our carrots. I found several of our carrot tops smashed down by some critter. Note to self…PUT THE WIRE OVER THE CARROT PATCH NEXT YEAR. The best part of growing food is eating it, sharing it, & using it in some culinary creation! One of my favorite recipes is from Cooking Light magazine. It is a recipe makeover of lemon squares…delicious!!! WARNING -you may want to make 2…they can mysteriously disappear! Bon Appétit!
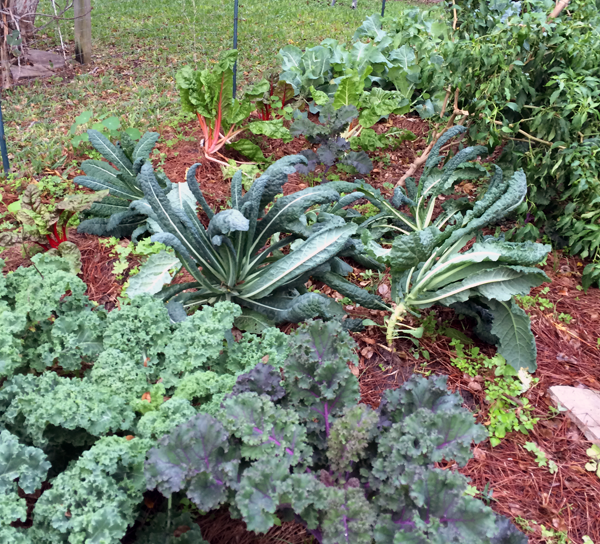 I always start and end my days spending time in our fall winter garden…well almost. My holiday schedule last weekend was packed to the brim. I did not have time to take a look at the garden immediately after last weekend’s storm. I was horrified the next day when I saw most of our kale, cauliflower and broccoli laid over on their side. So I promptly grabbed my old bamboo stakes and began propping everybody back up. The ground is so soft from the beneficial rains but once it dries a little they will be fine and able to hold themselves sturdy again. Just in case will keep a few fingers crossed for good luck.
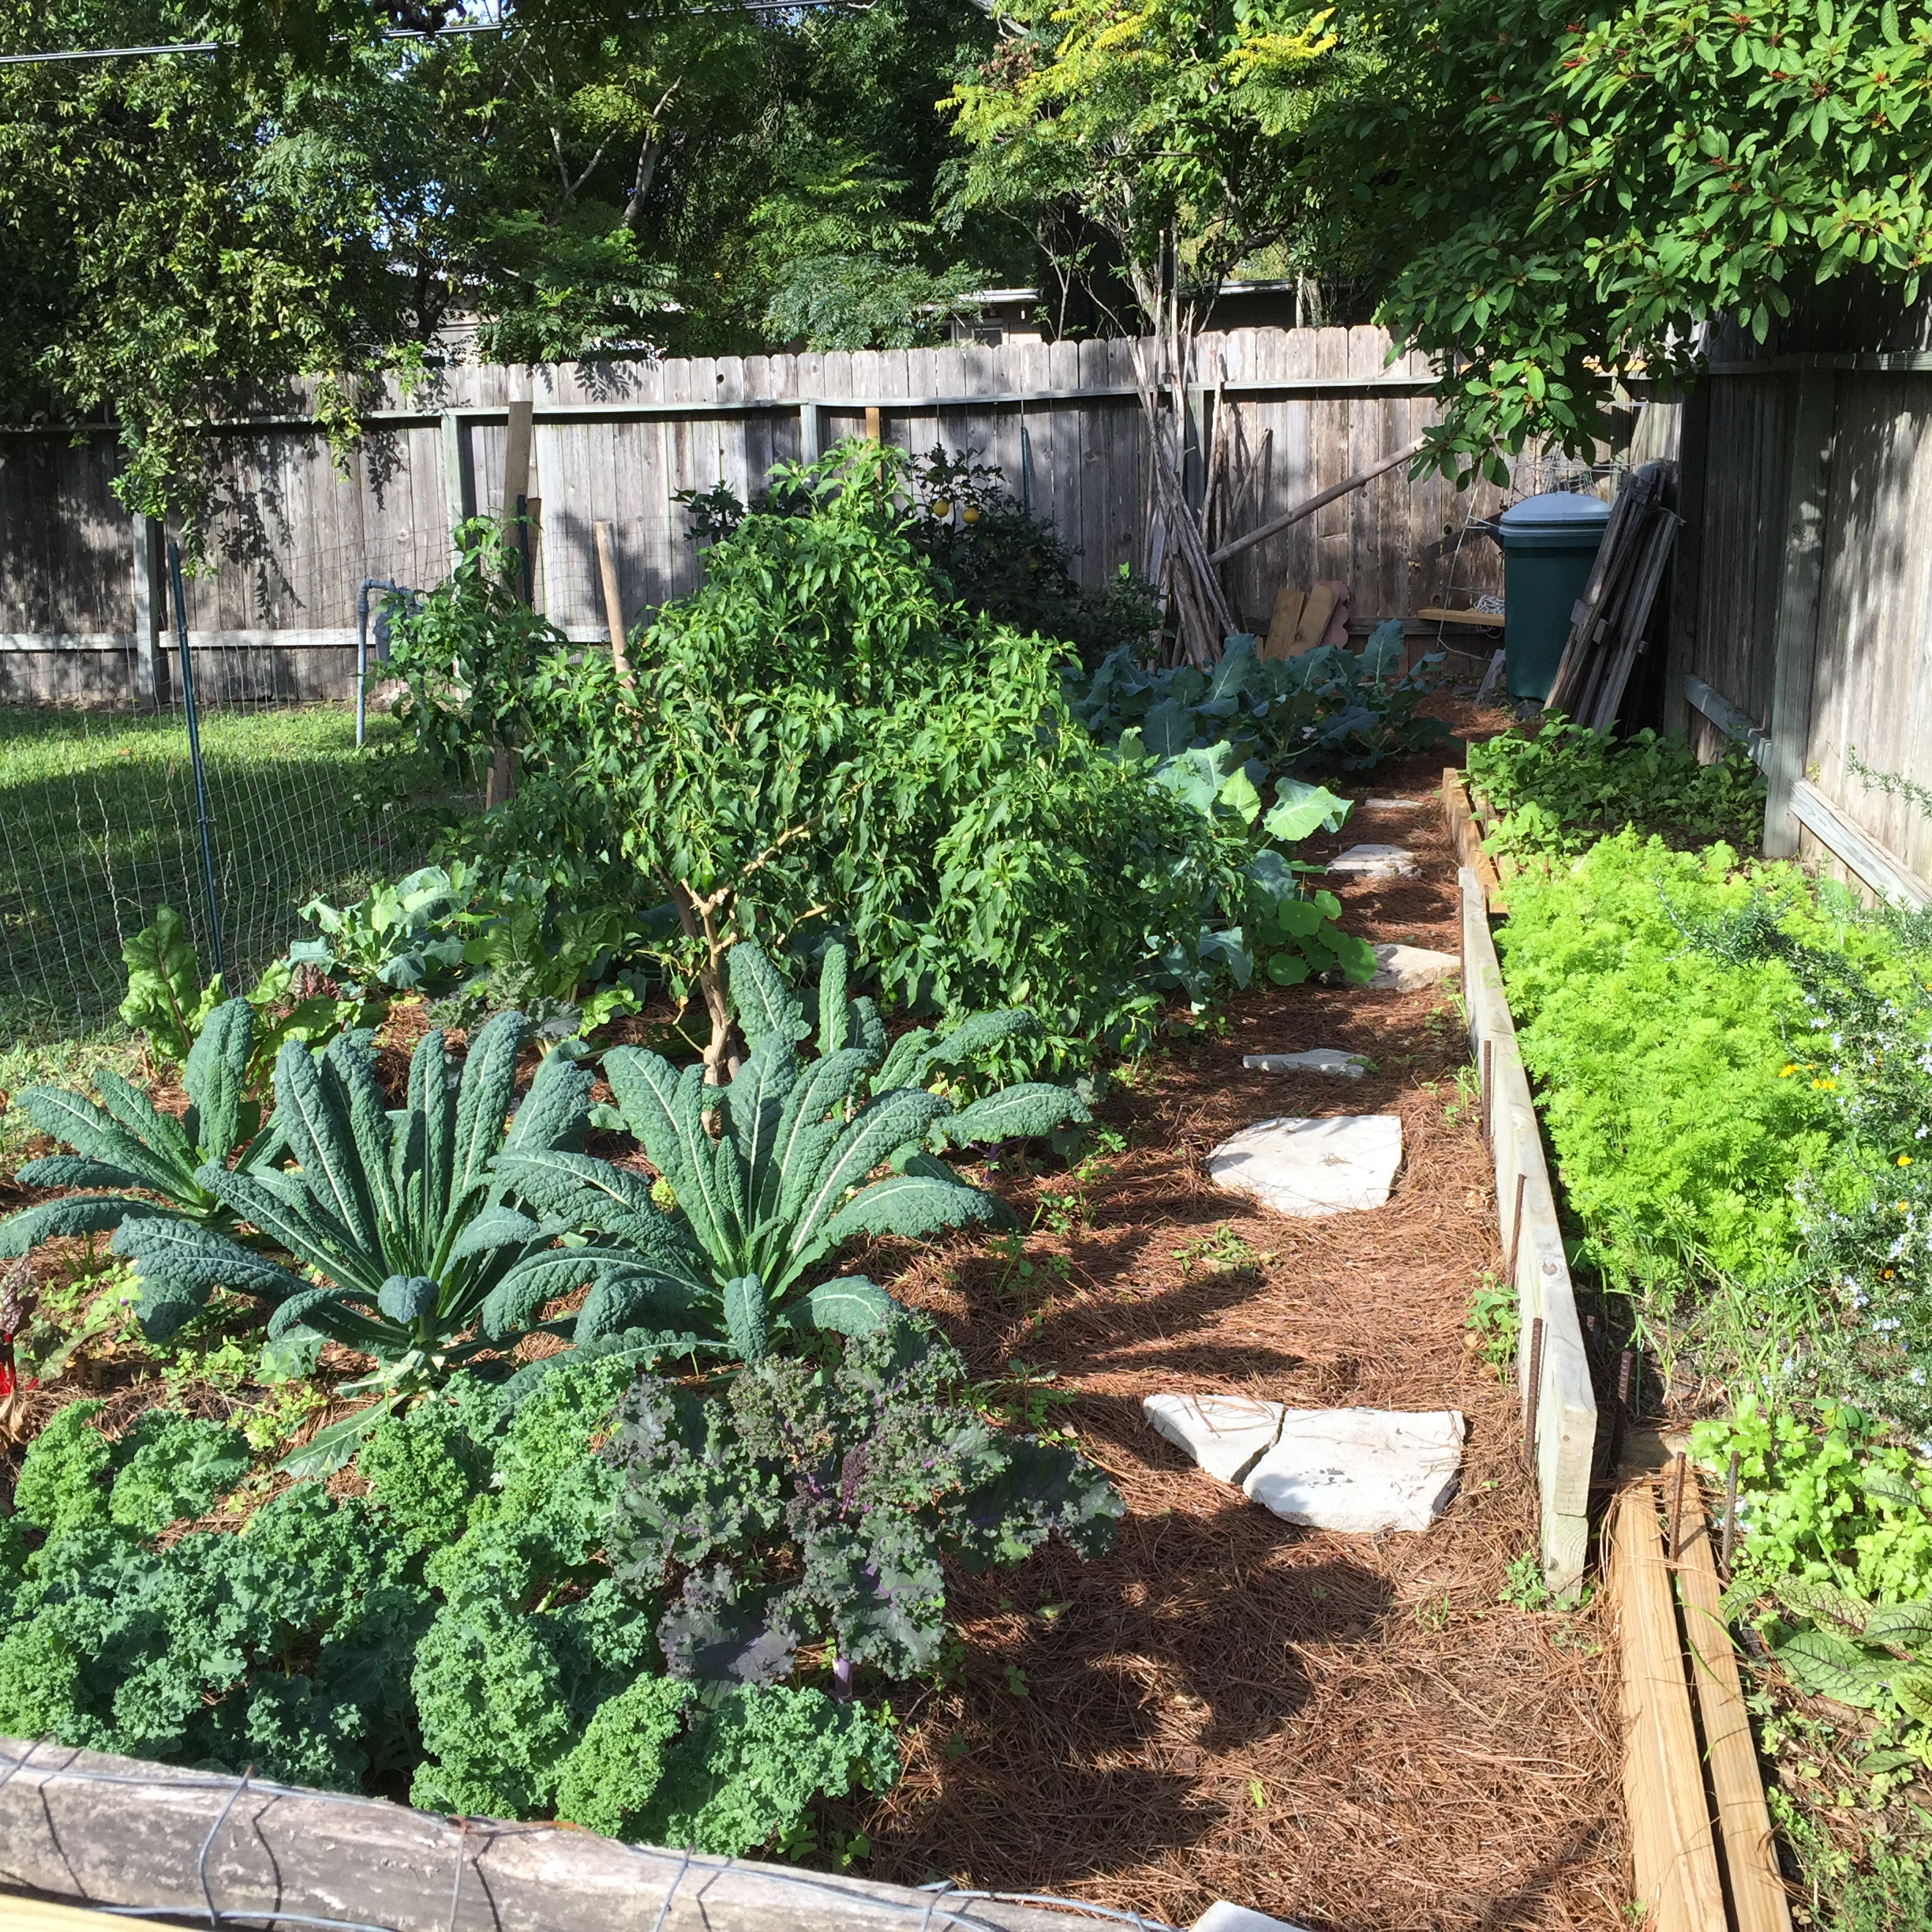

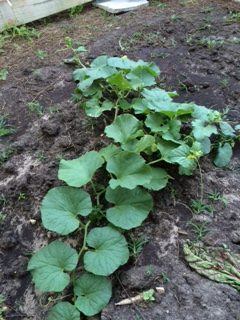
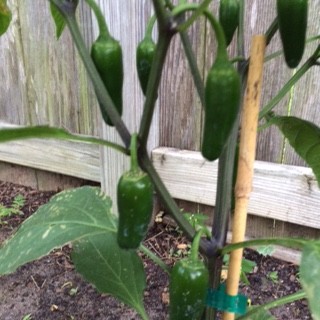
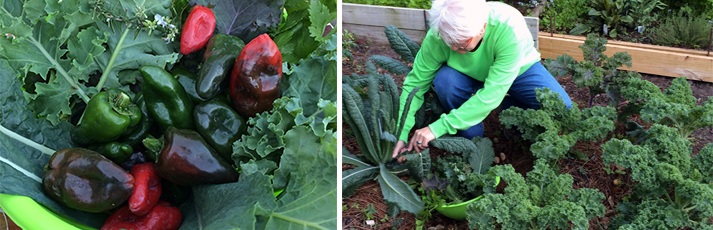 One the many reasons I love a fall winter garden is that when the north wind blows and the cold air finds the way to South Texas, I don’t have to worry about covering, moving, protecting! The cole crops we have planted like broccoli, cabbage, cauliflower, kale, and most greens love the cold and more so, need the cold to produce their best harvest. The best thing is to water well before temps drop. I did pick a bunch of the peppers off our leftover pepper plant from spring. Now they do not like cold temperatures. I think this may be its last hooray. As I was weeding and tiding up the garden Saturday (before the cold front) I found a freebee…a volunteer tomato plant has sprouted and growing well along the fence. So maybe I will give it a little extra TLC…
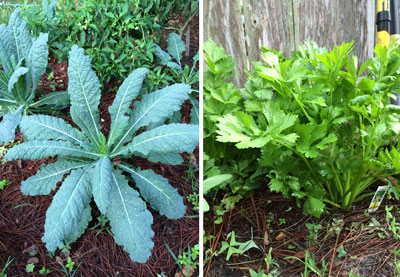 November 19th
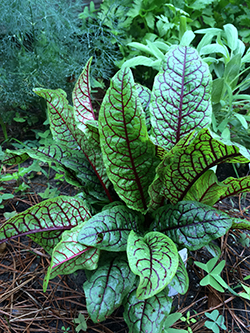


 –DeAnna