Garden Center Hours: Mon-Sat 9am - 5:30pm • Sun 10am - 5:30pm

Temperatures don’t feel like it yet, but it’s time to start making the transition into an exciting new fall planting season! There’s a lot to do in August to set yourself up for big garden success this fall and beyond. Here are our top must-do’s!

1. Pick Out Your Fall Veggie and Flower Seeds!

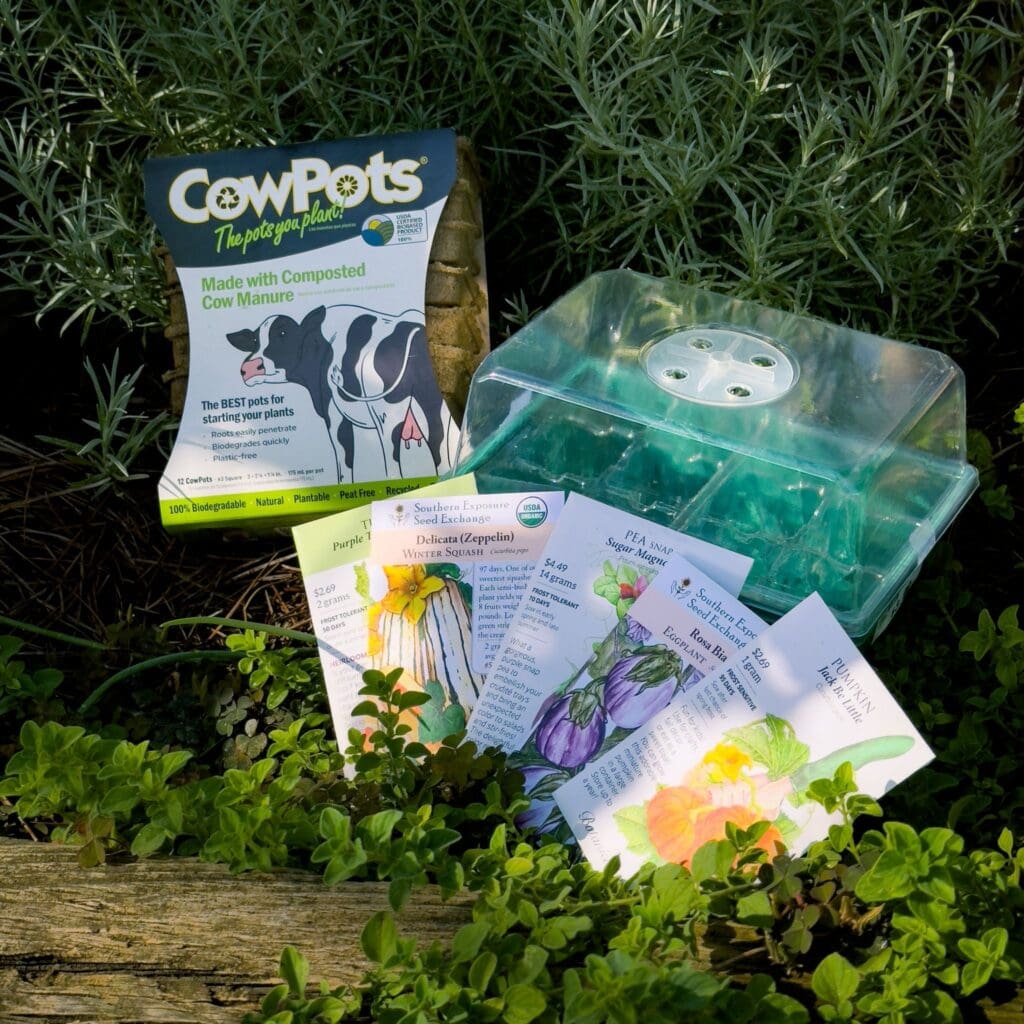
August is the time to start your fall veggie seeds! Next week, we’ll receive the new 2025-2026 seeds from our favorite seed suppliers, including heirloom vegetables, brand new releases, and wildflower seeds. Try Cow Pots (cattle manure pots) or seed starting trays to start seeds indoors this month, move to a covered patio once they sprout, then into your garden beds once they’re robust enough to live outside. This will protect the seedlings and slowly acclimate them to outdoor temps. Our Fall Vegetable Planting Guide provides the specific seed-planting dates to help plan your fall garden. Remember – if you want bountiful fall veggies, you need to get an early start! 

2. Start Planting Now for Fall Pollinators!

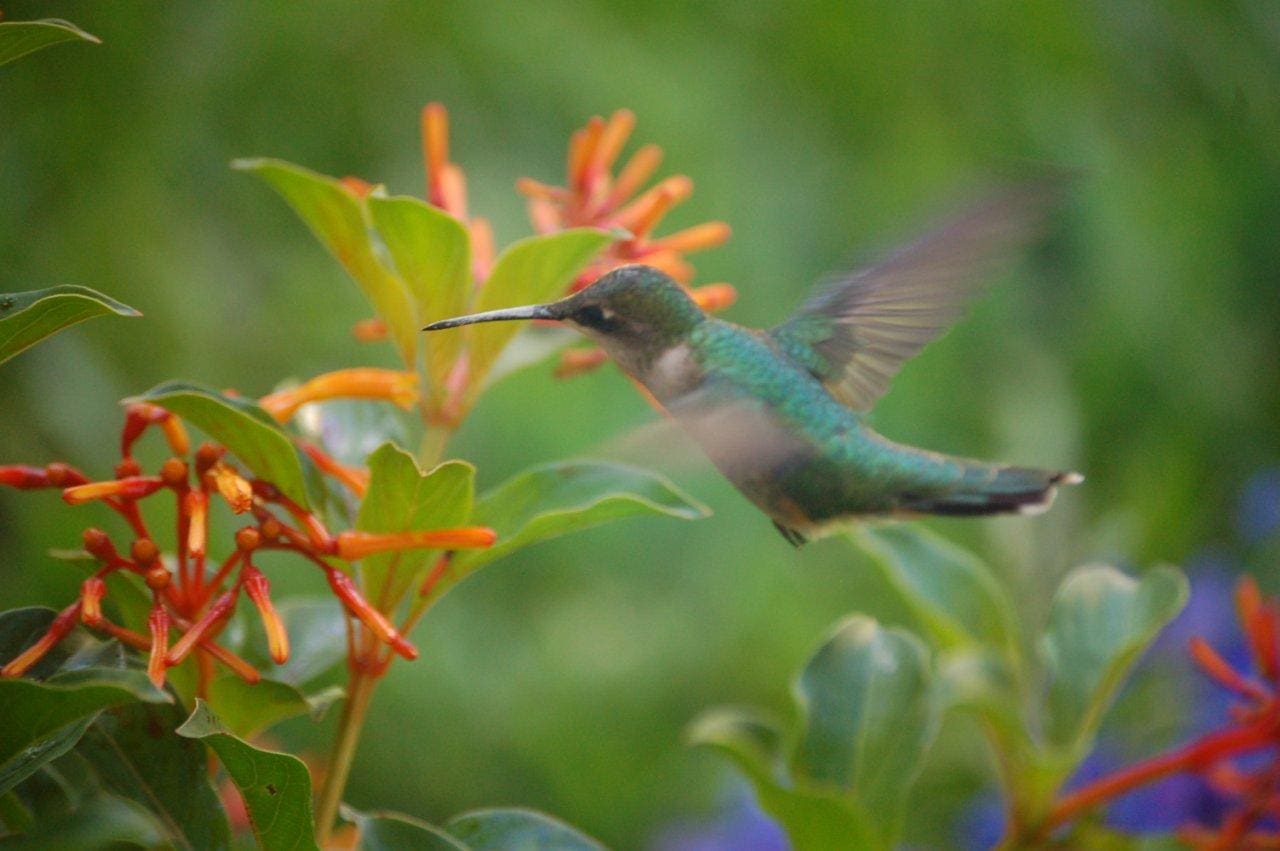
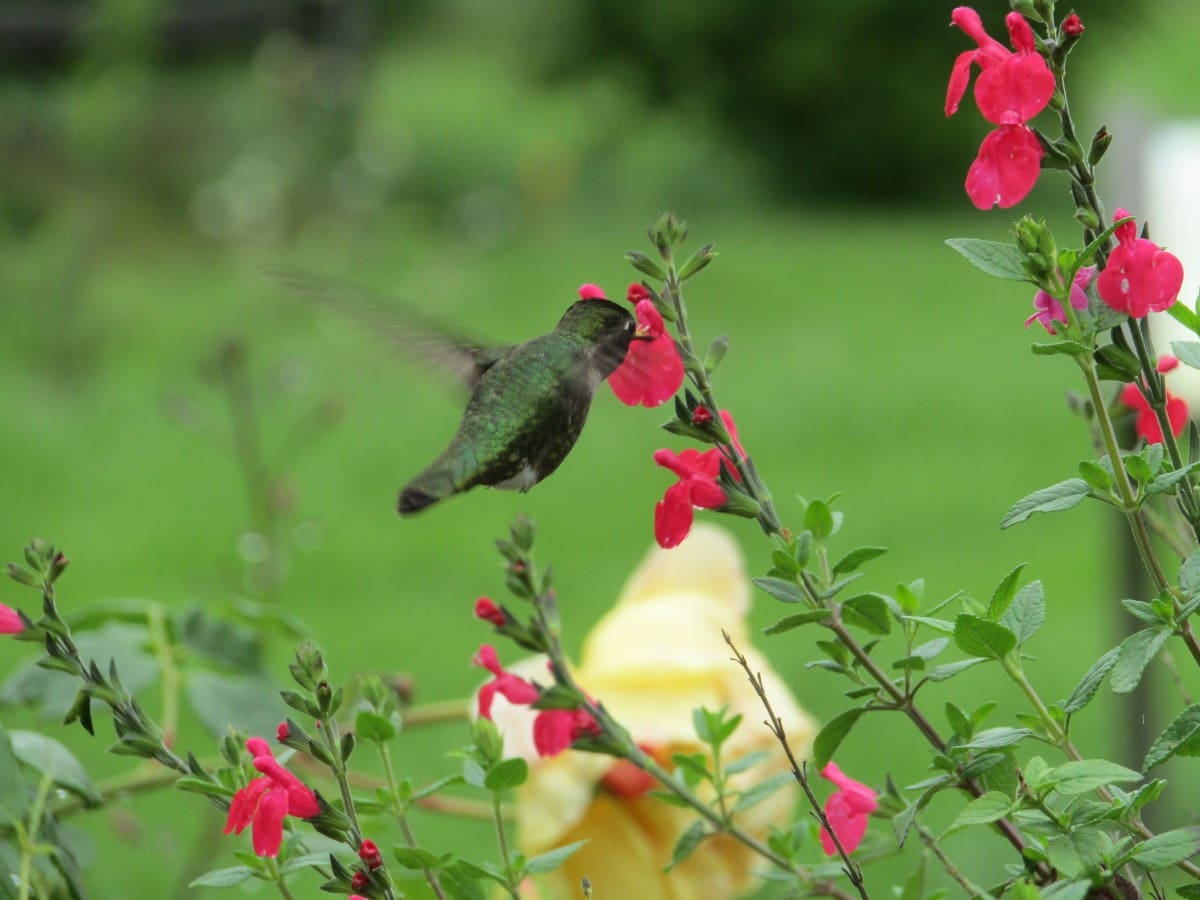
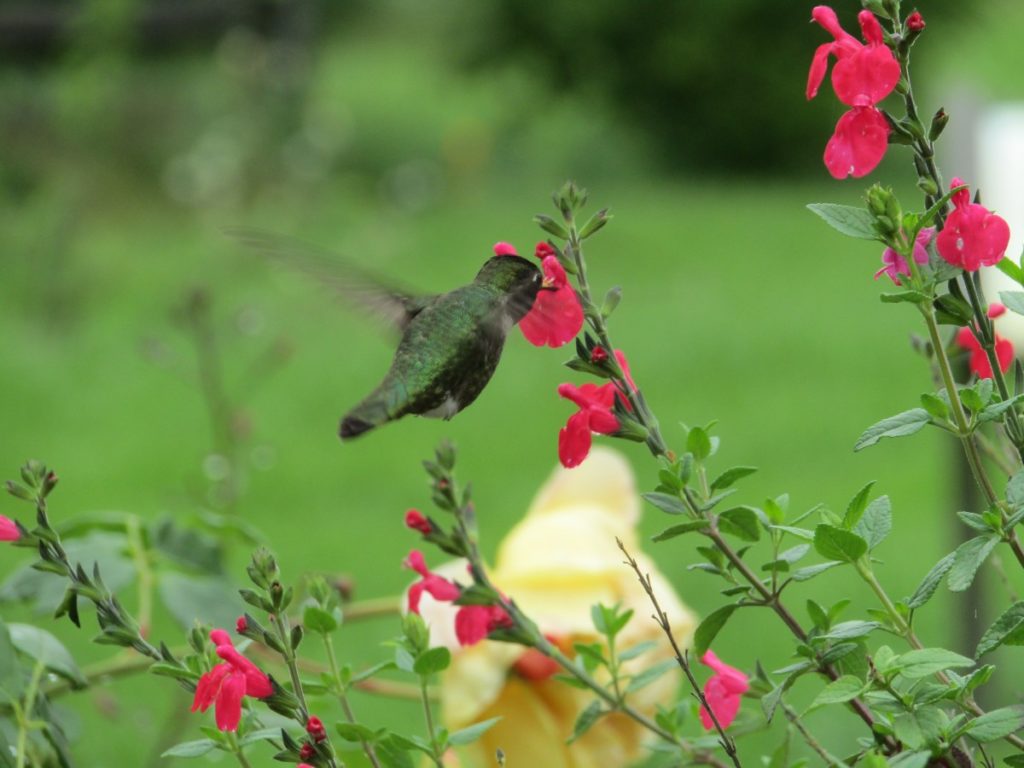
Don’t wait until fall arrives to start planting for fall pollinators – start cooking now so their meal will be ready when they arrive! Important fact: birds, bats, bees, butterflies, beetles, and small mammals that pollinate plants are responsible for bringing us one out of every three bites of food worldwide. Plants attract and provide food for them to keep the cycle going. For example – plant Zinnia and sunflower seeds now, and they’ll be ready to feed migrating birds this fall. Plant salvias now, get roots established, and they’ll be gorgeous this fall and covered in hummingbirds, butterflies, and bees. If you want to provide the best benefits for the most pollinators, plant Texas natives

3. Prep Your Garden Beds

August is the time to start prepping fall veggie beds! Finish your Summer harvesting, clean out your beds, and pull weeds. To get your soil ready, we recommend mixing Nature’s Blend Compost or Cotton Burr Compost into your soil to replenish nutrients and loosen the soil before planting. About 1 bag per 12 sq. ft. is good. Once prepped, add a thick layer of pine straw or hardwood mulch, which will help retain moisture, keep weeds from sprouting, and keep the soil cooler until you’re ready to plant. As you plan your space, think crop rotation – don’t plant the same veggies in the exact same place you planted them last season, or you encourage pests and diseases. 

4. Water to Maintain Depth Moisture!

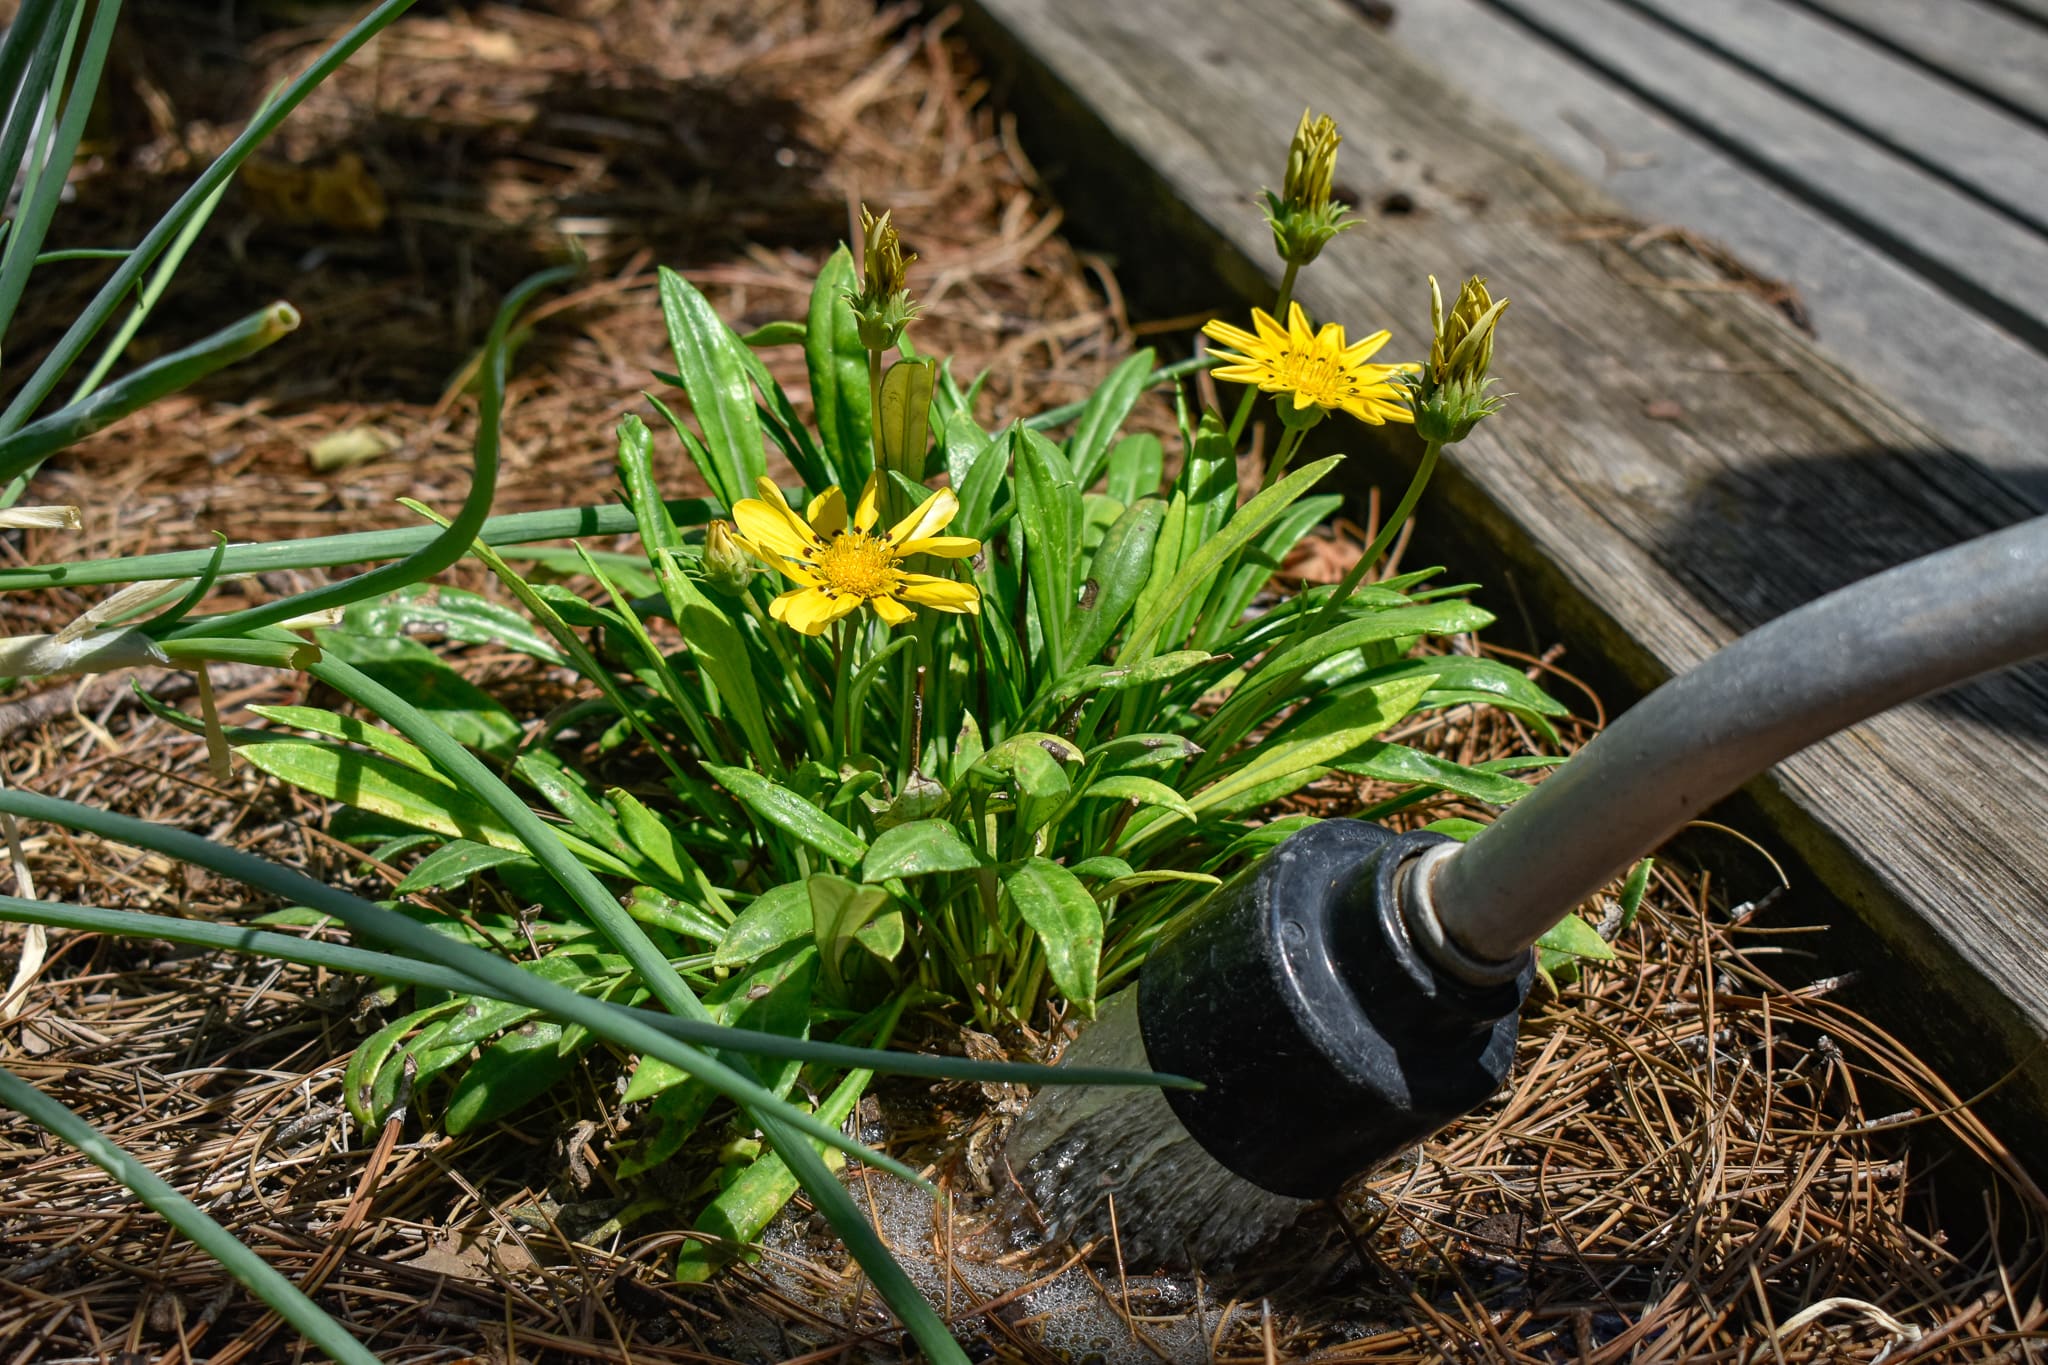
We’ve been lucky to have some well-timed rain showers this summer, which has created some depth moisture in the soil. Our goal with watering this month should be to maintain it. For lawns and established plants and trees, this means watering less frequently, but watering deeply when you water. New plantings will require water every day for the first couple weeks to get the roots established, but again, think deep drinks so the roots dive deeper. Use a water wand with a cut-off valve to make it easy on you and conserve water. Pro tip: Conserve water by watering at ground level, not spraying from above. This way, water soaks down to the roots rather than evaporating off the leaves. 

5. Mulch = Cool Roots, Dude!

Proper mulching using natural Hardwood or Pine Straw mulch has big benefits, especially during hot weather. A good 3” deep layer of mulch will keep your plants and the soil moist and cool for longer after you water or after it rains. Not just a little cooler – we’re talking more than 25 degrees cooler!! Cooler soil temps allow plant roots and beneficial microorganisms in the soil to flourish. When mulching, give the main trunks or stems of your plants a little space – mulch 3” deep throughout the bed, but no more than 1” deep right up against the main trunks/stems of plants.


Having backyard chickens in urban neighborhoods is becoming more of a trend with each changing of (gardening) seasons. While many may think that having some hens running amuck in their gardens sounds like a lot of work or perhaps that they may not have enough room to keep them happy, the truth is that having some feathered ladies in the garden may take a lot of work off of your hands – and only about five square feet of space per chicken is required to keep everyone happy territorially.

Screen Shot 2016-09-01 at 1.52.22 PM

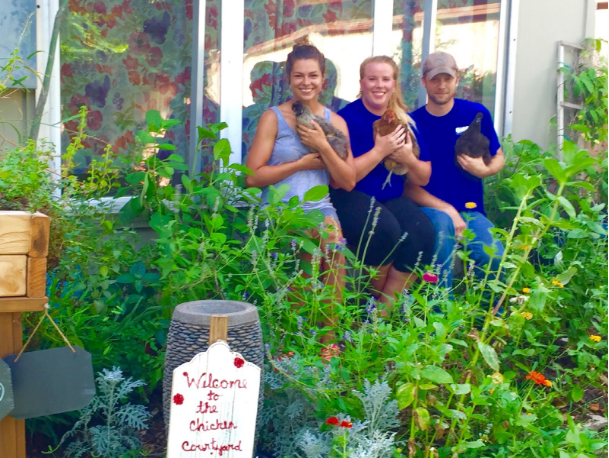
Gills’ employees from Left to Right: Kady, Emily, Josh, all have backyard chickens of their own

The three main benefits of keeping backyard chickens, in my opinion, are as follows:

  1. Natural Pest Control – Chickens absolutely love finding and eating bugs! When allowed to free range in your yard, you will find chickens scratching the ground to look for worms (and a lot of happy squawking if they find a chunky little grub worm!), and you will see your chickens sprinting around chasing mosquitos to grab out of the air. Not only is it eternally entertaining to watch the girls on bug-duty, it is extremely beneficial to your garden and to the peacefulness in your yard. I have watched chickens eat grasshoppers, worms, moths, fleas, snakes, ticks, aphids, scorpions, mosquitos, grubs, spiders, ants and termites. The girls will eat pests of any life-cycle including egg, larval stage and adults. This helps to keep the garden pest populations down which means less spraying that you have to do. The key is to allow your girls to have access to your gardens during the right times of the year. For example, you should not let your chickens in your garden if you have small seedlings growing as they may scratch them or sit on them accidentally. Keep your garden protected until the plants are established. And again, if you are growing fruit or vegetables, do not allow your chickens to reap the benefits of fresh food before you can! Do allow your chickens to roam through your freshly tilled garden as they will scout out the weed seeds to eat before they have a chance to sprout.
  2. Natural Fertilizer – Chicken fertilizer is very beneficial if used responsibly. It is naturally extremely high in Nitrogen which could cause it to burn your plants if you do not allow it to sit for an amount of time. The easiest way to apply chicken fertilizer is to keep it mixed with your chicken’s bedding such as straw, hay or shavings. These are compostable materials and can be added to your garden in the way you would add any other compost or amendment. You have to clean their coops anyway so you might as well put it to good use in your garden! Another great assistance is the egg shells from your chicken’s bounty being used in your garden can add calcium and enrich the soil. When you crack the eggs, wash out the egg shells and allow them to dry. Then simply break them up and add them to your already-dug planting holes in your garden.
  3. Urban Composting – I understand all of the benefits of having a compost bin but simply cannot keep one as A) I cannot stand the smell (and I don’t think my neighbors would appreciate it either and B) the bugs that are so attracted to the compost bin are a major turn off for me. I have always felt guilty throwing away table scraps and fruit/veggies that have gone off before having the chance to eat them. The chickens are living compost bins willing and able to take all of this guilt off of your hands! They are omnivorous so they can eat meat (although I do not condone feeding them chicken for obvious reasons) and they will eat just about anything else that you have had for dinner – with the exceptions of a few foods being unhealthy and poisonous for them to eat such as: candy, chocolate, sugar, raw potato peels, avocado skins and pits, raw or undercooked beans, salt and citrus along with a few various other items. Of course it is always a good idea to do a quick google search before feeding an animal anything that you are unsure of what the effect will be.

Screen Shot 2016-09-01 at 1.52.47 PM

Enjoying the girls in the lower gardens at Emily’s house.


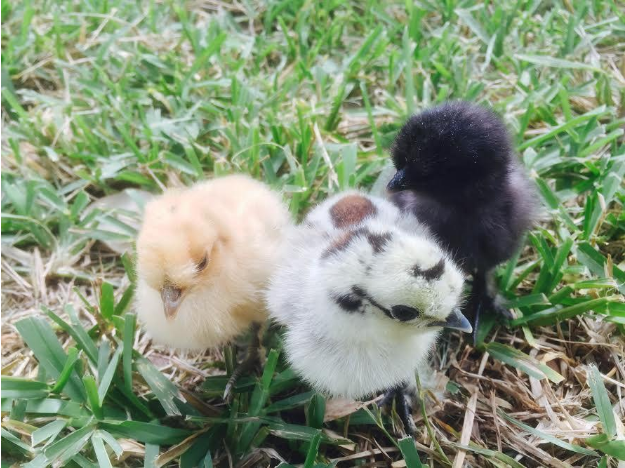
Raising your backyard chickens from day old chicks, in my opinion, is the most rewarding way to keep chickens. This gives you a chance to handle them from the time they are very young which makes them used to you, giving you a pet-like relationship with your backyard flock.

Screen Shot 2016-09-01 at 1.52.57 PM

5 day old Silkie chicks

When you bring your new chicks home, you must keep them very warm at 95* F for the first week of their life and drop 5* F each week until they are maintained at regular daytime temperatures. The best way to do this is to keep a bulb and a thermometer in their coop. Of course it is important to practice proper safety methods with this such as not allowing the bulb to touch any surface in the coop and turning it off frequently to let it cool down.

Your new chicks will require a special type of feed called chick starter. You can purchase this medicated or unmedicated. The choice is yours, however, if you choose unmedicated you must diligently pay attention to the cleanliness of your coop and the distinct signs of health of your new chicks. Any unusual activity from one of your girls should be investigated immediately. Any symptoms can be found through a beginner chicken guide book or an online google search. www.backyardchickens.com is an excellent source of information and a great place to post questions/pictures of what’s going on in your flock. A trick that I have found helpful is to add a capful of organic apple cider vinegar to each gallon of water that your chicks drink. This helps to keep them drinking regularly as they like the taste and it also helps to keep them flushed out. Hens begin laying eggs between five and six months old. After three years of age, their laying rate begins to drop to one less egg per week.  

The safety of your chickens should be your biggest concern when keeping backyard chickens. You must have a fenced-in yard if you want your chickens to free range, and even then they can take flight high enough to get over your fence. Fortunately, your chickens will not try to leave unless they are missing something that they need in your yard. If you have plenty of food and water, this should not happen. Next, you want to be sure that no outside predators can get into your yard, or your coop. In Corpus Christi, other than maintaining a safe coop, the concerns of predators are typically raccoons, opossums, coyotes, wild dogs, hawks and migratory birds. Be sure that your chickens have plenty of options to run to safety in a covered, hard to reach area to hide from predators that might have set their sights on your birds. The last safety concern is one that you may not immediately think of: your pet dogs and cats. If your pets go outside to roam around in your yard, you must remember that their first instinct is to hunt. You absolutely cannot leave your chickens out unprotected in your yard with your dogs. You must have an area to keep them safe and separated.

Some chicken fun facts:

  1. Chickens do not have teeth. They have a gizzard that has tiny stones which grinds up the food that they swallow whole.
  2. Chickens lay between 100 and 300 eggs per year, at a rate of one per day. The eggs are only fertilized if there is a rooster around.
  3. Chickens begin communicating before they are born. The Momma Hen makes a purring sound to her unhatched eggs and the chicks can begin peeping back to her while they are still inside the eggs.
  4. Chickens know who you are – they can learn up to 100 different faces.
  5. Chickens have prehistoric roots. They are believed to be the closest living ancestor of the Tyrannosaurus rex.

Screen Shot 2016-09-01 at 1.53.14 PM

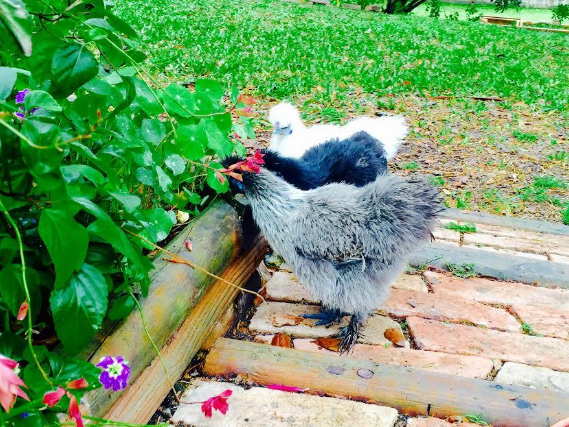
Three Silkies enjoying the nasturtiums.

Emily-Emily Capule

Prepare Your Spring Gardens! 
Now’s the time to prepare the soil with fresh compost and plan your garden layout. Sow seeds of root crops, ex. beets, carrots, radish and turnips. Don’t forget your leafy vegetables such as chard, collards, kale, lettuce, mustard and spinach. Transplants of broccoli, cabbage and cauliflower can also be planted now. If you are limited on space, you may want to take this time to let the garden rest. In just a few weeks it will be time to think about tomatoes, beans, corn, cucumbers, squash and more of the warm season veggies. We will begin bringing in tomatoes the middle of the month, but suggest you transplant them into 1 gal pots so you can take them in on the cold nights. If you prefer to wait till after fear of frost, we  will have 1 gallon plants already established for you to plant at a later date. The longer you wait, the bigger you need to buy.
Stop Weeds Now 
Now is the time to prevent spring weeds. Apply Amaze Granules to the lawn and flowerbeds to stop weeds from sprouting. By preventing weeds now, you will have less or no weeds to spray later. This is especially important with Floratam St. Augustine since you are limited on what you can spray for weeds without harming the lawn.
Planning For Spring Flowers 
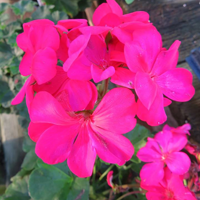
Everyone admires the beautiful flowerbeds of geraniums in spring and the sooner you plant them the longer you will get to enjoy them. Geraniums are troopers in the winter and take cold temps just fine. They need ample sun and good drainage. Buy them in our super 6-packs to save both time and money. We have great colors in stock now!
Instantaneous!
Flowers are the best way to bring a little sunshine into the gloomy days of winter. Blooming containers of Stocks bring sweet perfume and pretty spires of flowers
reminiscent of grandmothers and country living. They make great cut flowers too.  They love the cold and last well into spring!

Let Your Plants Rest…

Resist the temptation your next sunny Saturday…to trim. Our plants are in a dormant state of growth right now due to cold temperatures. If you trim them, it sends a message to the plant that it’s time to grow which will damage the plant with the next cold snap. So…just enjoy the winter season and rest, with your plants.

Time To Get Tomatoes In The Ground!

Hopefully we have seen our last big cold snap of the season. And I did say “BIG” cold snap. Tomatoes need full sun for their entire growing season. Once frost is done, put them in a bed enriched with compost. A couple tablespoons of Rocket Fuelunder the roots will help your plants get off to a rapid start. Feed them with Espoma Plant Tone monthly through the growing season or Johns Recipe containing Fish emulsion, molasses and seaweed at least every two weeks. I like to put my tomatoes in a cage as soon as they are in the ground and wrap that cage with row cover fabric, top to bottom. Ours is called Grow Web (12ft x 16ft). Cut the fabric to size and cloths pin the sides together. The fabric will protect the plants from cold nights and more important harsh spring winds that can dry them out in no time. It doesn’t block water or sunshine. Remove the cloth when the plant reaches the top of the cage. If it starts blooming before then, remove the cover from the top of the cage and shake the cage gently whenever you walk by. That will encourage pollination from the top of the plant down to the bottom. Row cover can also be used to protect Peppers, Squash, Beans and all the tender spring vegetables in the garden. –DeAnna
 

Want to try something new?

How about a tiny building with a flowering roof nestled into your flowerbed, or veggie garden?  It could be a mini schoolhouse, a doghouse, or an outhouse!  This one is made from recycled

 silvery cedar fence boards and holds easy care succulents growing from its roof.  Place your planter on a concrete paver or brick to keep it off the ground.  You could try Petunias, Marigolds, Periwinkles, or Herbs and start a colorful village!

Merlien


Artemesia

James just planted “Powis Castle” Artemesia in our front bed on the corner of Catalina and Santa Fe. I love this perennial for its silver grey foliage and the beautiful backdrop it gives for annuals. Artemesia grows to about 3′ tall and 3′ wide; when it gets leggy, just cut it back and enjoy the quick flush of pretty foliage. James planted Rose Wave Petunias in the bed as well and this week he’s adding Techno Heat Dark Blue Lobelia; can’t wait

 for all the color!! I’ll share more photos as the plants grow!

 –Sally 
New Tree Do’s and Don’ts!
  • Do plant the tree at the right depth, with the top of the root ball as high or slightly higher than surrounding soil.
  • Do eliminate competition from lawn by clearing the grass out a minimum of 18″ (more is better) from the trunk and keeping the cleared area mulched.
  • Don’t “volcano mulch” the trunk of your new tree, 2″ of mulch over the roots and 1″ or less touching the trunk.
  • Don’t let a string trimmer get close enough to strip off the bark of your new tree.
  • Don’t use “weed-and-feed” fertilizer near your new tree.
  • Don’t excessively prune all lower growth off your new tree thinking it will make your tree grow up faster; it will actually slow growth of roots, trunk diameter, and height.
  • Do check watering frequently through the first summer and water as
     needed.
Spring Insect Explosion

With the warm wet days of spring, the insect population explodes. Mother Nature multiplies at an amazing rate. Aphids, scale, thrips, and caterpillars of every size and shape have appeared. Do not hesitate to prevent these insects now.

We talked a couple of weeks ago about using the Bayer Tree and Shrub Protect and Feed as a drench to prevent the big spring bug invasion. Well, it is upon us, but still not too late to treat. We have plenty in stock, so come see us soon.

We are also hearing a lot about snails, slugs, pill bugs and cutworms out in enormous numbers. As soon as we plant our pretty spring flowers these bugs look at it as their own breakfast buffet. A safe and effective organic treatment is Monterey Sluggo Plus. Safe to use around vegetables, fruit trees, citrus, berries, flowers, ornamentals and all landscape plants. 1 lb. treats 2000 sq. ft. and lasts up to 4 weeks. Evening is the best time to apply the bait as pest travel and feed mostly by night or early morning. 


Life has Never Been So Easy!

“A month ago, I installed a “Livin’ Easy” Rose in one of my front beds. It started out at about 18″ tall. Now, its 4 feet tall and full of bright orange 4 inch blooms which smell wonderful! The “Livin’ Easy” Rose is very “gardener friendly”, even for beginners. I look forward to many years of this wonderful Floribunda’s show. For roses and for other flowering plants, I recommend Maestro Rose Glo as a great source of nutrition to keep ’em blooming and looking their best!”

-Matt