We’ve had lots of lawn questions so far this spring, particularly about weeds. The short answer is…yes you can treat the lawn for weeds right now, but if you do, you need to wait to fertilize. This is one reason why we advise strongly against using any “weed and feed” combo products. Why would you want to fertilize the weeds you’re trying to get rid of?! Just remember: weed THEN feed. Click below to watch a quick PSA from DeAnna about how to take care of weeds first, then apply our favorite lawn food.
Yay for May! Everything’s growing and blooming and we hope you are too! May is Mental Health Awareness Month, which is a good time to think about the peace of mind that gardening brings us. Gardeners know that all the research is true – gardening is good for you! Here are our Top 6 Must Do’s this May to keep you and your garden feelin’ good.
1. Join Us for Garden Talks and Events!
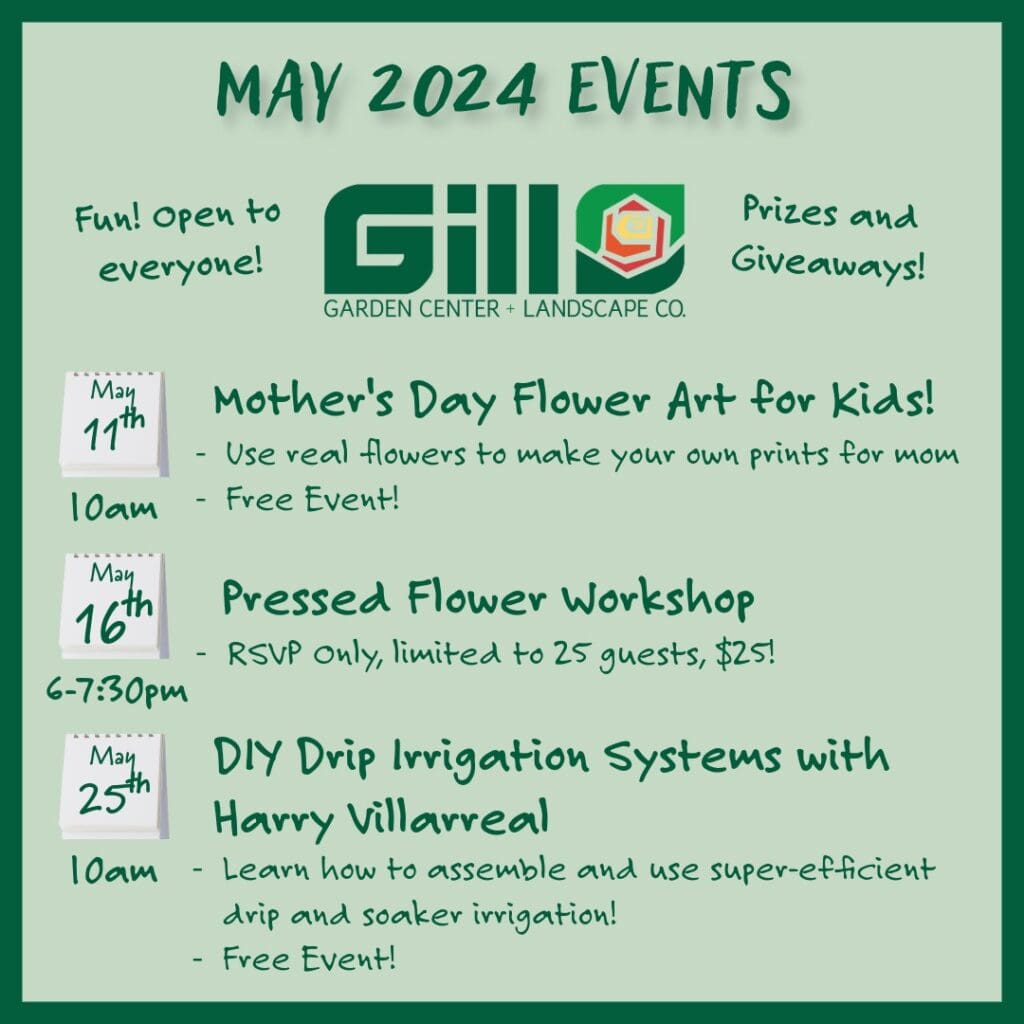
We’ve got a fun May planned here at Gill’s, and we’re kicking it off Saturday, May 11th with our Mother’s Day Flower Art for Kids workshop! Then we’re hosting an RSVP-only pressed flower workshop the evening of May 16th, and an informative talk on setting up your own drip irrigation system on May 25th. Sure to be lots of fun and lots to learn and discuss! Click here for more info!
2. Plant Blooming Perennials and Trees
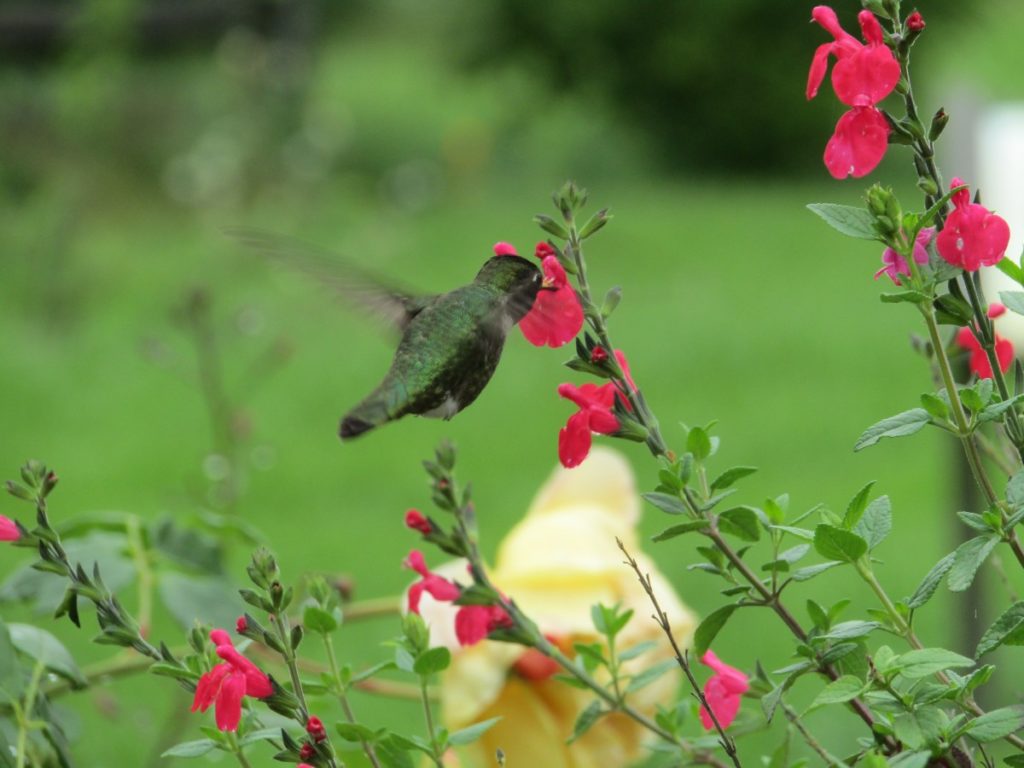
It’s still time to plant lots of different blooming perennials and blooming trees. Get them established in May so they are better adapted to withstand warmer temps this Summer. Staples like Esperanza, many varieties of Salvia, Lantana, and tons more are all blooming beautifully right now. And blooming trees like Vitex, Retama, and Wild Olive are looking great right now too. Added bonus: these blooming perennials and trees attract lots of butterflies and hummingbirds!
3. Plant and Harvest Veggies
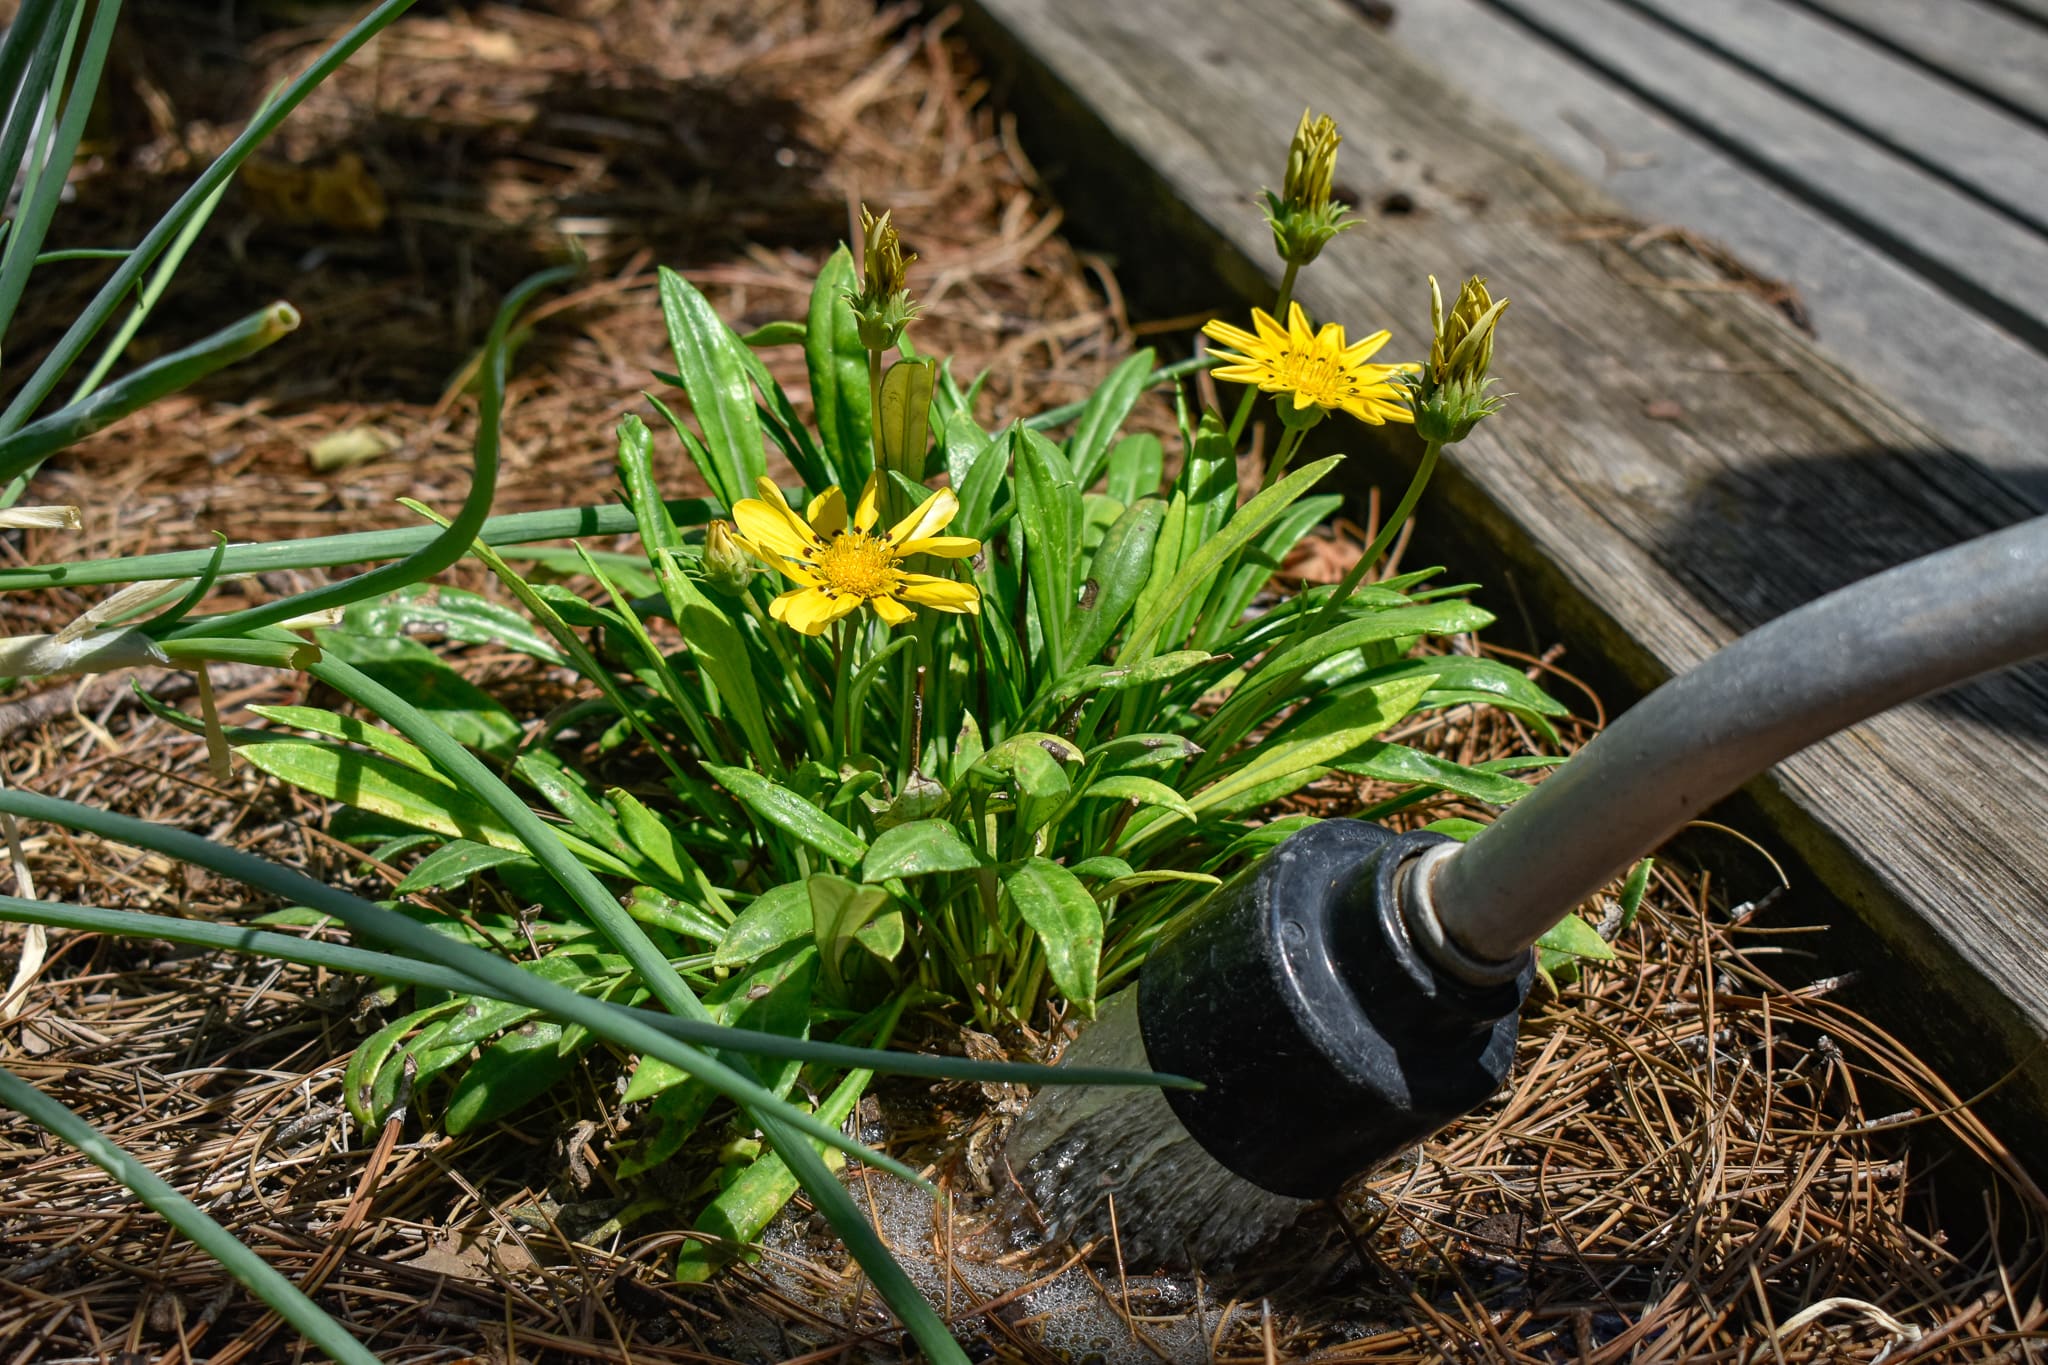
Warm weather veggie time! Plant peppers, zucchini, squash, and okra this month for continued harvesting into the Summer months. If you planted tomatoes, cucumbers, and other early Spring veggies, you’ll be harvesting now or very soon. Be sure to harvest often! It keeps birds & insects from finding them first. If you do have insect issues in your veggie garden, our go-to organic control is Spinosad – safe for food but takes care of bugs. Recent rain showers have been great for veggie gardens. Remember to keep watering as the weather warms up to maintain depth moisture. Soaker hoses are great to snake around your plants keeping water close to the ground and root systems.
4. Transition Your Lawn to Summer
Water deeply once every 2 weeks unless we get rain (per current watering rules). Watering once every 2 weeks with your irrigation system or sprinklers IS sufficient to keep lawns healthy through the summer. If necessary, you can supplement with hand watering. The key is to focus on depth moisture and root health – not necessarily a perfect green appearance all summer long.
When mowing, the proper height for St. Augustine lawns is around 3 inches. For Bermuda lawns, keep mowed to around 2-2.5 inches. Buzzing lawns shorter than that will cause lawn stress, and stressed lawns are more susceptible to pests, weeds, and disease.
Feed with Natural Fertilizers: Medina Growin Green or Milorganite. These feed the lawn and the soil with great results. Water in to get them started. Plus you can use them elsewhere in your landscape for plants and trees.
Watch for lawn insects & treat when needed. Grub worms & chinch bugs are easy to control when caught early but there’s no need to treat unless you have them. Bayer Season-long Grub Control will do the trick for grubs. Cyonara takes care of chinch bugs. Reminder, you can bring us a grass sample any time you suspect a lawn disease or pest. We’ll diagnose (using our microscope if needed) and get you what you need to knock it out.
Consider reducing your lawn space! Does all this lawn stuff sound like a lot of work? It can be! Many of us are reconsidering whether we really even want all that green lawn space. Why not start converting small portions of lawn to planting beds filled with blooming perennials that benefit the environment and use far less water? One way to start would simply be to deepen existing landscape beds to reduce some lawn.
5. Set Your Mosquito Traps!
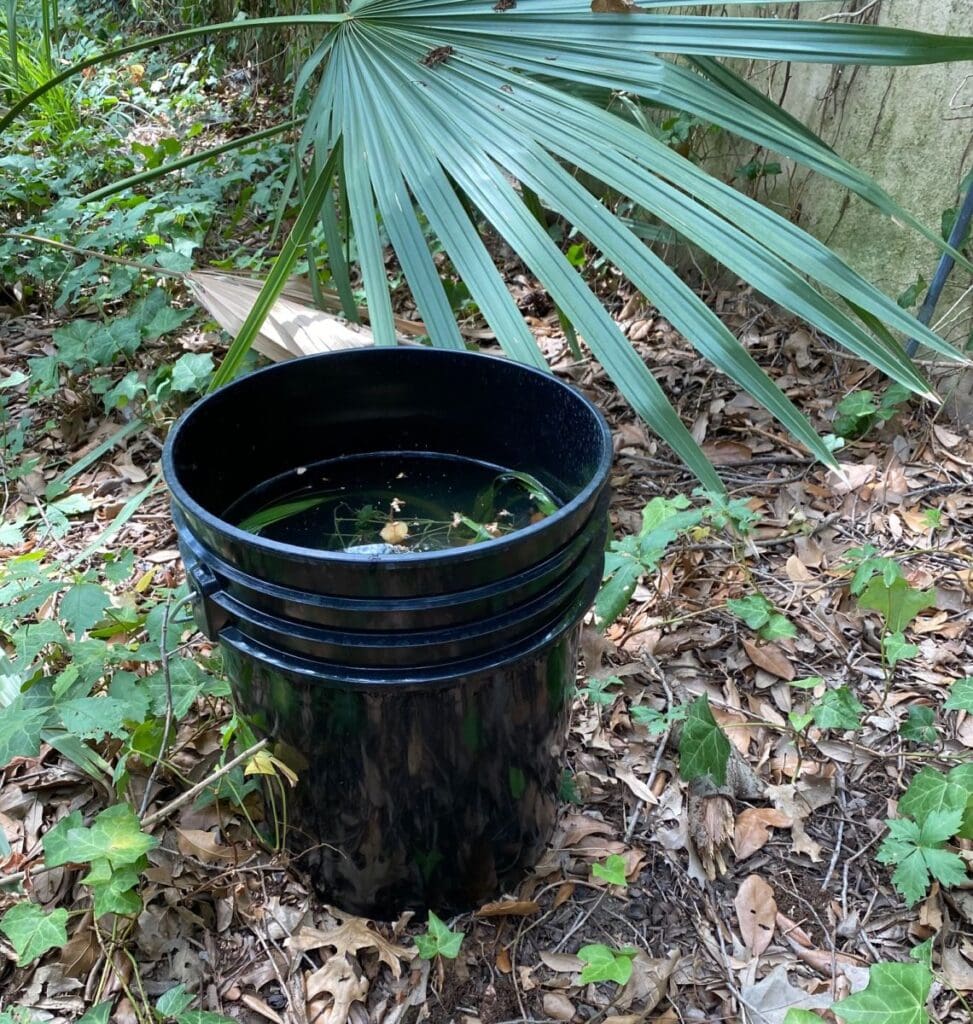
We are big fans of the simple bucket mosquito trap. Just fill a bucket 3/4 with water, add a good handful of lawn or plant clippings, and toss in a Mosquito Dunk or Mosquito Bits. These dissolve in the water and release bacteria that target mosquito larvae and kill them before they hatch. And they’re organic and not harmful to birds, bees, pets or humans! Set a few of these traps, sprinkle some organic Mosquito Beater granules around walkways and patios, spray organic Cedar Repel on your lawn, and use Skeeter Screen incense sticks near where you’re working or hanging out outside. Remember that using chemical mosquito foggers kills all the good bugs too, some of which also help control mosquitos and other bad bugs.
6. Gifts for Moms and Grads
Let us help you find something pretty, useful, or both for the gardening moms and grads in your life. Pottery, birdbaths, wind chimes, garden tools, hats, gloves, garden decor, gift cards – lots of options. Check out the Bee Puddles handmade by ceramicist and Gill’s own Wyatt Page! Help bees stop for a drink. Or find the gift that gardeners love most – plants 🙂
Here’s to summer garden fun! We’re making the transition to warmer weather with some intermittent rainfall and lots of good energy in the garden. Here are our top priorities this month, including what to plant, how to adjust watering, what to watch out for, and how to keep plant roots insulated and happy.
Check out our June Garden Guide for more tips and remember that trees, shrubs, and perennials can be planted 12 months out of the year! The only difference is the amount of water they need depending on temperatures and wind!
1. Plant Summer-Tough Stuff!
So many of our favorite plants for South Texas don’t just tolerate warm weather, they only begin to thrive and look their best in the summer. Think of blooming perennials like Firebush, Esperanza, and Pride of Barbados for awesome summer impact. Think of big purslane hanging baskets, Gomphrena, and Periwinkles for bursts of bright color. And browse our Texas native plant section for plants and trees that have thrived through hundreds and even thousands of Texas summers. If you’re still wanting to plant food, you can do that too – okra, basil, thyme, watermelon, peppers, black-eyed peas and more can be planted in June.
2. Water Low & Slow
We’re not talking about BBQ, although that sounds good too… We’re talking about watering low, as in as in low to the ground to avoid evaporation, and slow as in not with your hose open full-blast to decrease runoff and get more water down to the roots. Consider setting up your own automatic drip irrigation system – they’re easy to DIY and they operate on the low & slow principle. For spray irrigation sprinkler systems, be sure to follow current watering rules.
Pro tip: Use a moisture meter in your landscape beds and pots! We carry them for around $10 and can show you how easy they are to use. They’ve saved many plants!
3. Watch for Summer Bugs and Disease
Yes, bad bugs will be around more during the Summer, but don’t treat unless there’s significant damage. We can help identify the pest and if/how to treat. You don’t want to kill too many good bugs while trying to take care of the bad bugs! If you see brown areas in the lawn that are easily pulled up, it’s usually a sign of grubs eating the roots of your grass. You can control grubs with Bonide Insect and Grub Control. Chinch bugs love hot dry areas in lawns. They make the lawn look dried out along sidewalks and pavement. Spot-treat those areas with Cyonara in easy ready-to-spray bottles. For organic control, use Spinosad or Diatomaceous Earth. Remember that healthy lawns are less susceptible to damage from bugs, heat stress, and common lawn disease like Take All Root Rot. Water lawns deeply and fertilize every 3 months. If you fertilized in April, wait to feed again in July.
4. Hang Out with Your Houseplants
We just restocked the greenhouse with all kinds of unique and classic houseplants looking for their forever homes! Time to work on your collection! We can help you determine the best houseplants for different areas and different lighting in your home. Once again – invest in a moisture meter for your houseplants, too. In our experience, the main cause of houseplant death is too much love aka too much water. Keep in mind that houseplants can also be sensitive to tap water. We use as much A/C condensate, rainwater, and water from our dehumidifier as we can to water houseplants and keep them looking their best here at Gill’s.
5. Keep Roots Cool with Mulch
A good mulch layer (2-3″ deep) has so many benefits. It looks amazing, keeps weeds down, helps retain moisture, adds organic matter to the soil, AND keeps plant roots nice and cool in the summer. Bartlett Tree Research Laboratories shared amazing results with us from a mulch study they conducted in San Antonio. Soil temperatures were measured at 6″ deep (where plant roots live) on a 105 F summer day. Bare soil, 6″ down was 102 F. Soil under grass was 92 F. Soil beneath a 3″ layer of mulch was only 76 F!! Mulch for the win!
How is it almost JULY already?! We hope you’re having lots of fun this Summer – holidays, BBQs, weekend trips, and garden projects! Here are our top must-do’s to keep your plants healthy and happy this month, including tips for water conservation and speaking to local officials about your water.
1. Speak Up About Your Water
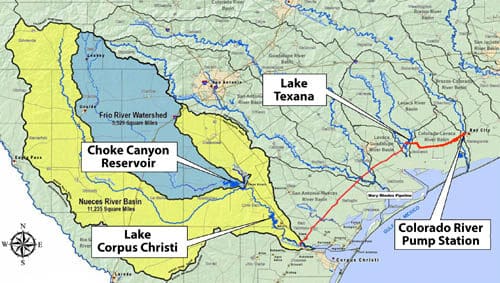
As you may have heard, the City of Corpus Christi anticipates moving to Stage 3 watering restrictions in August unless we get more rain in the watershed. We have asked the Mayor, City Manager, City Council members, and the City Water Department to postpone this decision until after hurricane season at the least. One tropical rain system that moves north and sits over the watershed could fill up Lake Corpus Christi and Choke Canyon to 50% or beyond – this is what’s happened in the past.
We have also asked the City to revise the Drought Contingency Plan to include water from Lake Texana, our 3rd source of water. This water, which we are already paying for, is not included in the calculation which triggers the different stages of watering restrictions.
We have also expressed our concern that the Stage 3 ban on outdoor watering for residential water users is excessive. Since we know that residences account for less than half of city water use, and we know that only some of those users water their landscapes, Stage 3 restrictions on watering plants would impact only a small portion of overall water use.
We encourage you to speak up about your water, too! There are 3 City Council meetings in July: 7/16, 7/23, and 7/30. The meetings are held at City Hall at 1201 Leopard St. at 11:30 a.m. You can sign up to speak at the meeting or submit your comments in writing – here’s how. You can also follow these links to contact City leaders directly: Mayor, Water Department, City Manager, and City Council.
2. Watering: Think Depth, Not Frequency
Proper hydration happens when you get water down to the roots of the plant. This means watering deeply, not more frequently. Run irrigation systems or sprinklers every other week before 10am or after 6pm per current city watering rules – if there were no restrictions, we’d recommend once a week, but once every other week will keep lawns, most plants, and trees alive through the summer. The key is long, slow, deep drinks! Encourage those roots to dive deeper for water. Even when we get a summer rain, continue to watch your watering and maintain that depth moisture.
3. Mulch to Keep Cool
Studies show that a good 3″ layer of mulch will keep your plant roots more than 20 degrees cooler in summer! Not only that, a good mulch layer also helps retain moisture AND keeps weeds at bay. Healthy plants, less watering, and fewer weeds – that’s a win/win/win! It’s important to use natural wood or pine straw mulch that breaks down over time. As it breaks down, it adds nutrients and makes your soil more workable.
4. Watch for More Bugs in Summer
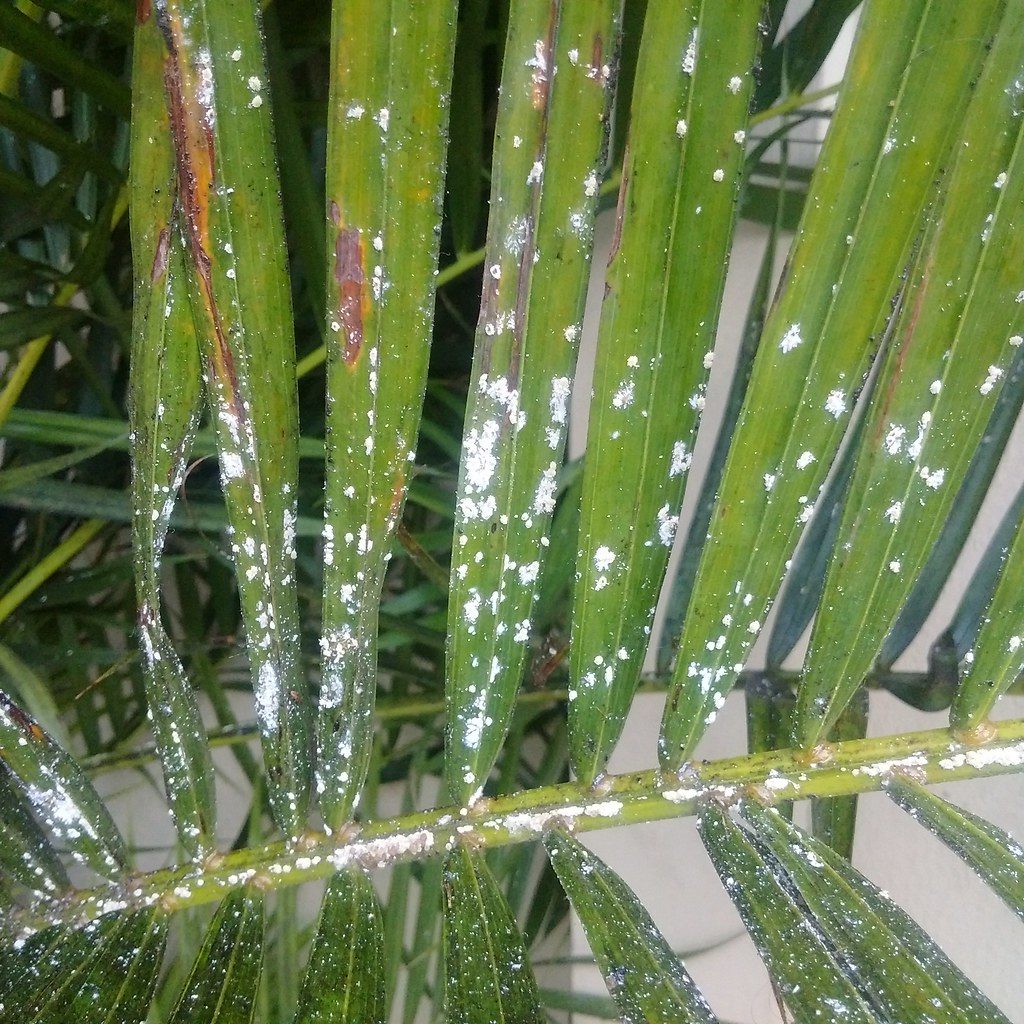
This is what a mealybug infestation looks like!
Not all bugs are bad, so it’s important to know your bugs before you spray anything, even organics. A few bugs here and there is most likely not cause for alarm. If you do get an infestation, cut the plant back first, give it some fertilizer, then treat for bugs. By pruning first, you won’t have to treat every leaf on the whole plant. We see plants come back better than ever using this method. If you’re not sure about bugs or pruning, we’re here to help.
5. Train Your Plant Sitter
Be sure to have a trusted plant-sitter come water your plants while you’re away on summer excursions! It’s a good idea to spend a little time showing them how you water. Make them a list, draw them a map, and walk them through it. You know your plants and which ones get tired and thirsty the fastest.
6. Collect Cool New Houseplants
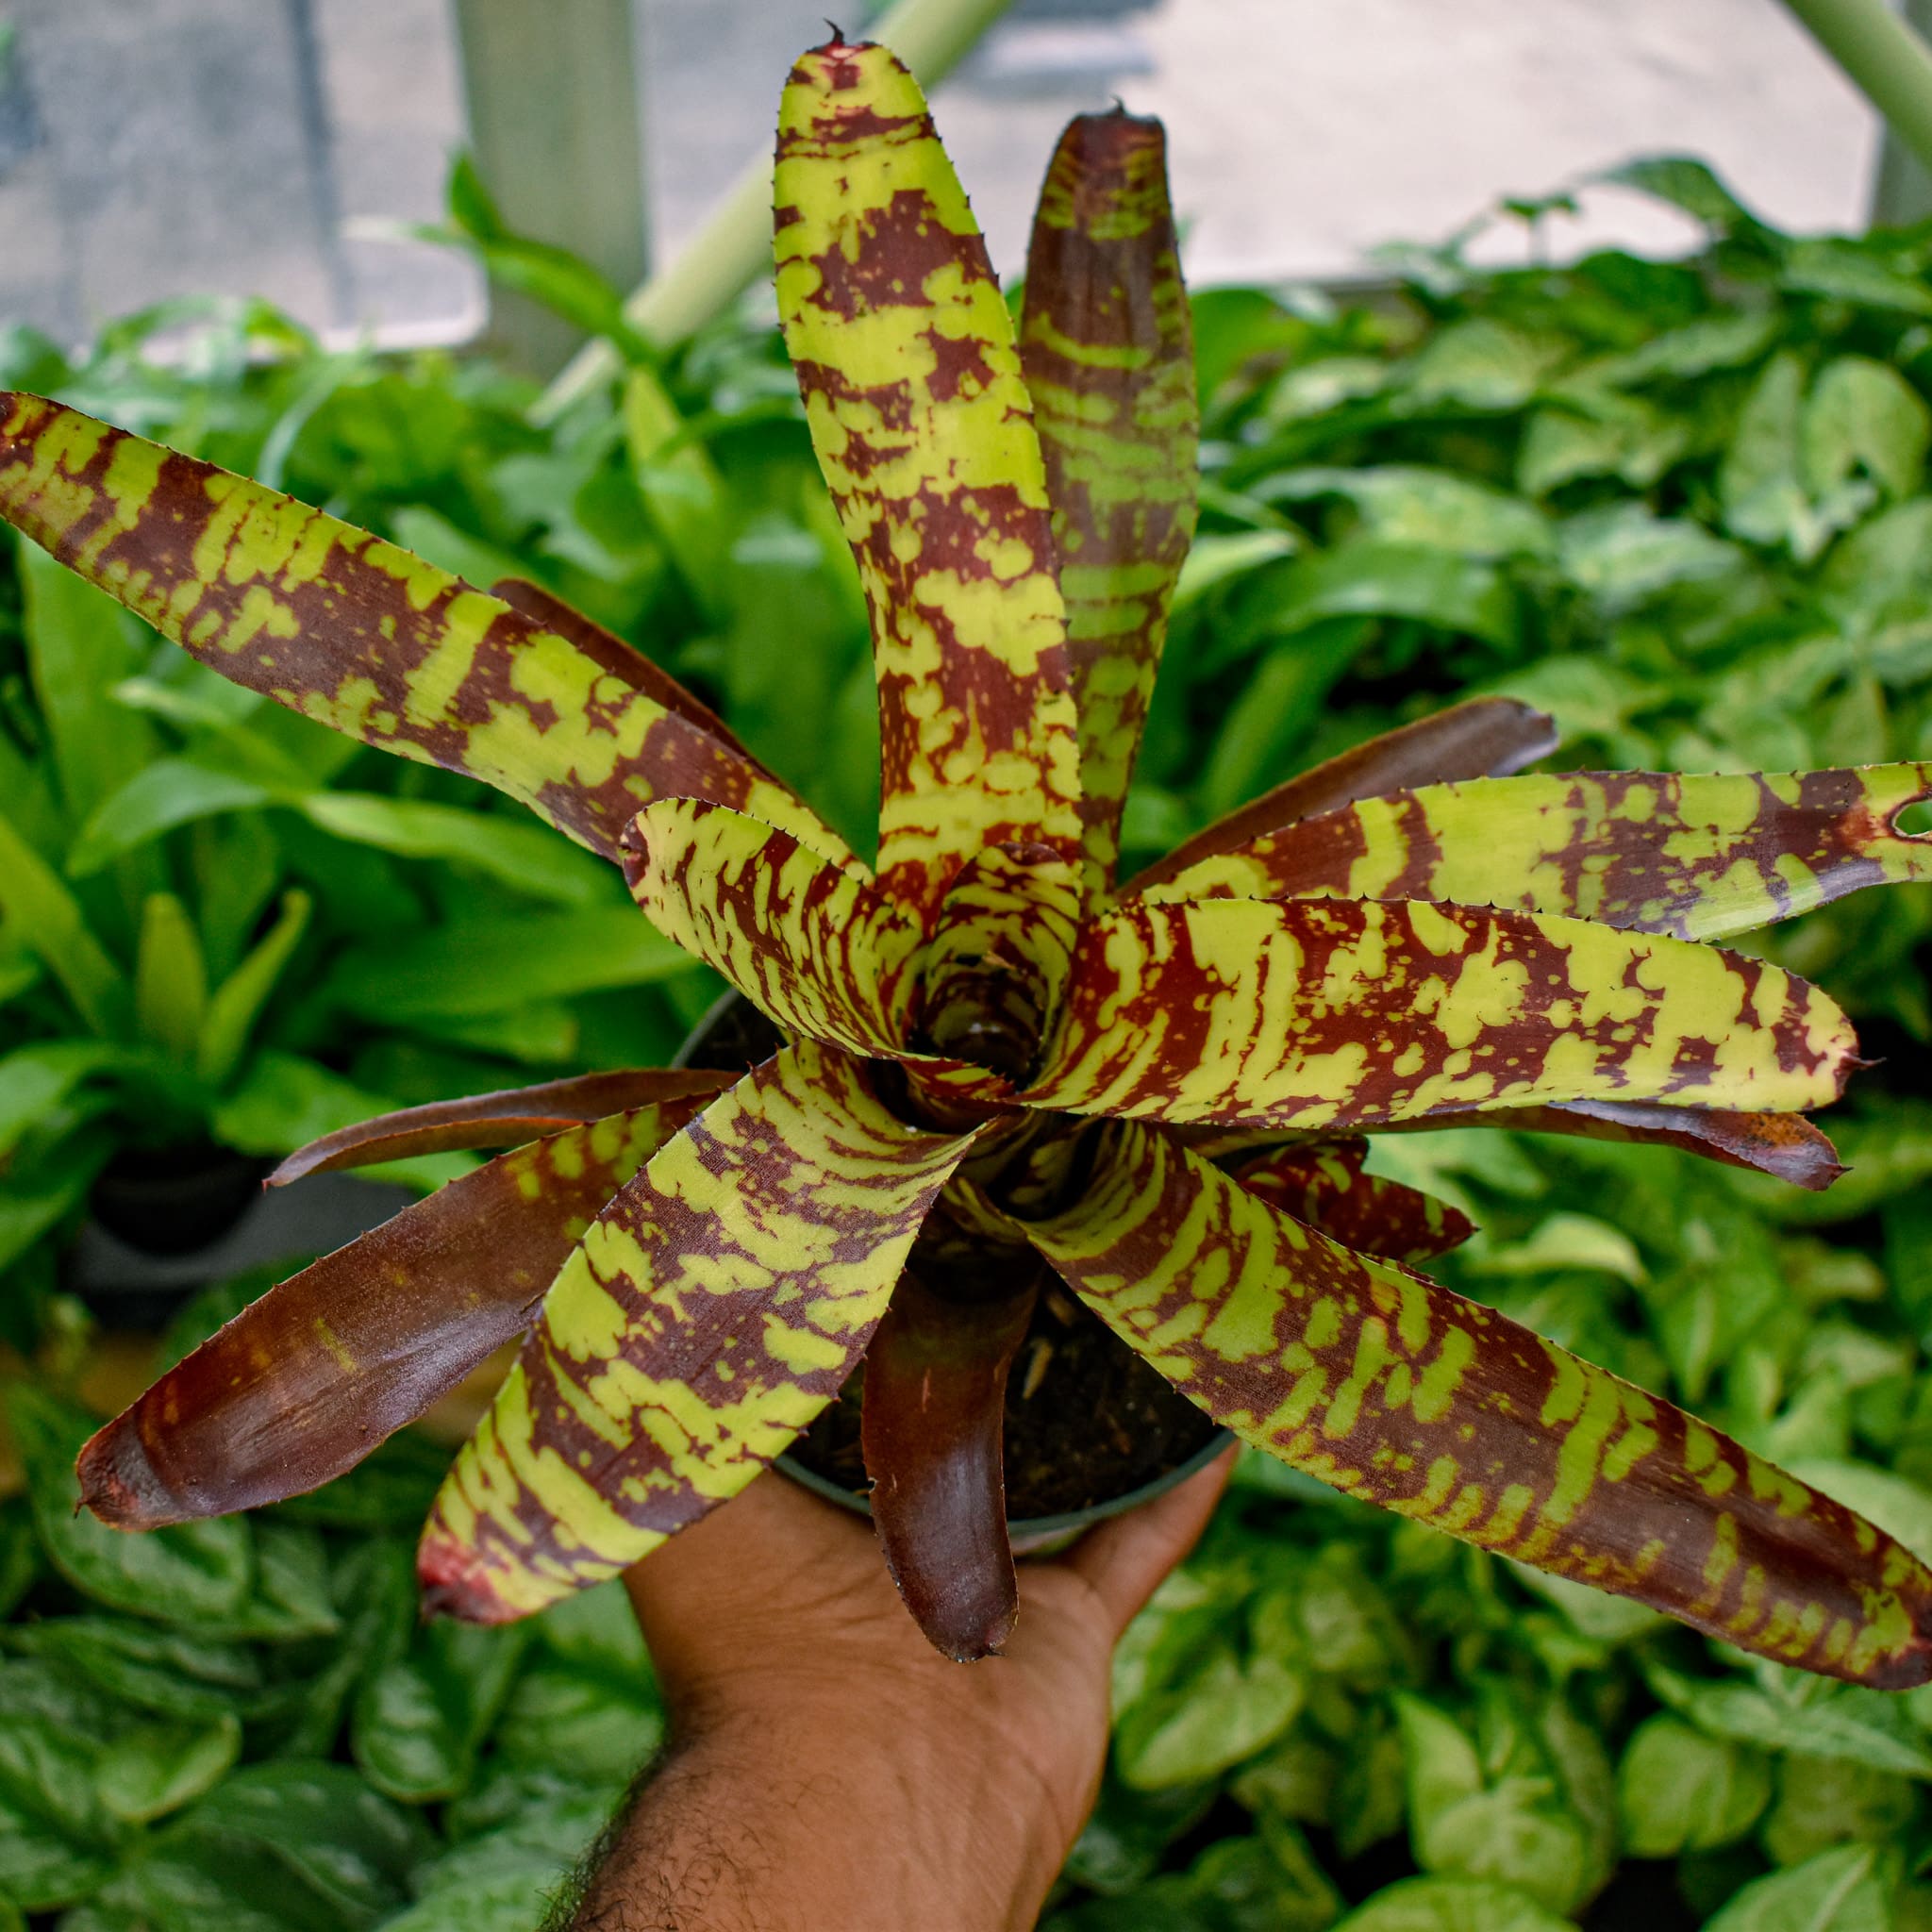
Now’s a great time of year to work on your houseplant jungle. The greenhouse is restocked with all kinds of interesting houseplant choices, including lots of new Bromeliad varieties! Keep in mind that constant A/C indoors will dry out plants. Keep an eye on watering (use a moisture meter) and don’t place houseplants near an A/C vent. You might also try experimenting with a humidifier near your plants to help regulate moisture.
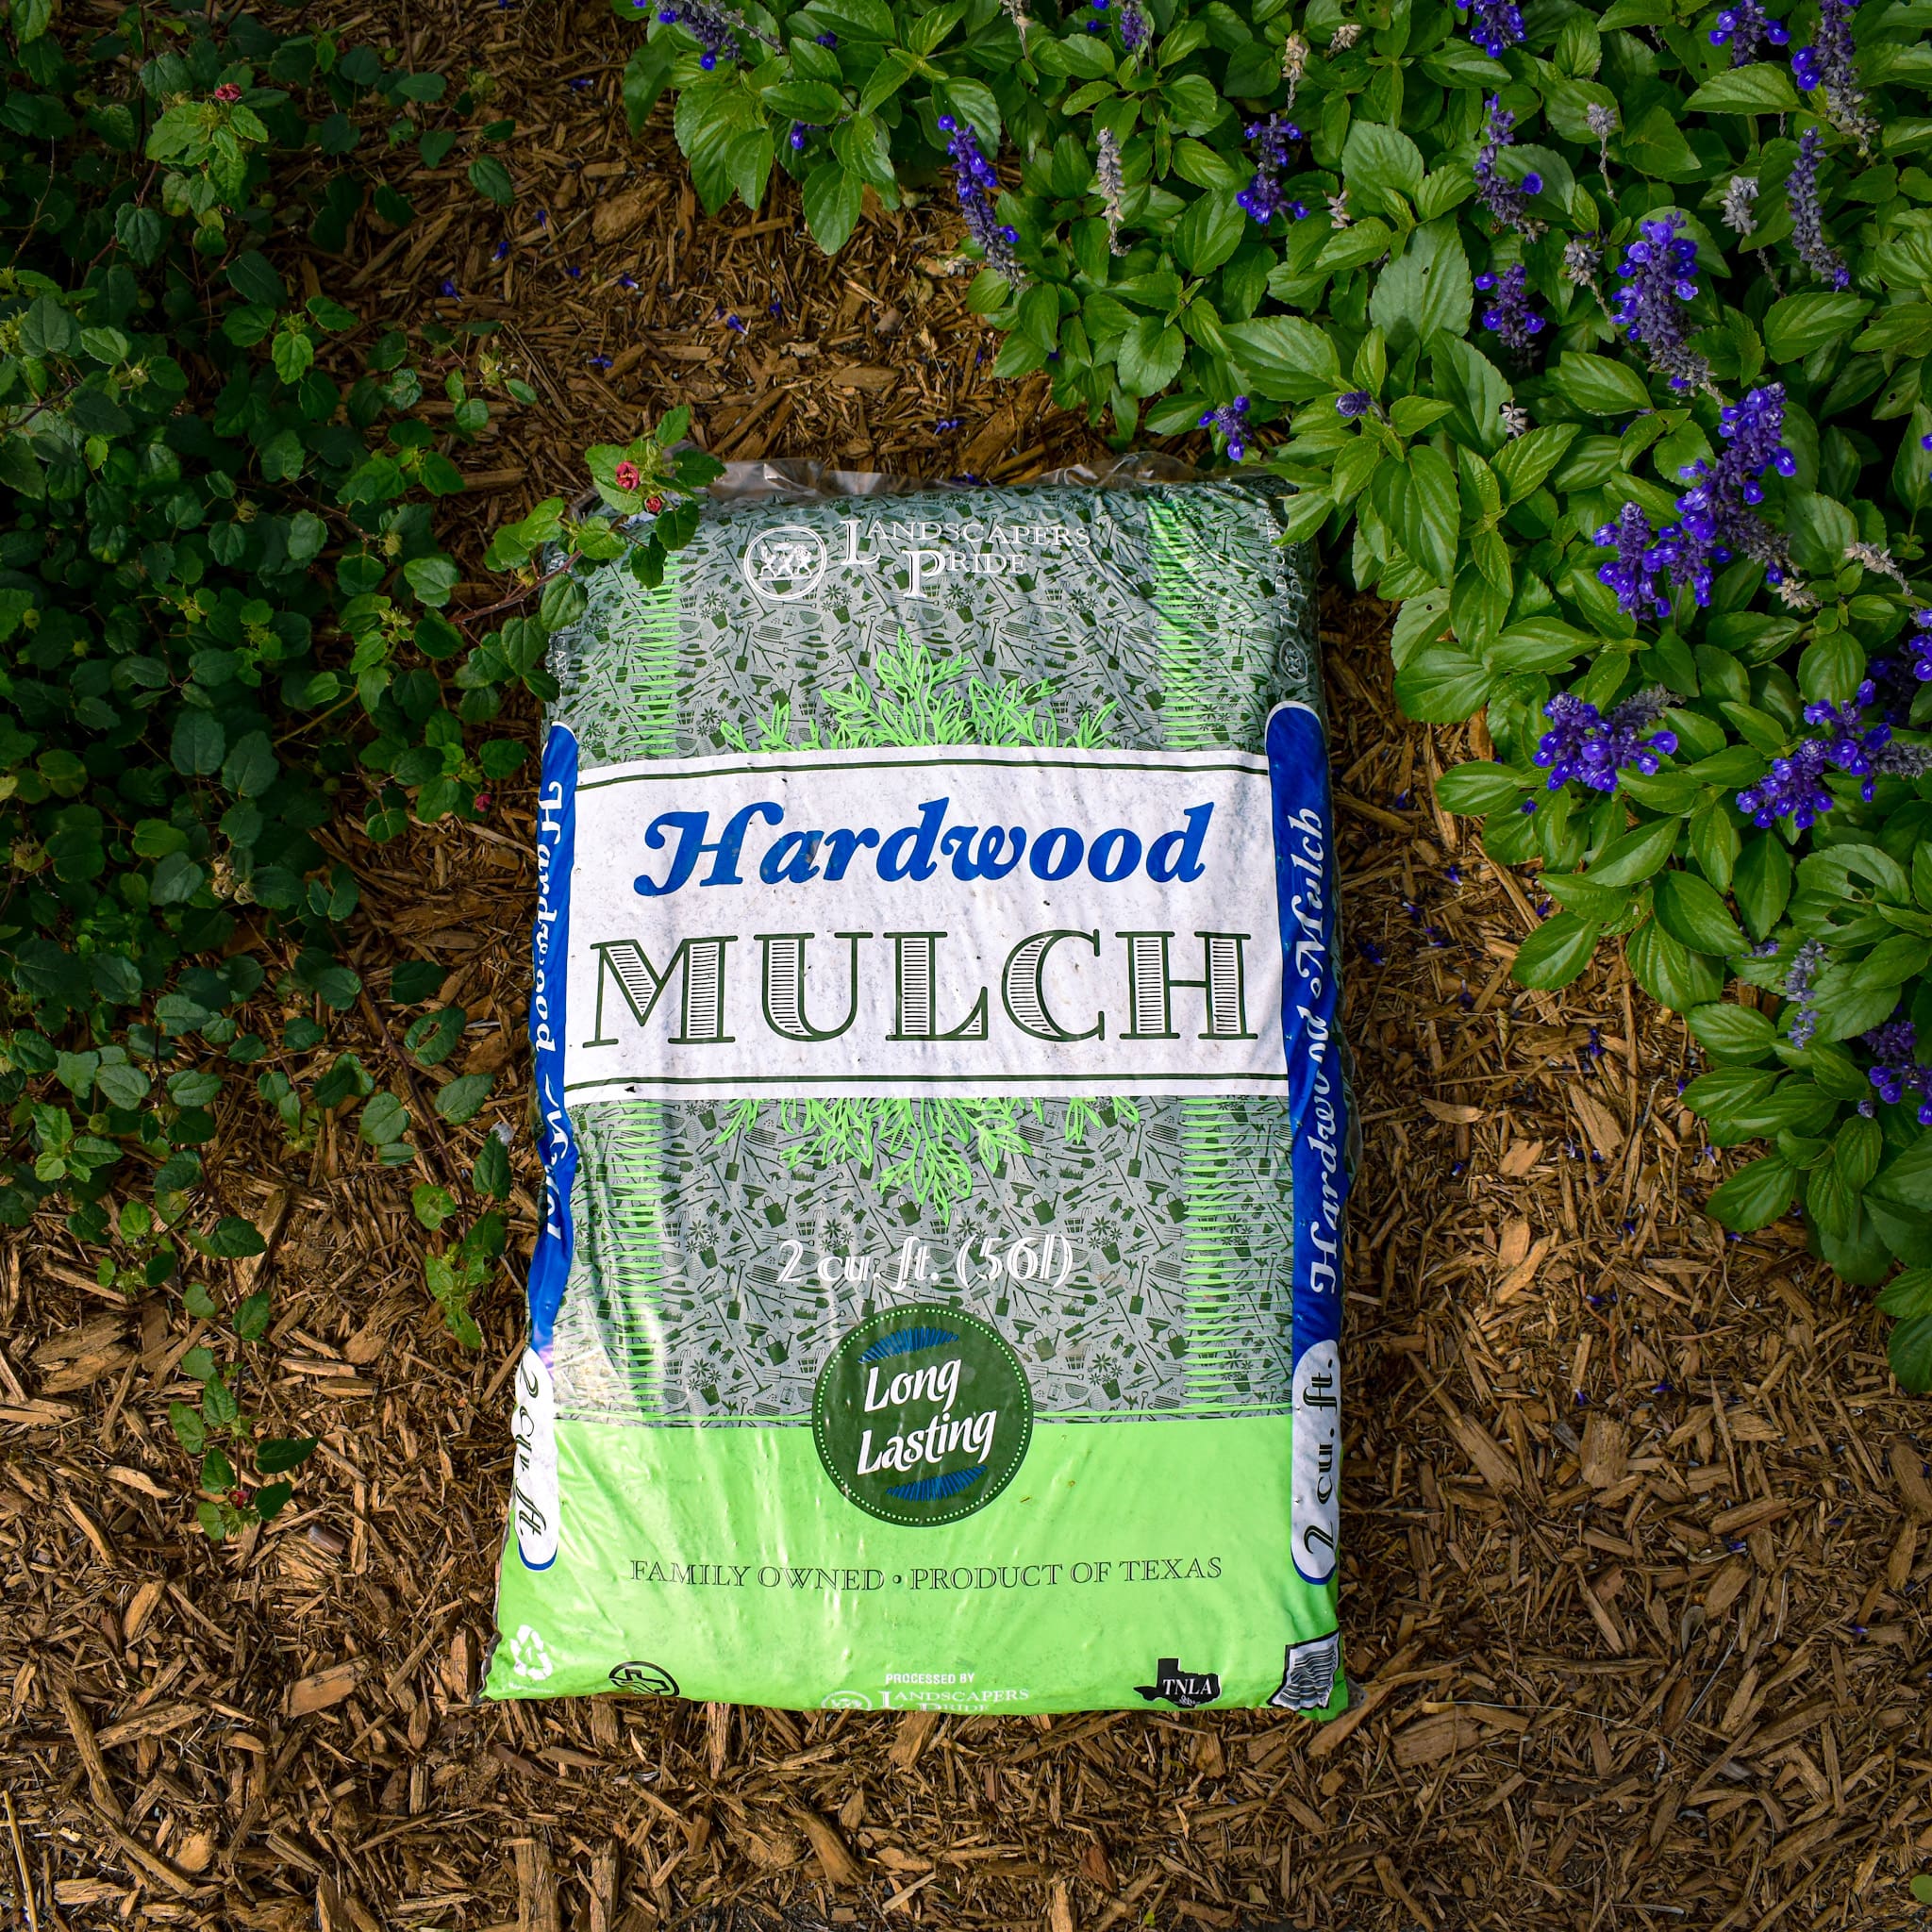
We all know that fresh mulch is like a fresh coat of paint for your garden – instant makeover! But did you know that applying a proper 3” layer of natural mulch keeps underlying soil temps more than 20 degrees cooler?!
Gill’s Landscape Designer, Kathy Hubner attended a webinar presented by Bartlett Tree Research Laboratories in which they shared amazing results from a mulch study in San Antonio. Soil temperatures were measured at 6″ deep (where plant roots live) on a 105 degree summer day. Bare soil with no mulch, 6″ down was 102 degrees. Soil under grass was 92 degrees. Soil beneath a 3″ layer of mulch was only 76 degrees!! Mulch for the win!
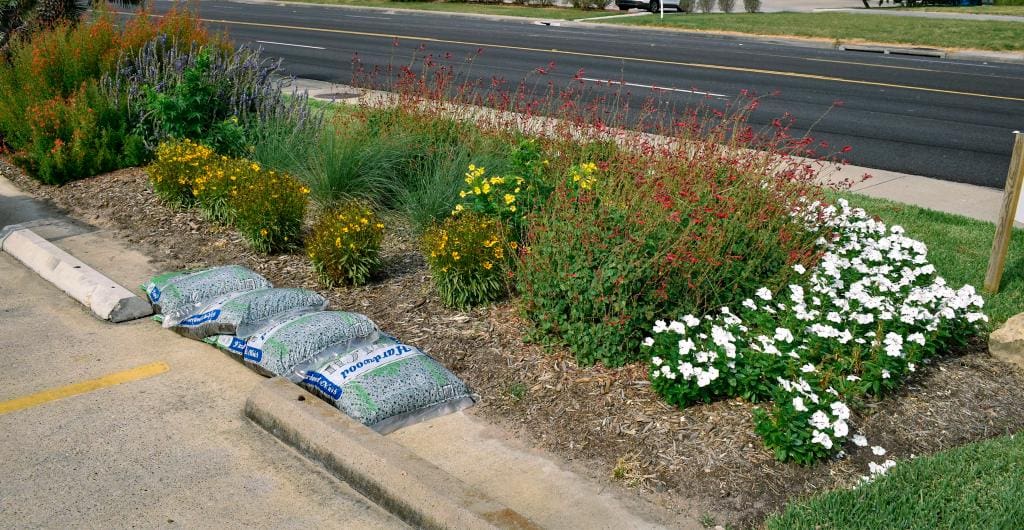
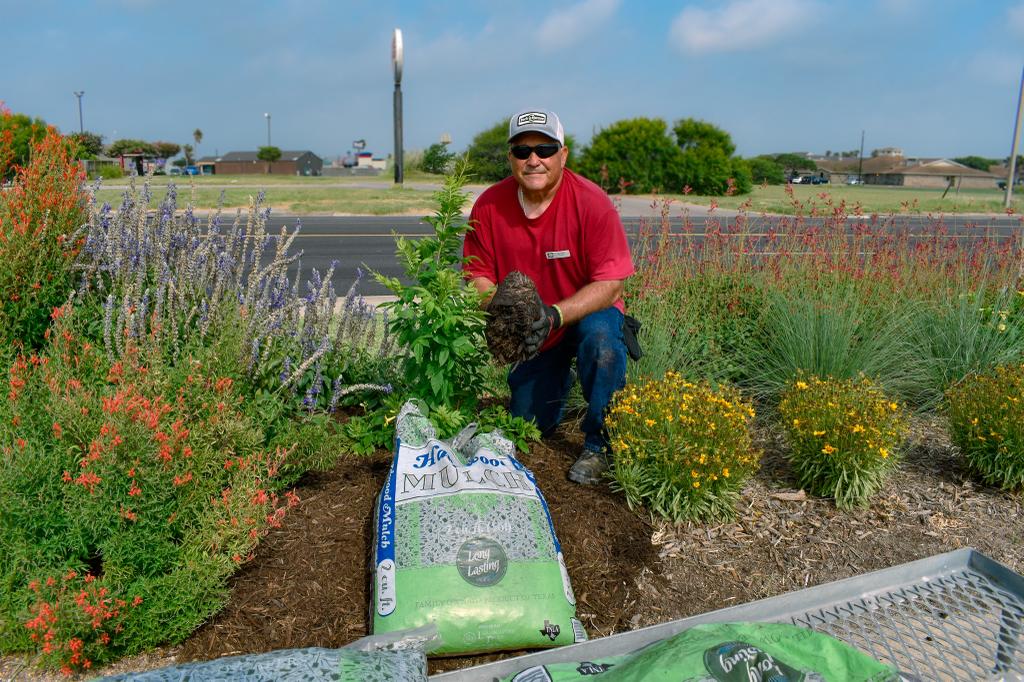
Before a Fresh Mulch Layer…
Keeping plant roots cool helps them take up water and nutrients and prevents heat stress on the plant. Cooling alone are a great motivation to maintain a 3″ mulch layer, but there are lots of other magical powers. Mulch helps you water: it helps retain depth moisture in the soil when you water slow and deep, and when we a good rain.
A 3″ mulch layer also helps suppress weeds. It allows good water, oxygen, and nutrient transfer, but blocks light that weed seeds need in order to sprout. And speaking of nutrients, natural hardwood mulch or pine straw mulch breaks down over time and helps build healthier soil.
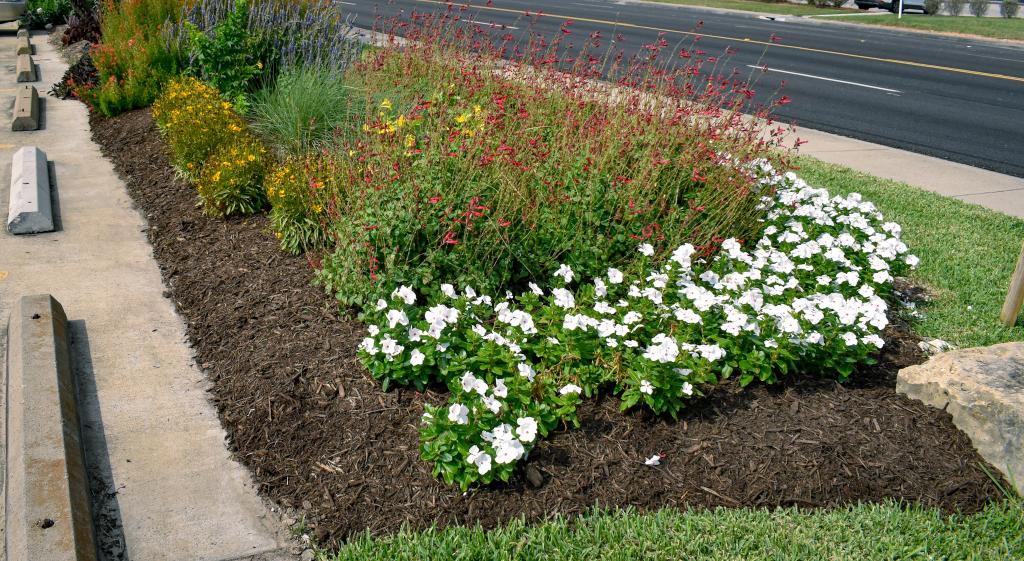
After Fresh Mulch!
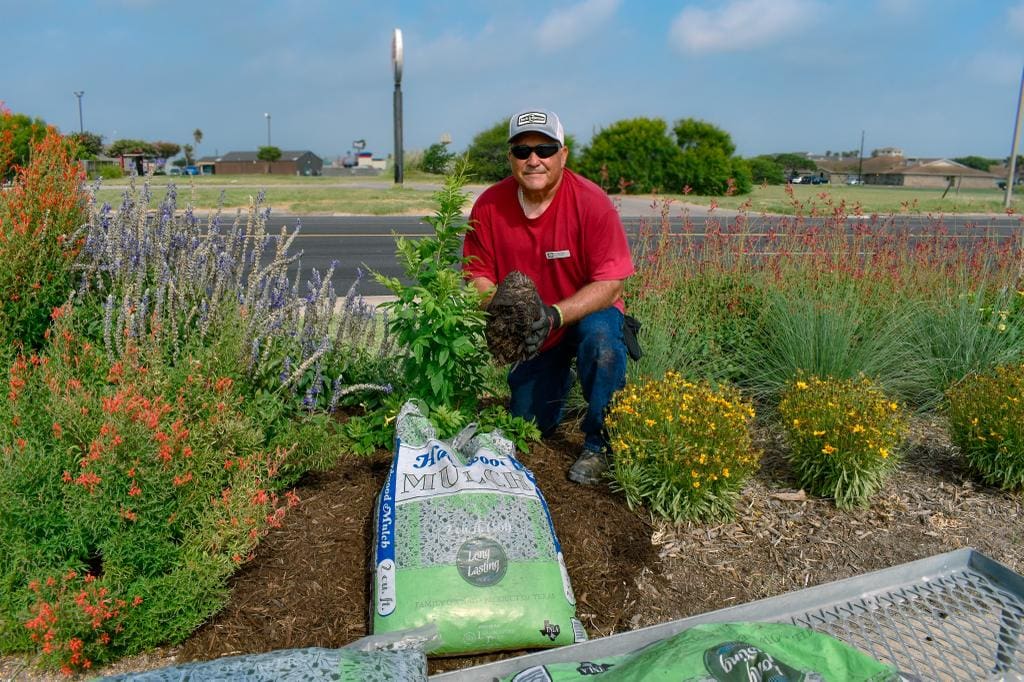
To achieve a 3″ layer of mulch takes about 1 bag per 12 sq. ft. Be sure you spread the mulch evenly and avoid creating the dreaded “mulch volcano” around the trunks or main stems of plants and trees. Mounding mulch up against the trunk can invite disease. Best to mulch around trees and plants then pull mulch away from the trunk to create some space.
Pro tip: As your summer veggies finish their growth cycles, pull them up and use a nice layer of pine straw mulch over your garden beds to keep weeds down and help keep your soil alive and ready for the next season. Fall veggie planting is right around the corner!
KEEP COOL AND MULCH ON!
Temperatures may not feel like it yet, but it’s time to start making the transition into an exciting new Fall planting season! There’s a lot to do in August to set yourself up for big garden success this Fall and beyond. Here are our top must-do’s!
Check out our August Garden Guide for more tips and remember that trees, shrubs, and perennials can be planted 12 months out of the year! The only difference is the amount of water they need depending on temperatures and wind!
1. Water to Maintain Depth Moisture!
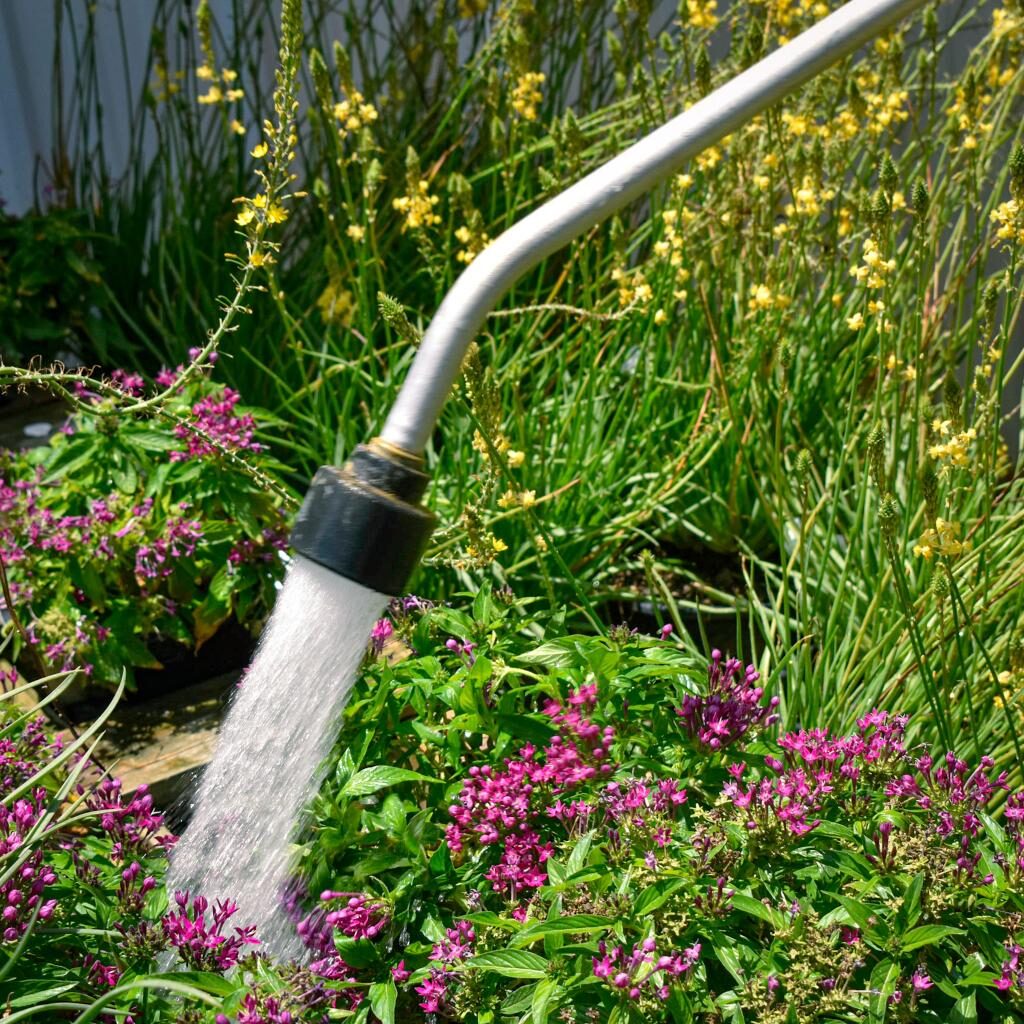
Yay for rain!! It looks like there might even be some more in the forecast late next week! Since we have the luxury of good depth moisture, our goal with watering this month should be to maintain it. For lawns and established plants and trees, this means watering less frequently, but watering deeply when you water. New plantings will require water every day for the first couple weeks to get the roots established, but again, think deep drinks so the roots dive deeper. Use a water wand with a cut-off valve to make it easy on you and conserve water. Pro tip: Conserve water by watering at ground level, not spraying from above. This way, water soaks down to the roots rather than evaporating off the leaves.
2. Start Planting for Fall Pollinators!
Important fact: birds, bats, bees, butterflies, beetles, and small mammals that pollinate plants are responsible for bringing us one out of every three bites of food. Plants attract and provide food for them to keep the cycle going. For example – plant Zinnia and sunflower seeds now, and they’ll be ready to feed migrating birds this Fall. Plant salvias now, get roots established, and they’ll be gorgeous this Fall and covered in hummingbirds, butterflies, and bees. Take it a step further and plant Texas natives! They provide for pollinators and require less water once established. If you’re excited about planting natives for pollinators, check out Homegrown National Park! It’s a nationwide movement to plant natives and restore native biodiversity at home. Just by planting a few native plants, you can get your yard on the map and become part of the Homegrown National Park.
3. Pick Out Your Seeds!
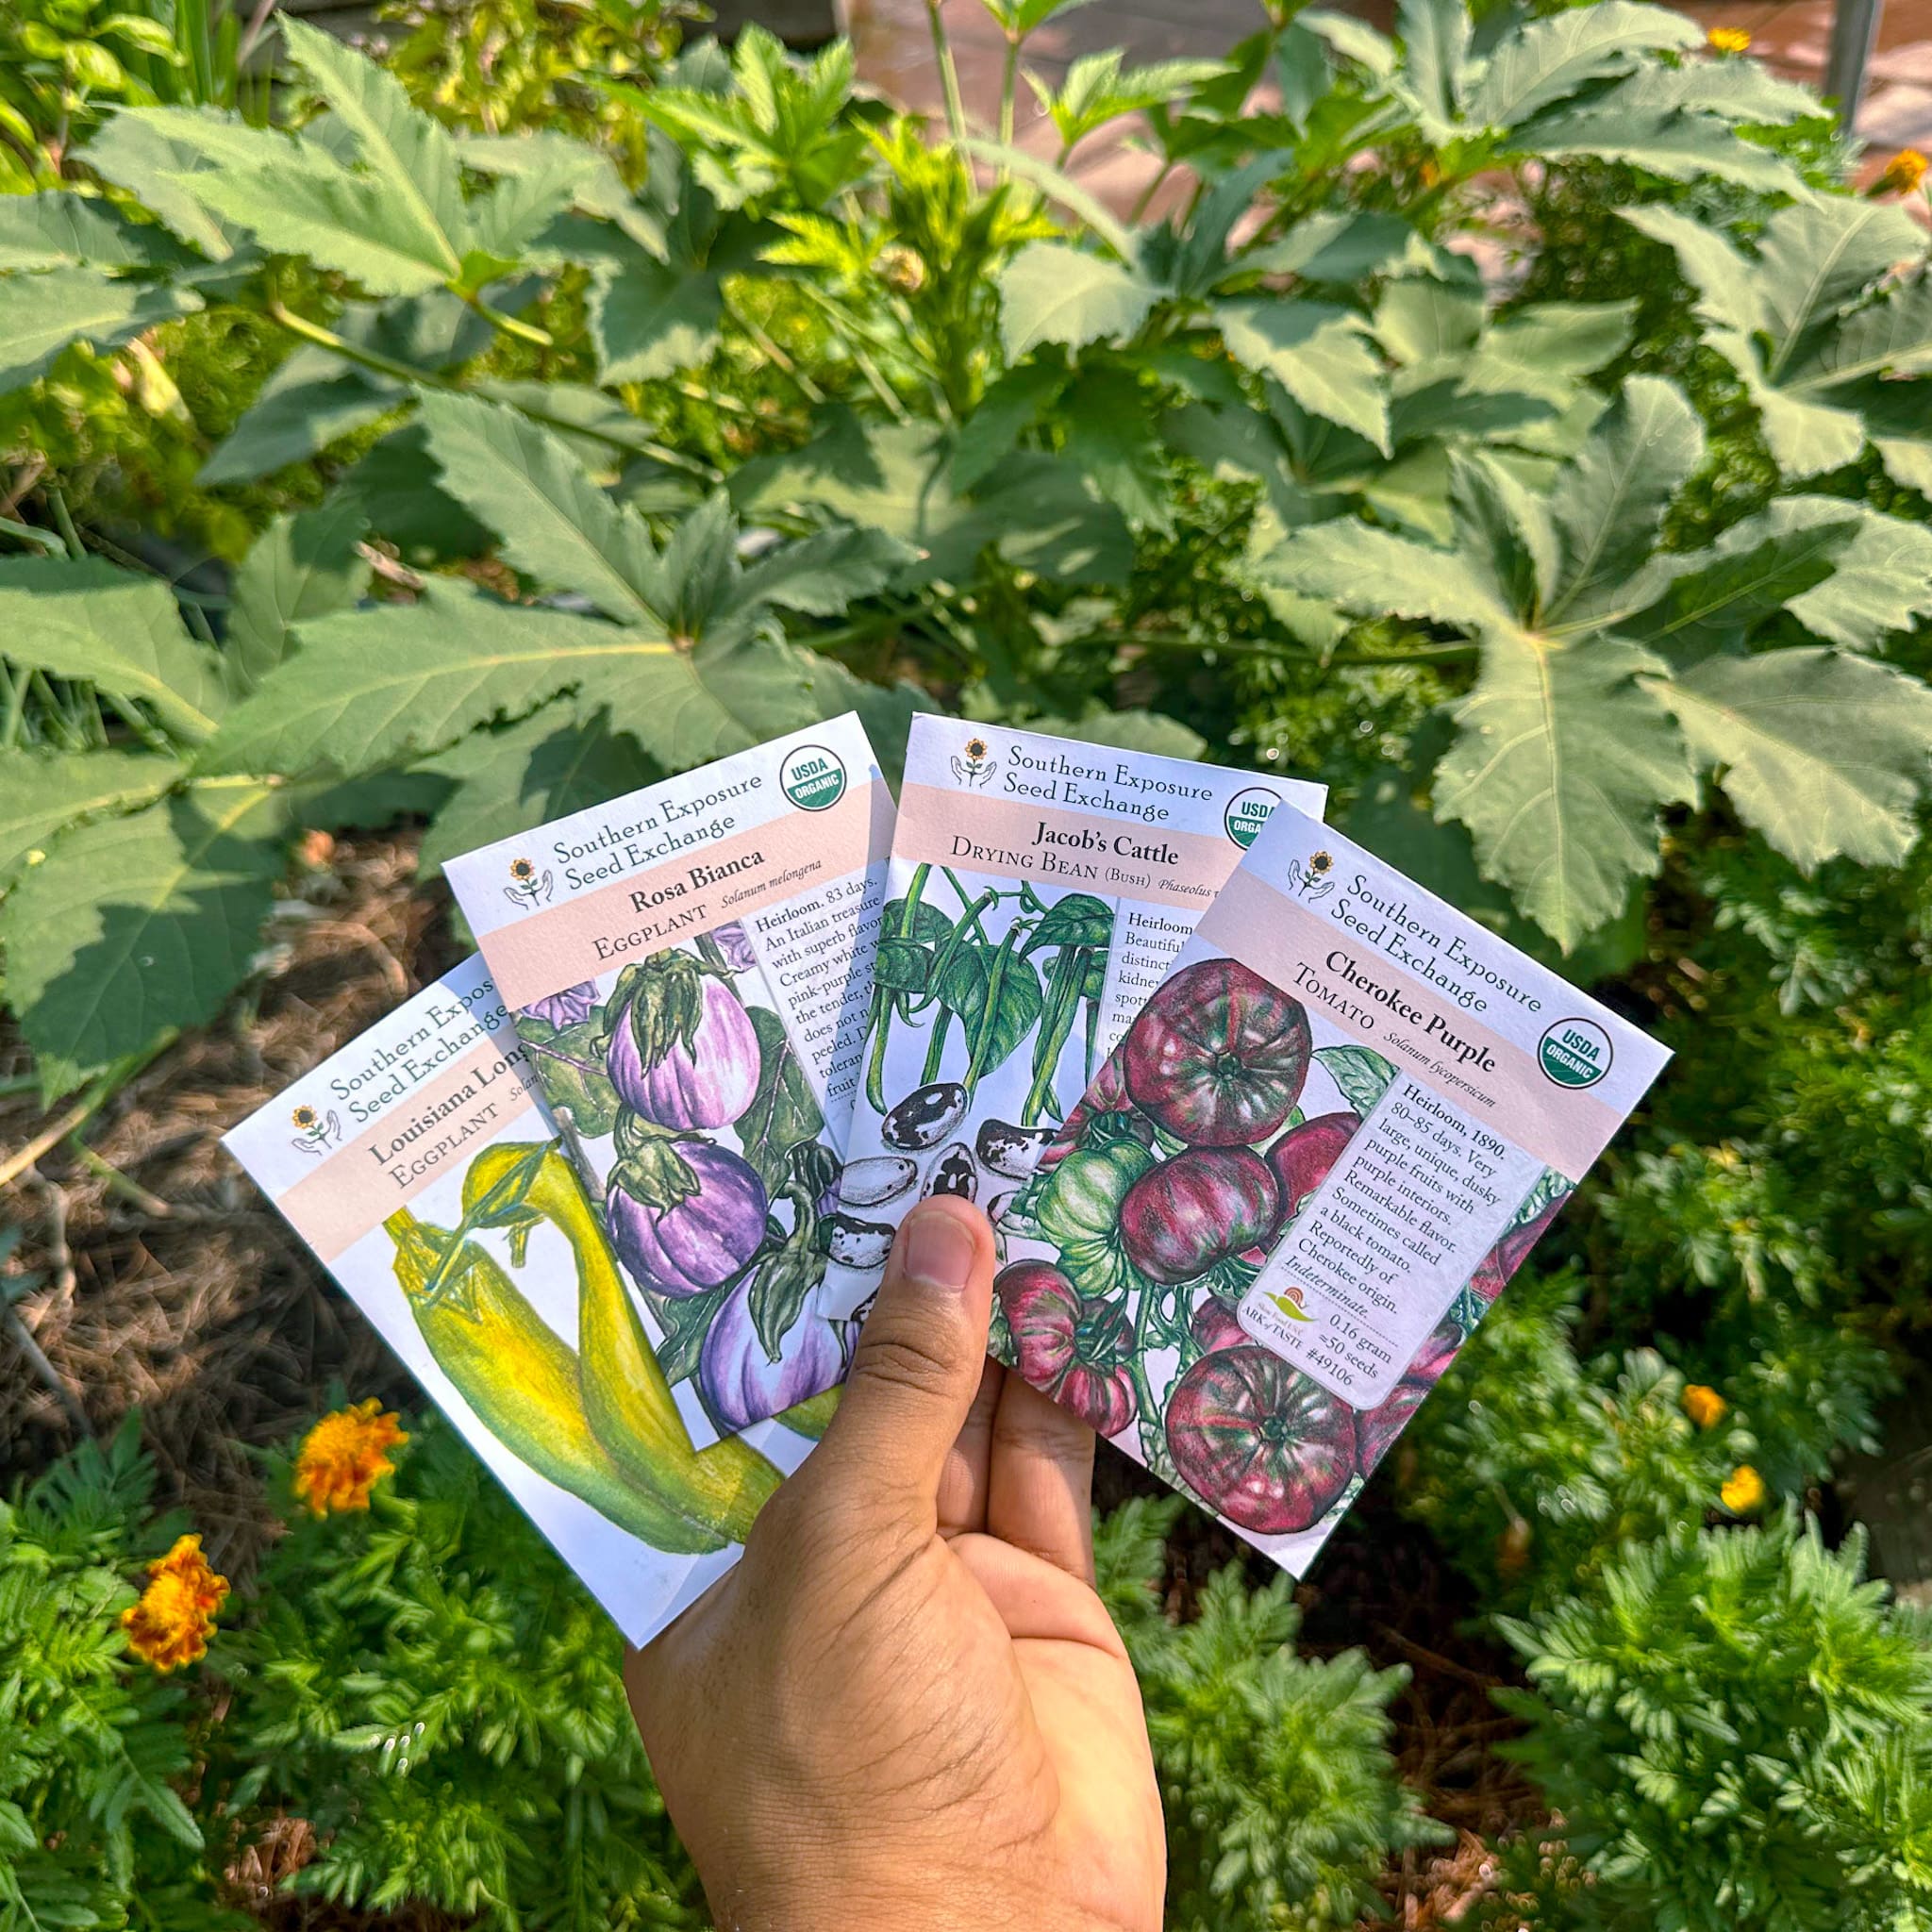
Watching your plants grow from a tiny seed is exciting and rewarding! Our Fall Vegetable Planting Guide provides the specific seed-planting dates to help plan your Fall garden. In early August, we’ll receive the new 2024-2025 seeds from our favorite seed suppliers, including heirloom vegetables, new releases, and wildflower seeds. Use peat pots or seed starting trays to start seeds indoors this month, then move to a covered patio once they sprout. This will protect the seedlings and slowly acclimate them to outdoor temps.
4. Prep Your Garden Beds
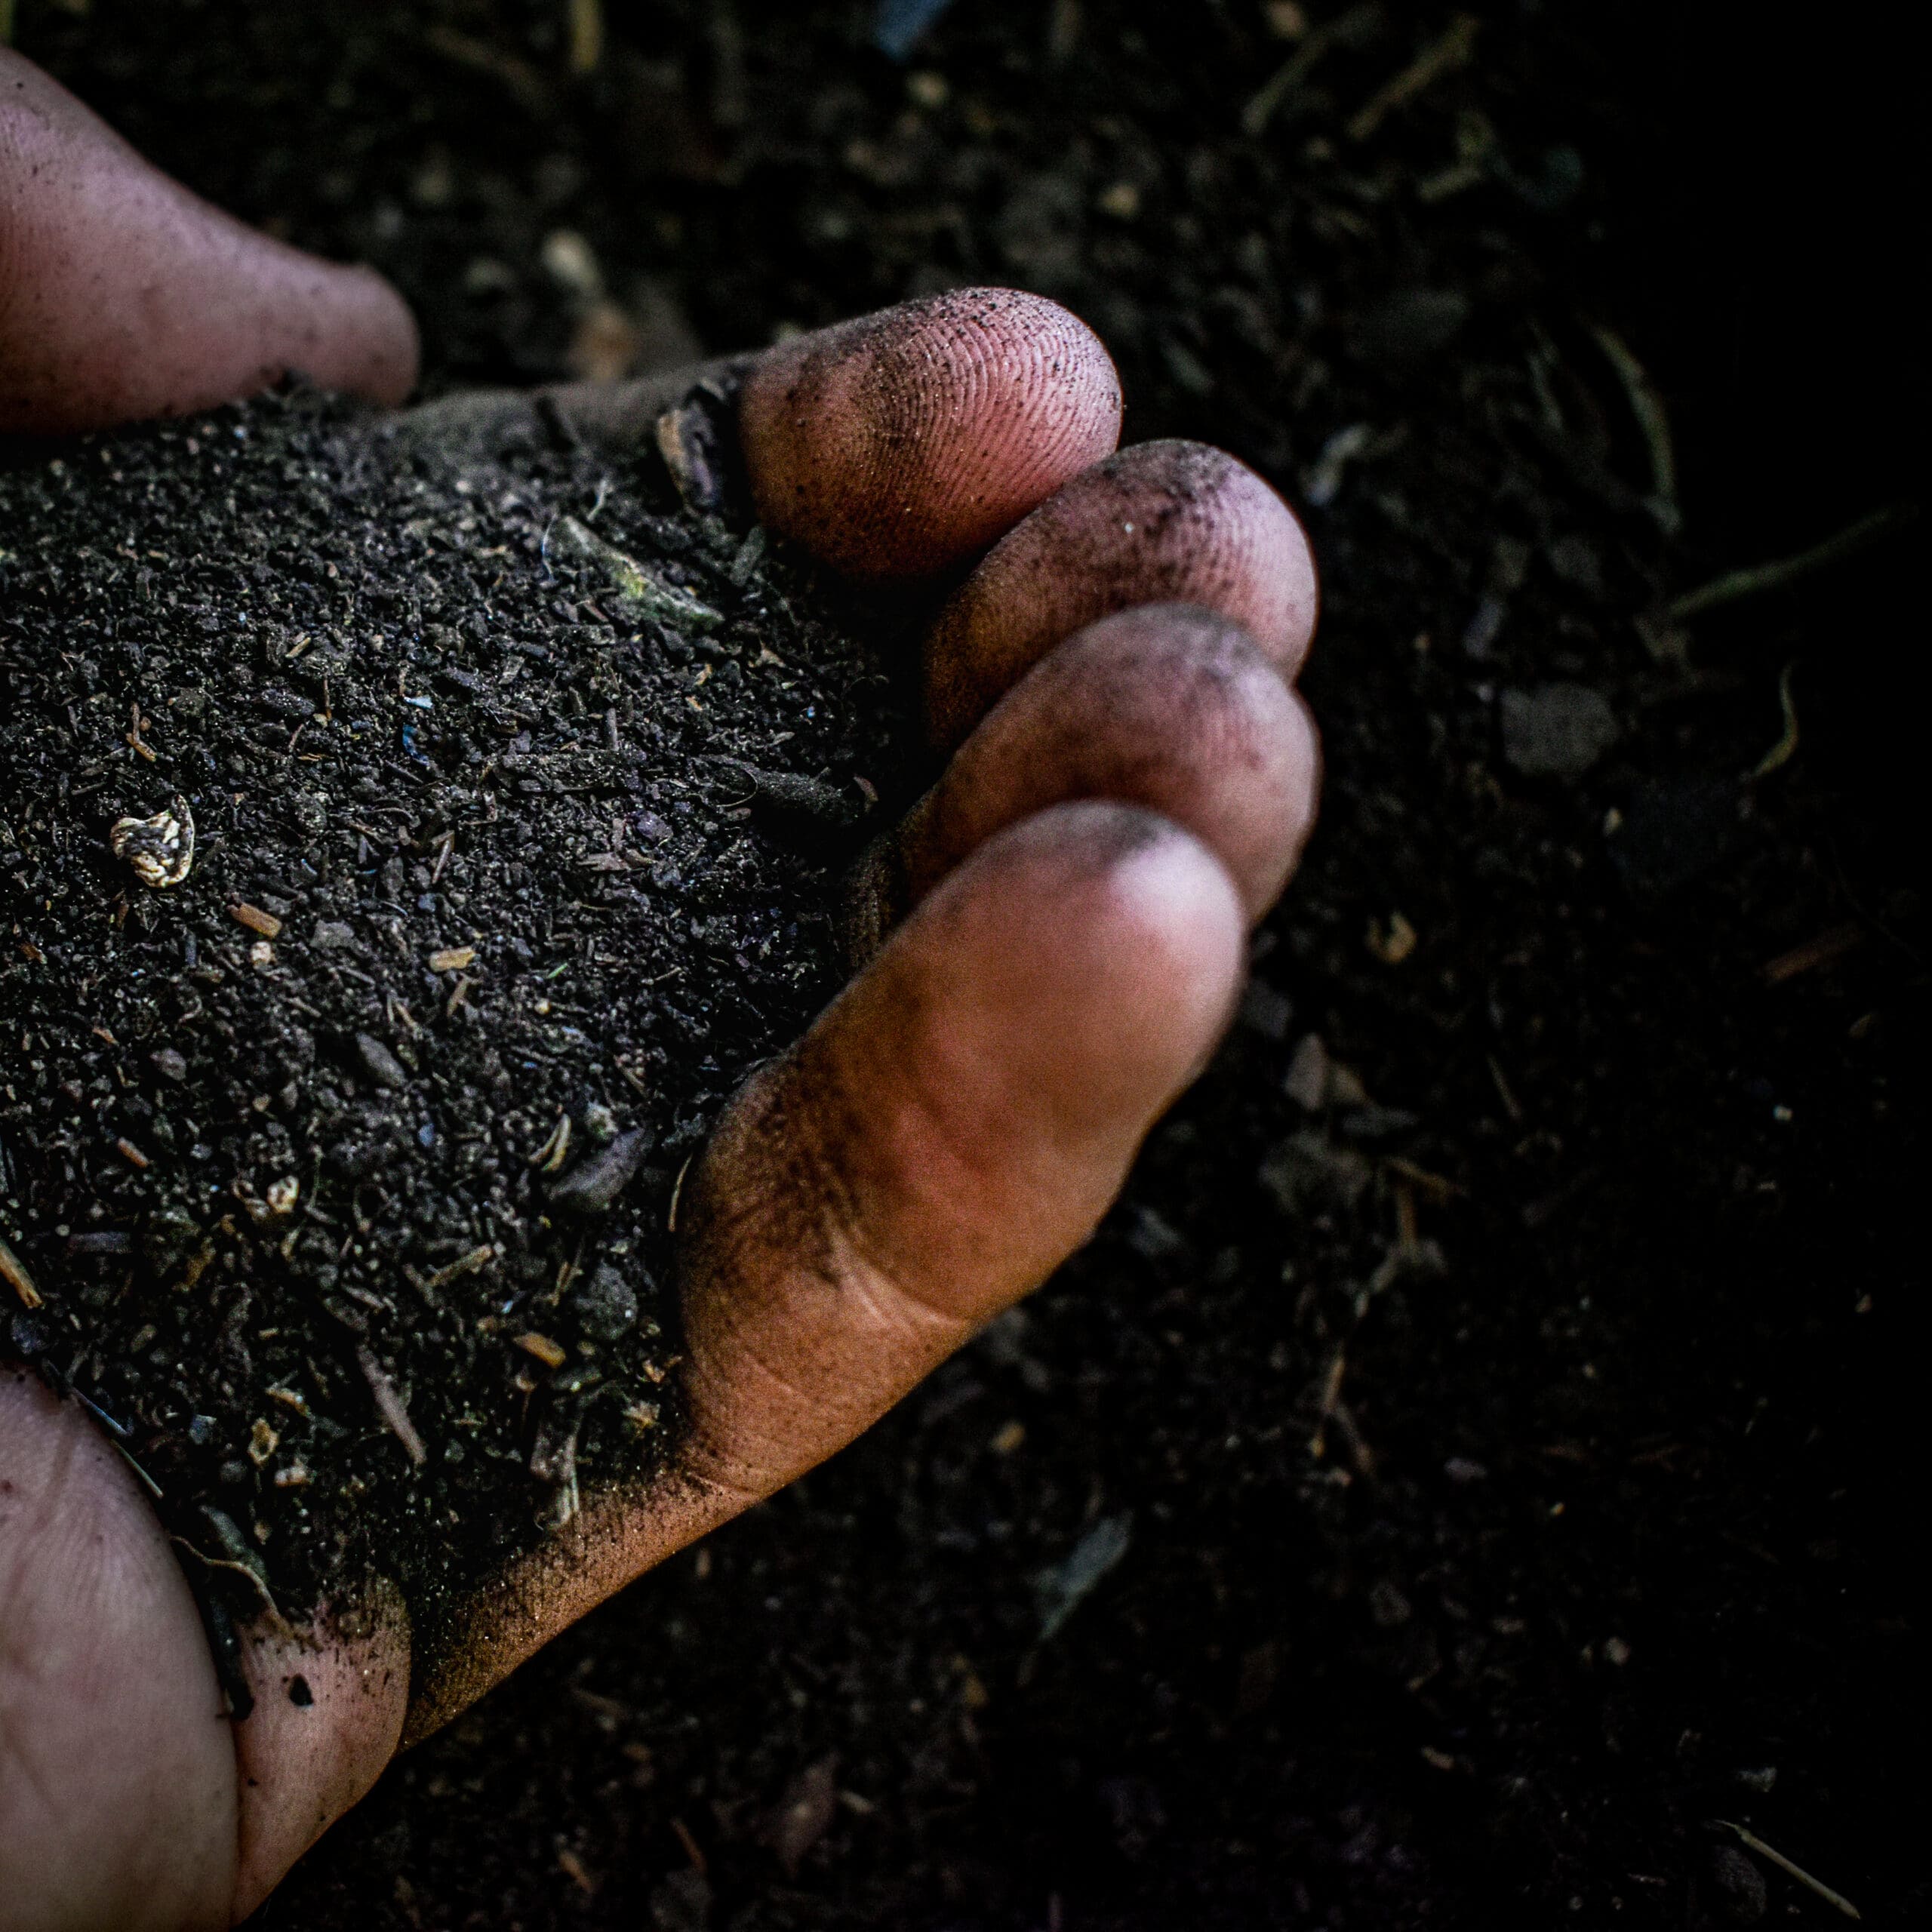
August is the time to start prepping Fall veggie beds! Finish your Summer harvesting, clean out your beds, and pull weeds. To get your soil ready, we recommend mixing Nature’s Blend Compost or Cotton Burr Compost into your soil to replenish nutrients and loosen the soil before planting. About 1 bag per 12 sq. ft. is good. Once prepped, add a thick layer of pine straw mulch, which will help retain moisture, keep weeds from sprouting, and keep the soil cooler until you’re ready to plant. As you plan your space, think crop rotation – don’t plant the same veggies in the exact same place you planted them last season, or you encourage pests and diseases.
5. Mulch for Moisture Retention
We know fresh mulch is the quickest way to refresh the look of your landscape. Proper mulching has other big benefits, especially during hot weather. A good 3” deep layer of mulch will keep your plants and the soil moist and cool for longer after you water or after it rains. Not just a little cooler – we’re talking more than 25 degrees cooler!! Give the main trunks or stems of your plants a little space – mulch 3” deep throughout the bed, but no more than 1” deep against the main trunks/stems of plants.
6. What About All the Weeds??
With all this amazing rain comes lots of weeds! We can’t apply weed killer to lawns right now because temperatures are still too high – we need to stay below 90 degrees to be able to treat existing lawn weeds. For now, keep the lawn mowed to prevent weeds from going to seed, and apply pre-emergent Weed Stopper with Dimension to prevent new weeds from sprouting. For landscape beds, we recommend spot treating weeds with an organic contact killer like Horticultural Vinegar or Captain Jack’s Deadweed Brew. For pesky Bermuda grass in beds, spot treat with Grass-B-Gon, and for our old friend nutsedge (aka nut grass), use Sedgehammer. Keep in mind, Bermuda grass and nutsedge will likely require several applications to eradicate.
It sure feels like summer outside, but in order for fall tomatoes and peppers to have time to produce lots of fruit, we gotta plant em now! Here are a few tips for growing the most and the tastiest tomatoes and peppers.
1. Count Your Days to Maturity
The average tomato, like our beloved Celebrity slicing tomato, needs about 70-80 days to mature and produce fruit. That means they’ll be ready around the beginning of November if we plant today. Similarly, Jalepenos and bell peppers need 60-80 days to maturity. Be sure to get them planted now or very soon so you can get a good harvest before we have chances of cold weather which tomatoes and peppers can’t handle.
2. Adequate Spacing + Cages for Support
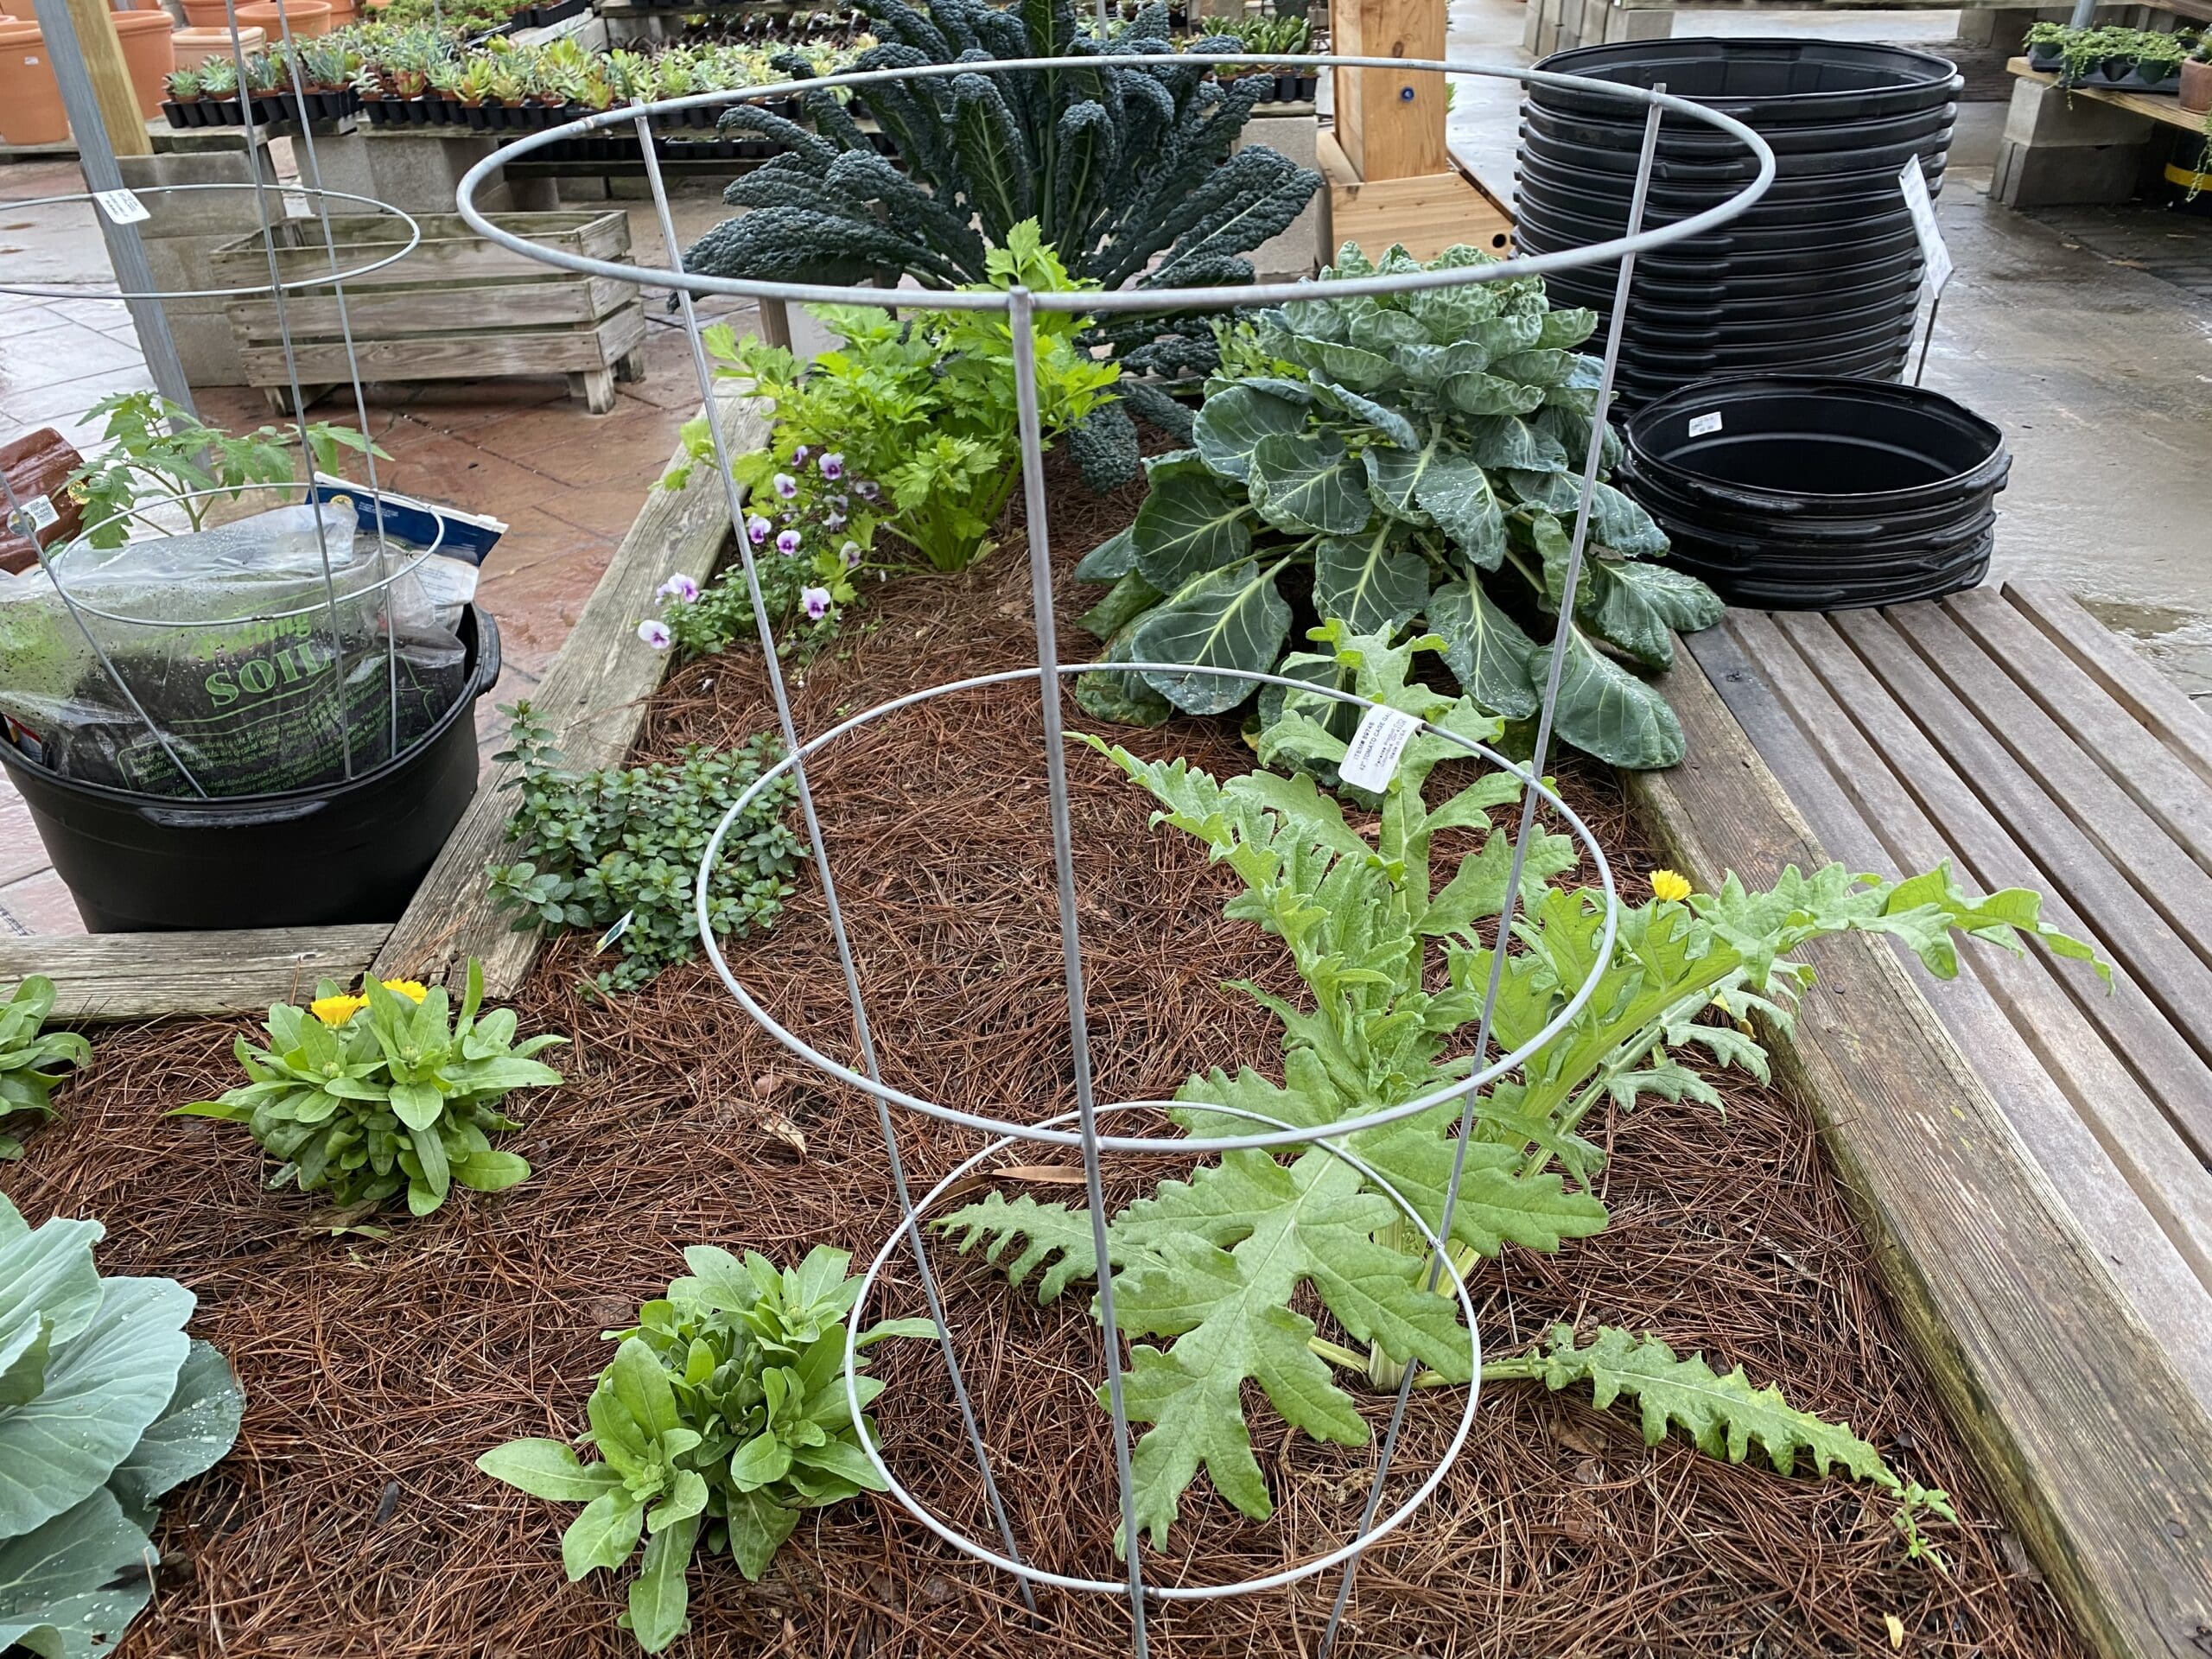
When planting, keep in mind that tomatoes should be planted a good 4 feet apart, and peppers should be 2.5-3 feet apart. This gives them room to grow to their full potential, ensures good airflow around the plants, and helps prevent pest outbreaks. Remember – tomato cages are your friends! It’s important to cage the tomato right when you plant so you don’t risk breaking branches if you try to add a cage later. A tomato cage works great for supporting pepper plants too. And be sure to have some flexible green garden tie tape to help secure floppy branches, especially when they get heavy with fruit! The flexible tape is nice because it’s soft and won’t cut into the plant like string or wire would. Yes, we have some!
3. Follow DeAnna’s Tried & True Feeding Schedule
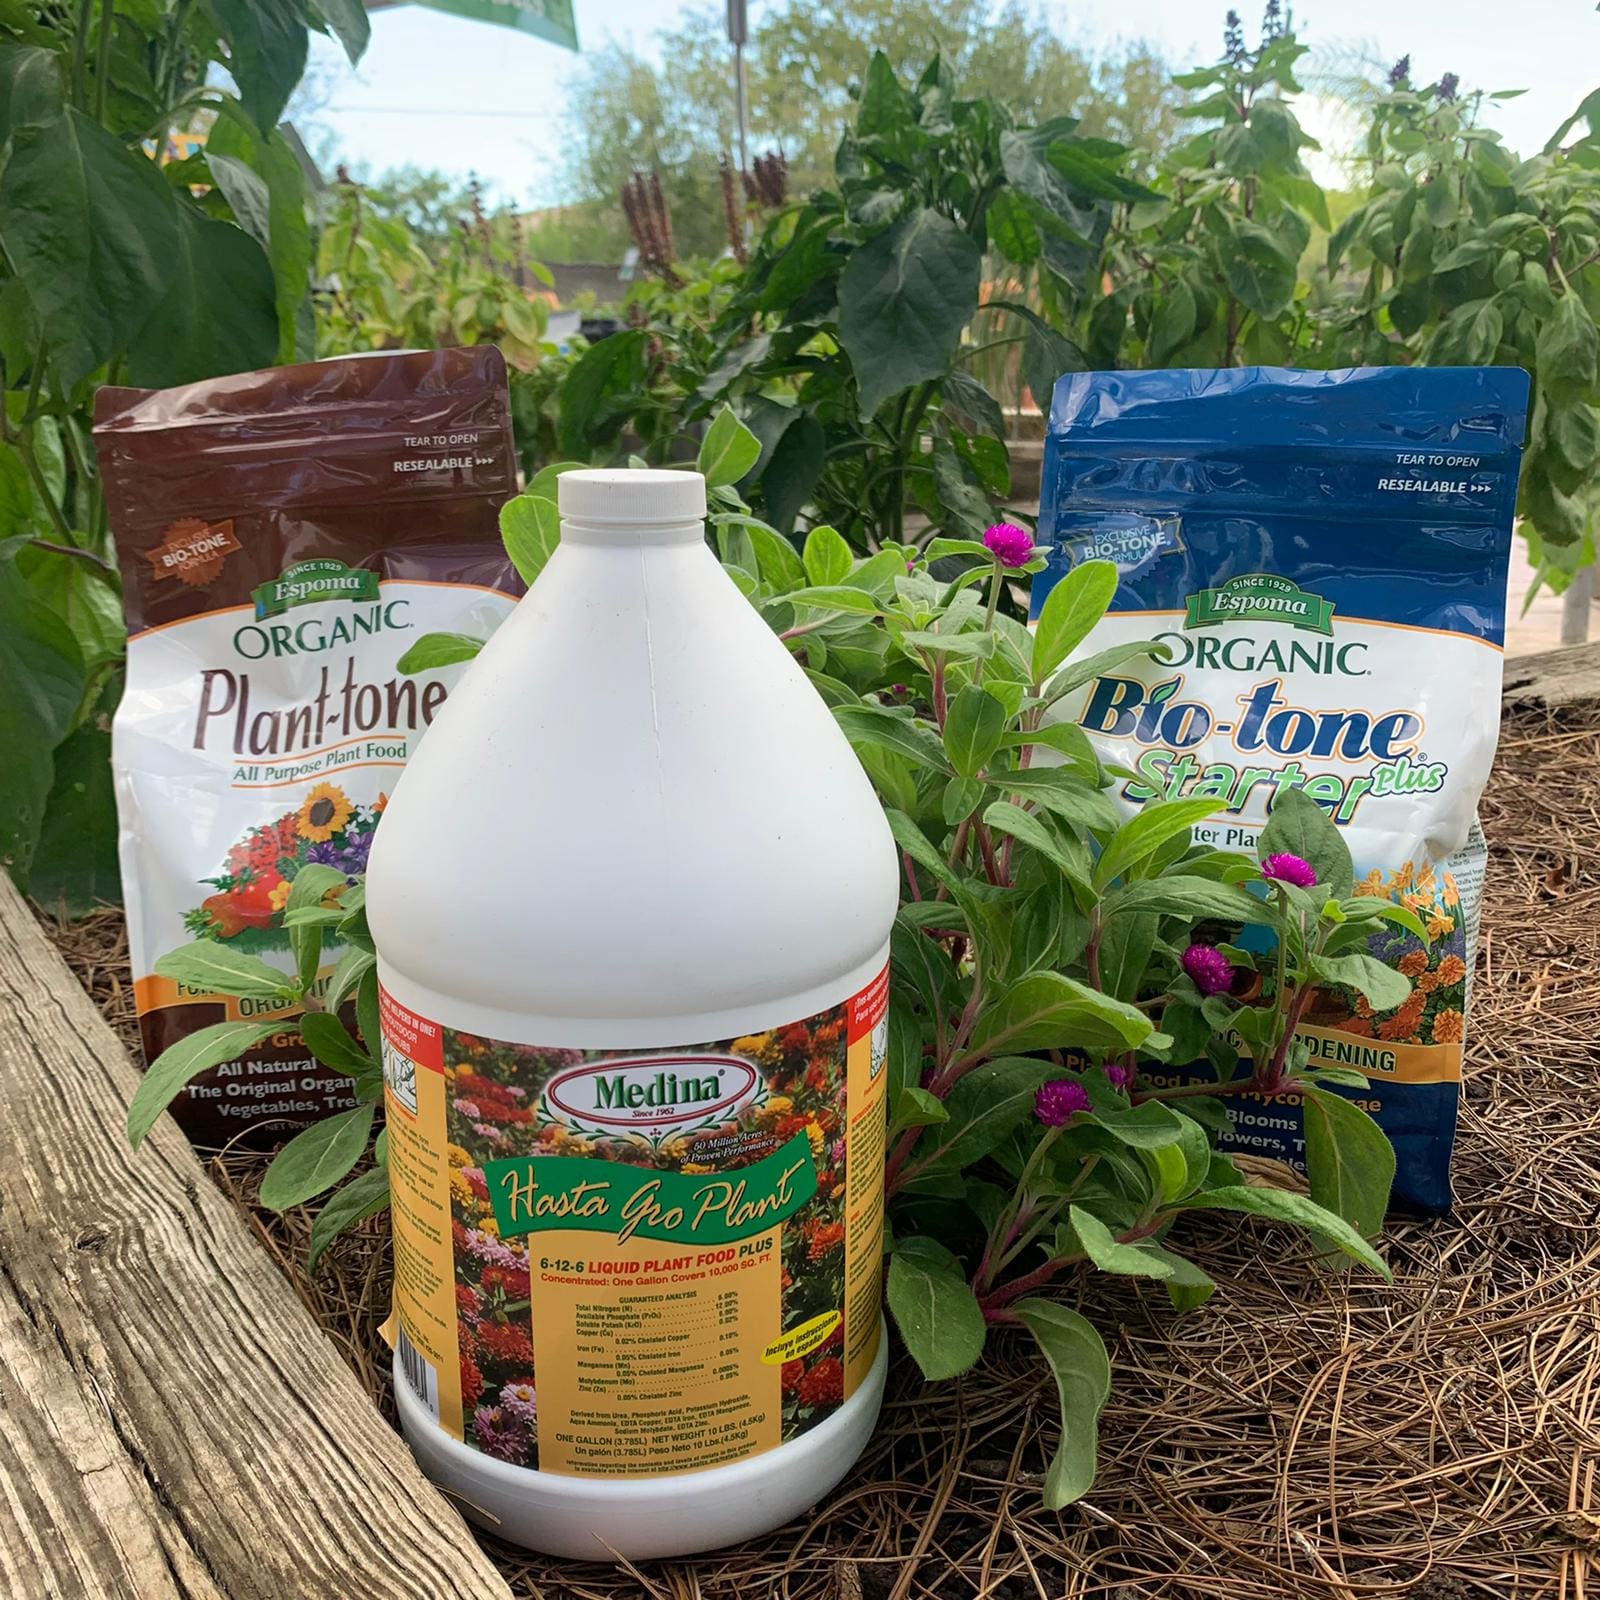
Remember that plants use lots of energy to produce fruit, so they need plenty of good food! Use compost and Biotone Starter Plus you plant to promote good soil microbes and bigger roots. Then take DeAnna’s advice on feeding: apply a quality granular fertilizer (Plant Tone or Medina Growin Green) on the 1st of the month, then supplement with liquid Hasta Gro on the 15th. Add these reminders to your calendar to make it easy. Follow this schedule and you’ll have tomatoes & peppers to share!
It’s almost that magical time of year again when ruby-throated hummingbirds make their way through the Coastal Bend on their way south for the winter! Expect to start seeing hummingbirds around town any day now, with peak numbers around mid-late September, right in time for the Rockport-Fulton Hummerbird Celebration. With our hungry guests arriving very soon, it’s time to set the table with all the right hummingbird plants! Here’s what and how to plant to make your yard a preferred stop on the migration path.
1. Plant Tubular Blooms in Shades of Orange and Red
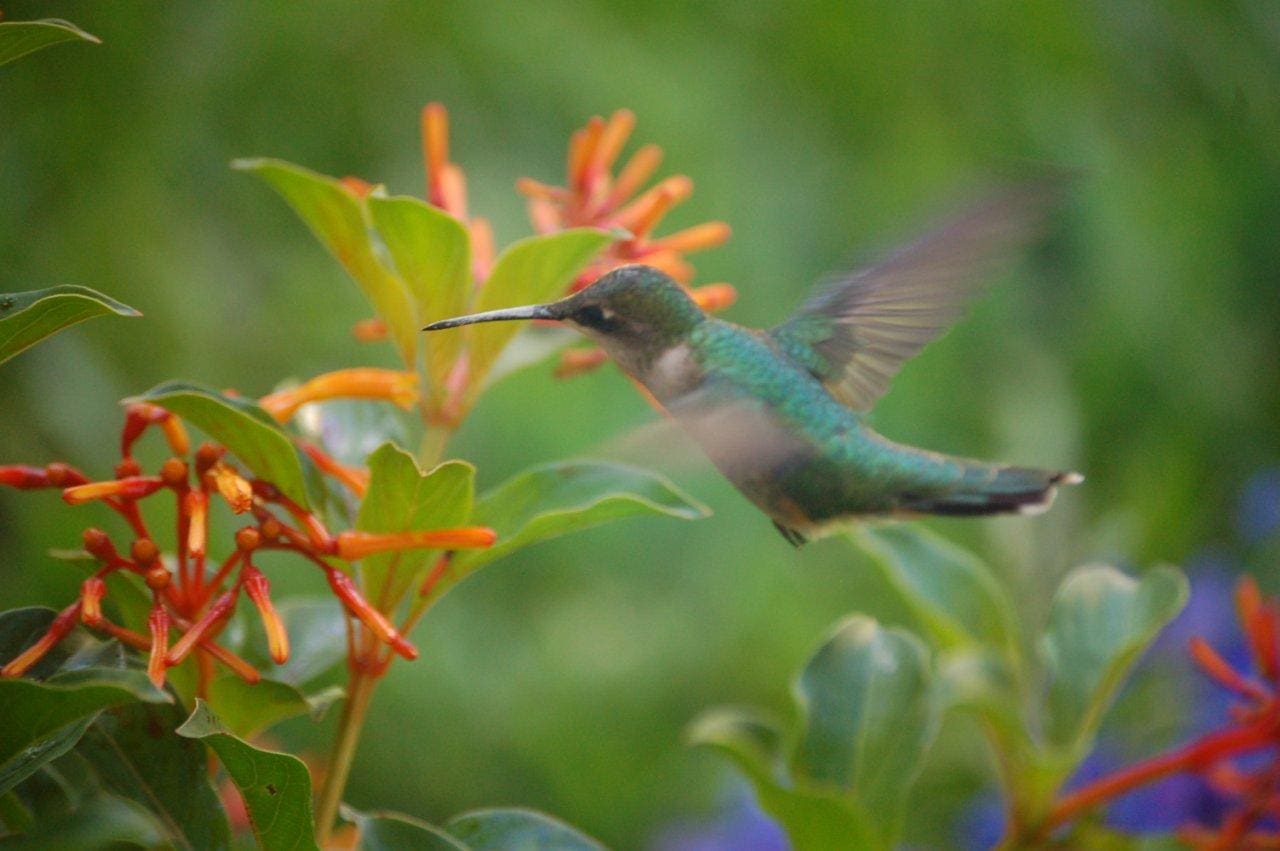
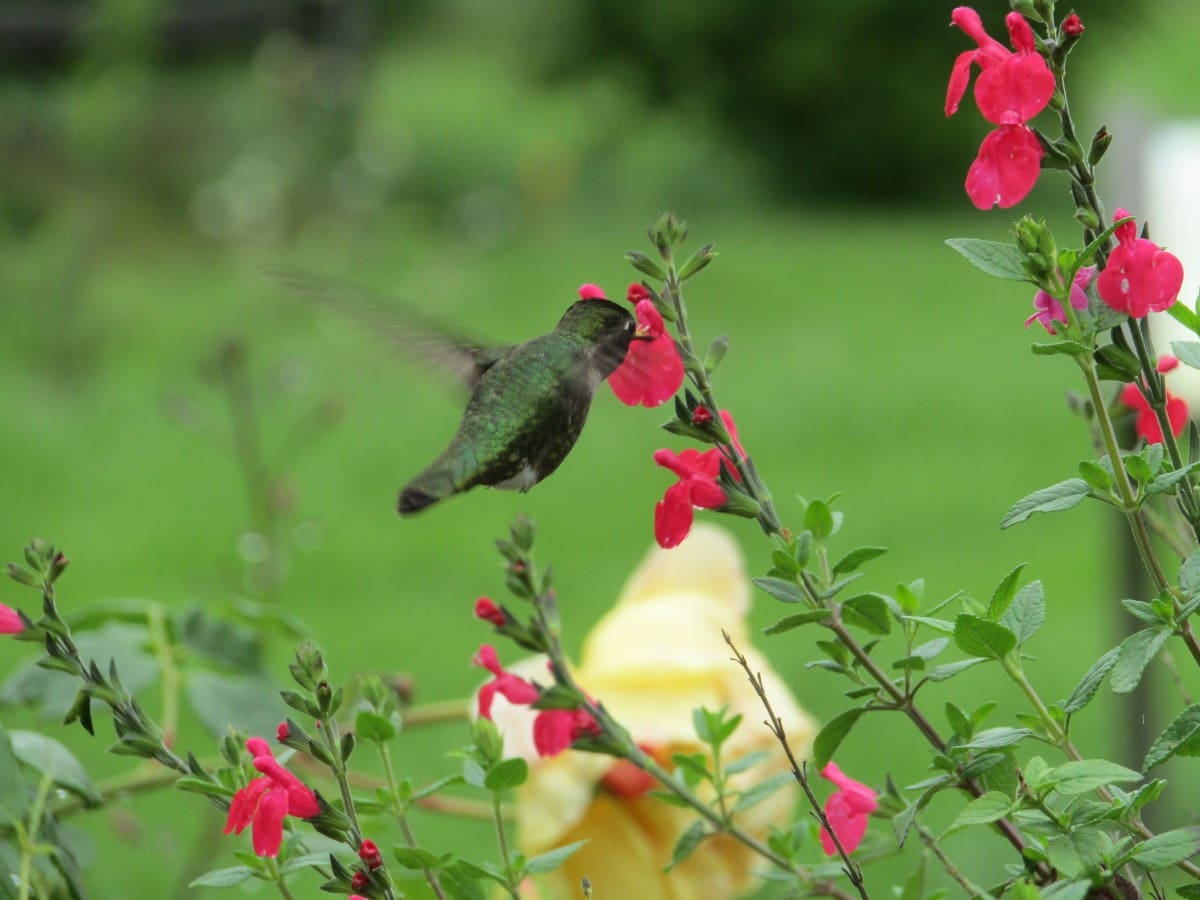
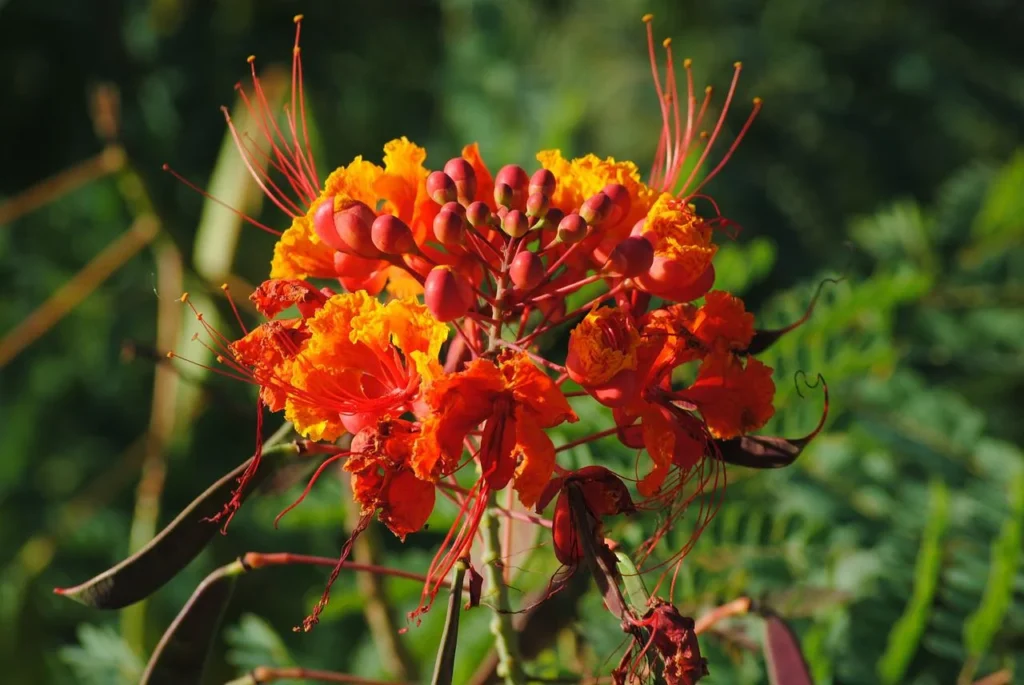
If we think about our list of top-notch hummingbird-attracting plants like Firebush (pictured), Flame Acanthus, Firecracker (russelia), Salvia greggii, and Coral Honeysuckle, to name a few, they all have tubular blooms that are perfect for a hummingbird’s long, skinny beak. And their blooms are all shades of orange and red! Hummingbirds have a high concentration of cones in their retinas which filter color differently than what we see. To hummingbirds, the red spectrum appears more vividly while blues appear more muted. That said, scientists have run experiments with different color blooms and found that hummingbirds learn very fast which blooms have the most nectar, regardless of bloom color. As a local example, we know that hummingbirds also love Duranta‘s blooms which are purple and not tube-shaped. Lantanas are another plant that hummingbirds seem to love in all colors.
2. Plant in Groups, Not Just 1 or 2
When planting for hummingbirds and other pollinators, make your food sources easy to find. Instead of planting 1’s and 2’s of hummingbird plants spread out across the yard, plant a few or several of the same plant in a group. This helps mimic how most plants are found in nature, helps the hummingbirds spot them more easily, and provides a higher concentration of nectar. If you have limited space, go with 3 of the same plant rather than 1 of each. We had a customer call Gill’s this week to ask about hummingbird plants for her balcony…on the 13th floor! That may seem like a stretch, but hummingbirds can fly up to 500 feet – if they have a good reason to fly up to your balcony, they can and will!
3. Supplement with High Quality Organic Food and Shallow Water
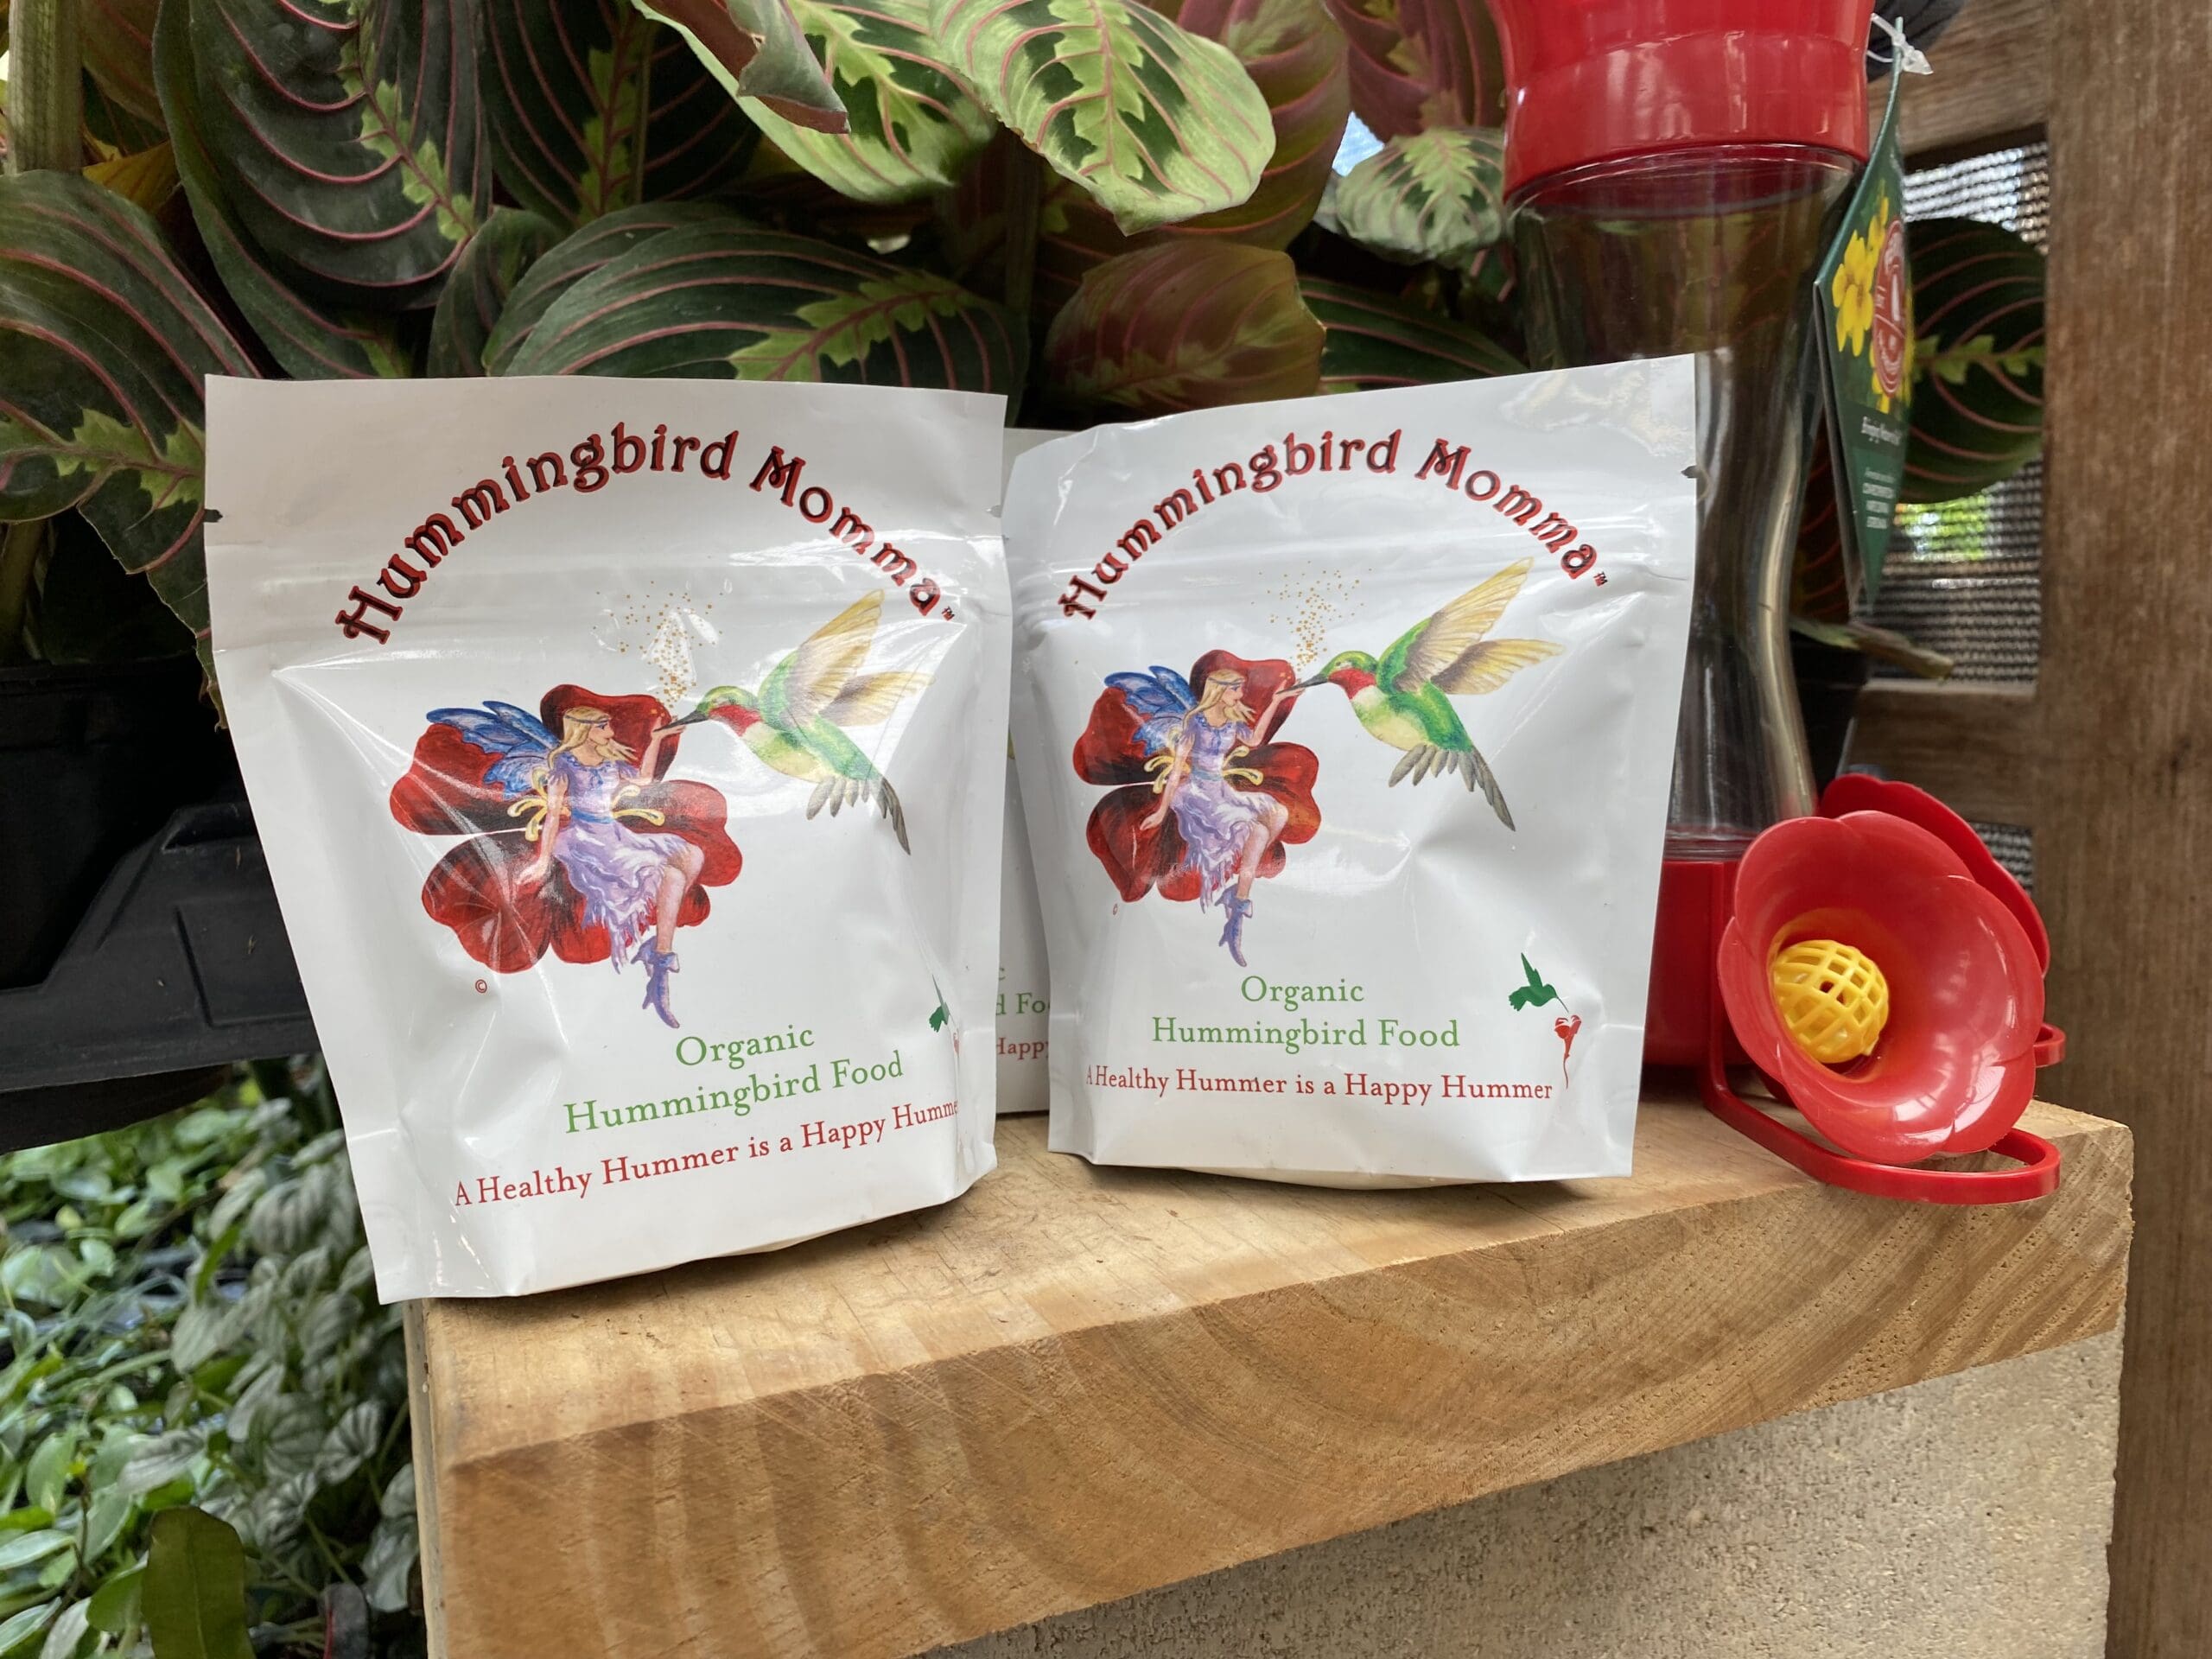
The right plants will get you more hummingbirds, but it doesn’t hurt to supplement with some feeders too. They need all the energy they can get for their long journey. Place your feeders in easy to access spots since they need to be cleaned regularly. And don’t use the fake red dyed “nectar” that you might find at big box stores. Use a high-quality, nutritious food that’s truly made for hummingbirds. We’re big fans of organic Hummingbird Momma, which is the only nectar we carry. And don’t forget about water! No hummingbird haven is complete without a shallow bird bath or fountain. They can’t stand in deeper water, so look for something very shallow!





 This is what a mealybug infestation looks like!