
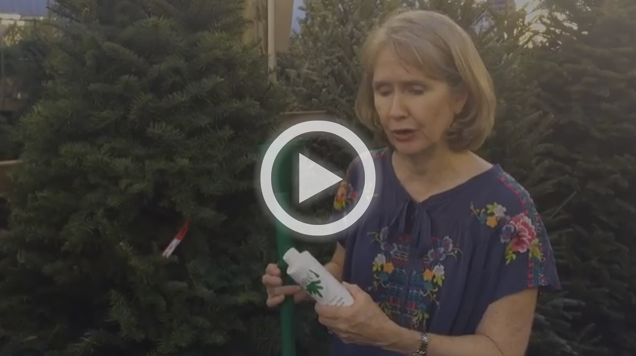
Watch this video from James to help you identify & prevent Brown Patch Fungus. With shorter days and cooler, damp nights, your lawn is susceptible to this disease.
This is a project I have been wanting to do for a while now, and it was a lot easier than I was expecting. So naturally, I want to share the project idea with our customers!
Staghorn ferns are eye-catching plants that make for a beautiful indoor addition to any home! This fern is naturally epiphytic, meaning that it generally grows on trees or other surfaces. In this case, a slab of wood!
The staghorn fern would be happy indoors in bright indirect light or in a shady area in your backyard. Watering requires a heavy misting and the frequency will depend on if you intend for it to be outdoors or indoors.
All you need for this project is wood, a hammer and 25-30 nails, scissors and twine, sphagnum moss, and a staghorn fern!
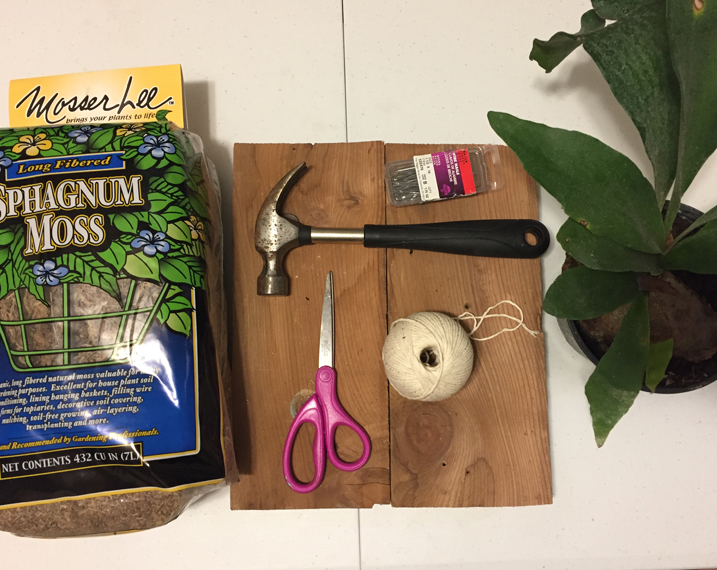
First you will want to assemble your wooden base.
This can be made of scrap wood, drift wood, or anything lying around. Before long, the plant will steal any attention away from the wood backing, so don’t worry if it’s imperfect. I used some scrap wood I found in my garage.
Next, you will want to take your fern out of the pot, and gently brush away as much dirt as you can to expose the roots.
Staghorn ferns don’t need soil to root in, so we will be replacing much of this with our sphagnum moss. Lay the fern onto the wood until you’ve got it in a place that looks best, making sure to try and leave the fern’s shield in tact. These will eventually grow over the sphagnum root-ball holding the plant to the wood.
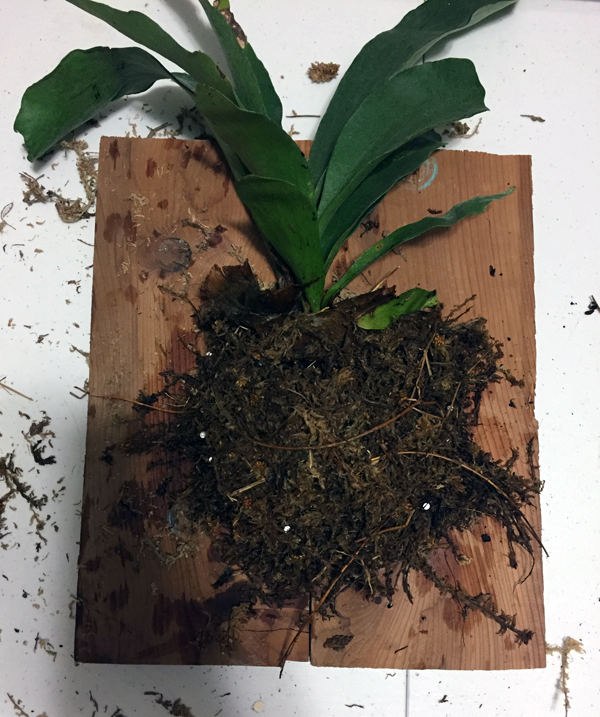
Once the plant is set, trace your circle for your nails and get to work!
The nails encircling the plant will be what holds everything in place, so don’t be stingy with the nails! I used 25-30 nails and got them about a half-inch away from one another. Leave the nails half way out of the wood so you will have plenty of anchorage for the twine.
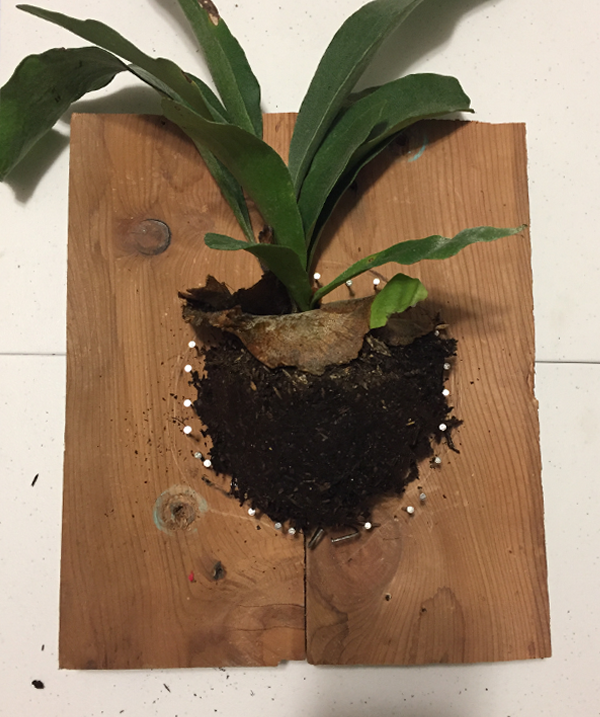
Next you’ll need to wet a couple of handfuls of moss in a shallow dish, and press it down over the fern’s roots, making sure to cover everything from the shield down.
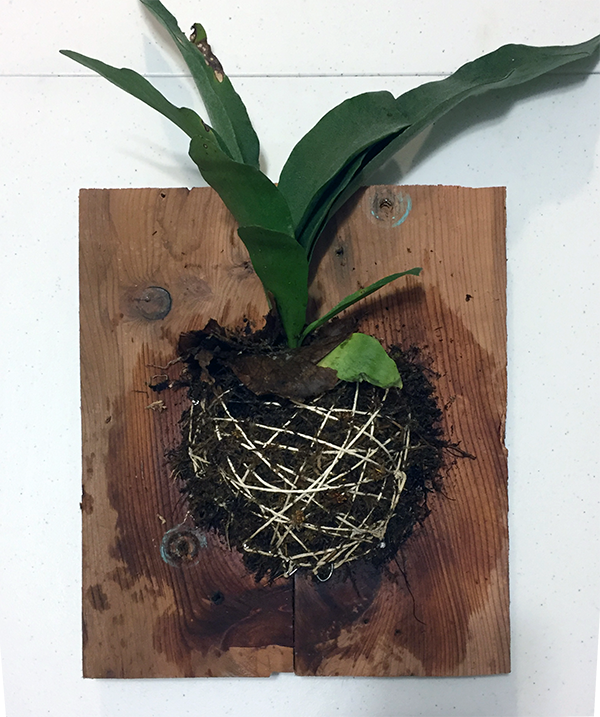
I used the twine to anchor the plant until I felt it was completely secure, and then finished nailing the nails in all of the way into the wood. And that’s all, folks! Super easy and super fun project that only took about 45 minutes.
 -Kady
-Kady
How to heal your lawn from a long summer: identify and treat damage from Chinch Bugs and Sod Webworms; apply pre-emergent to prevent weeds; fertilize in fall for healthy roots come spring.
Also, keep an eye out for the fungus among us. Watch James’ video on Brown Patch Fungus for more info.
If you are ever unsure, just dig up a chunk of the problem area and bring it in to us for help with a diagnosis.
Further reading: Top Five Tips for a Beautiful Lawn.
This is my favorite holiday because like many, I have so much to be thankful for. First and most importantly, I am thankful to James, my husband of 39 years (crazy long, right?) of partnership, family & business. By sharing himself, he has made me a better person. Secondly, I am thankful for our families and especially our two sons, Stuart and Trevor, who are the joy of my life. And then there’s Gill’s. Wow, what a journey it has been. Yes, there have been many challenges & struggles, but along the way, a lot of good. I am very thankful for the culture of customers & staff I get to spend my days with. Mostly, at the end of the day, I feel good about what we’ve accomplished.
I love helping customers (when I know the answer) and watching our staff help customers. It’s so much fun to see that ah-ha moment when a customer’s garden mystery is solved. I love seeing customer’s faces light up when they learn a new garden trick and wow, what a treat when I hear we’ve made a home even better with a well thought out planting. I love having a beautiful store to work in. Not fancy, but pretty. I love walking out back to see all the new plants, fresh off the trucks. I love watching kids play with Lily & Heath (our nursery cats) and adults pausing to pet them. How rewarding to find sometimes customers come in just to stroll in the garden; to take a break from the day. Most importantly, what a treat to feel we’re putting smiles on people’s faces.
And yes, I am very thankful for our co-workers. As Debbie Pinkerton, our buyer, said many years ago about our team, “We share our laughter, knowledge, tears, successes, failures & frustrations with one another. Sounds like a family to me.”
Yes, I have a lot to be thankful for.
– Sally
It’s a wonderful crazy time each year as we ready for the arrival of Christmas trees. This year they are extra pretty and fresh! We look forward to helping you find your perfect tree!
Noble Firs
Our Noble Firs come from the state of Washington. They were discovered by Scottish Botanical Explorer, David Douglas, and are the tallest of the true firs. They have dark green upturned needles, exposing the lower branches. The tree is outstanding in its beauty, has a long cut life and its stiff branch holds heavy ornaments well.
Fraser Firs
Our Fraser Firs come from North Carolina. They are a native southern fir and naturally grow at elevations above 5,000 ft. The tree has excellent needle retention along with a wonderful scent. The 2-toned green and silver color and branches full to the trunk are excellent for lights and ornaments. Fraser Fir was named for Scot botanist John Fraser, who explored the Southern Appalachians in the late 1700’s.
How to Keep Your Christmas Tree Fresh and Beautiful
1. Keep water in your tree reservoir at all times.
When we deliver your tree, or if you pick it up, we’ll make a fresh cut. It’s a good idea to make a fresh cut on your tree if it’s out of water for more than 15 minutes. If you can’t put your tree in your home right away, keep it in a cool shady area outside in water. Use a watering elf for easier watering.
2. Location, location, location.
Avoid letting your tree dry out by placing your tree away from the heater or AC vents and keep out of direct sunlight. Also, unplug lights when not at home; this reduces dry conditions and protects from fire hazard.
3. Use Christmas Tree Preservative
Use our tree preservative to keep your tree as fresh as possible – 1 oz. per gallon of water.
4. Use a Disposal Bag for easy removal.
Place disposal bag between the base of your tree and stand. At the end of the season, just pull the bag up over your tree and haul out – no needle mess!
GREEN GIFTS
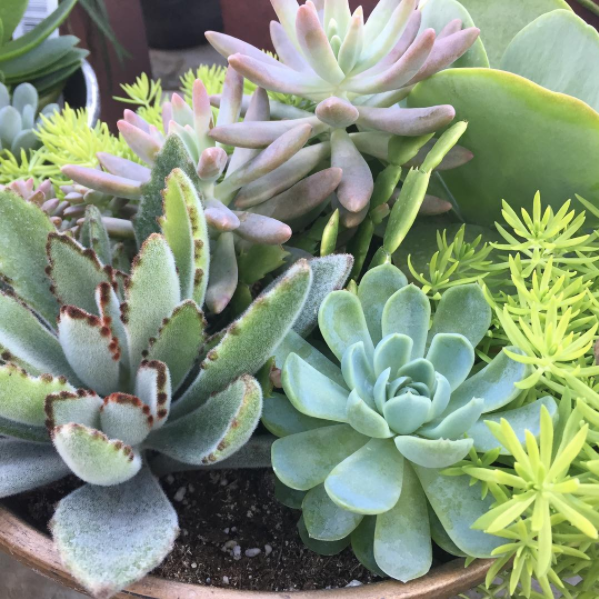
Succulent Bowl
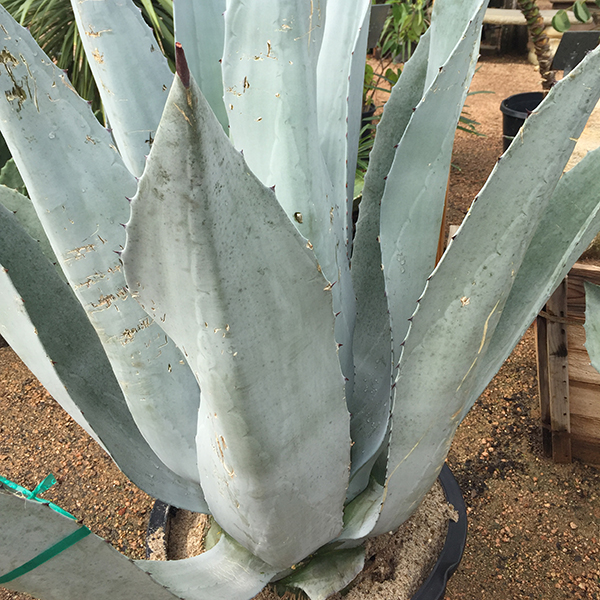
A great low-maintenance green gift! Work with us to order the perfect custom-made bowl or let us help you assemble your own. Easy care and looks awesome!
Bonus: Succulent Care Garden Guide!
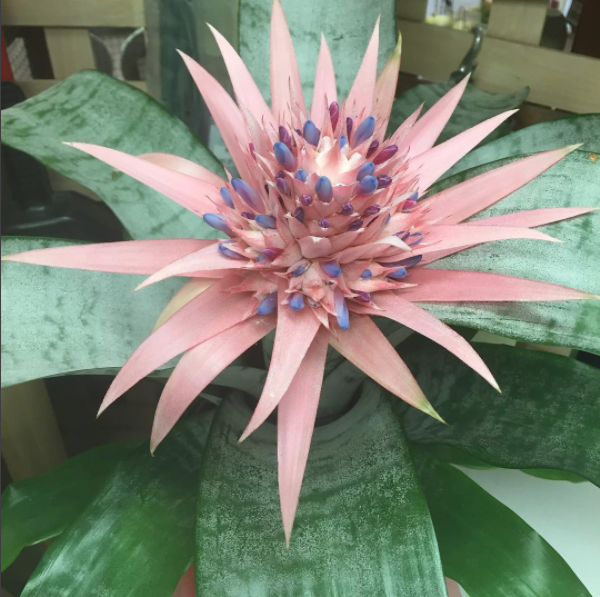
Bromeliads
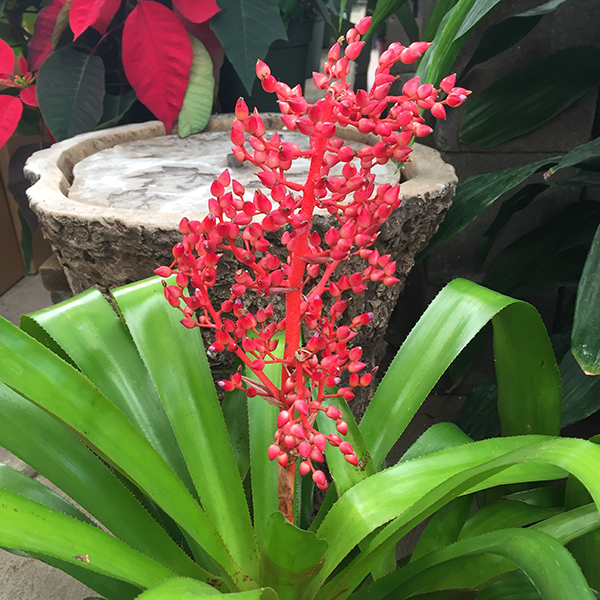
Happy indoors or outdoors, bromeliads are unique and addicting. You never know which kind you’ll find – come and see our selection.
Bonus: Bromeliad Care Garden Guide!
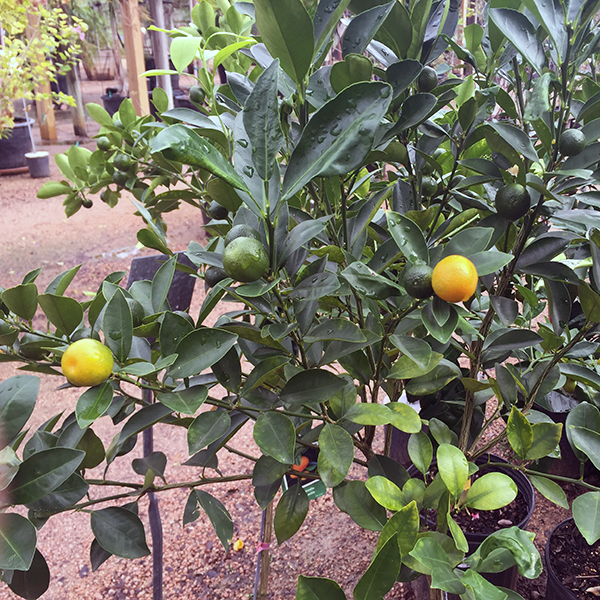
Fruit Trees
Winter is the perfect time to give a fruit tree, and will be a seasonal treat for years to come.
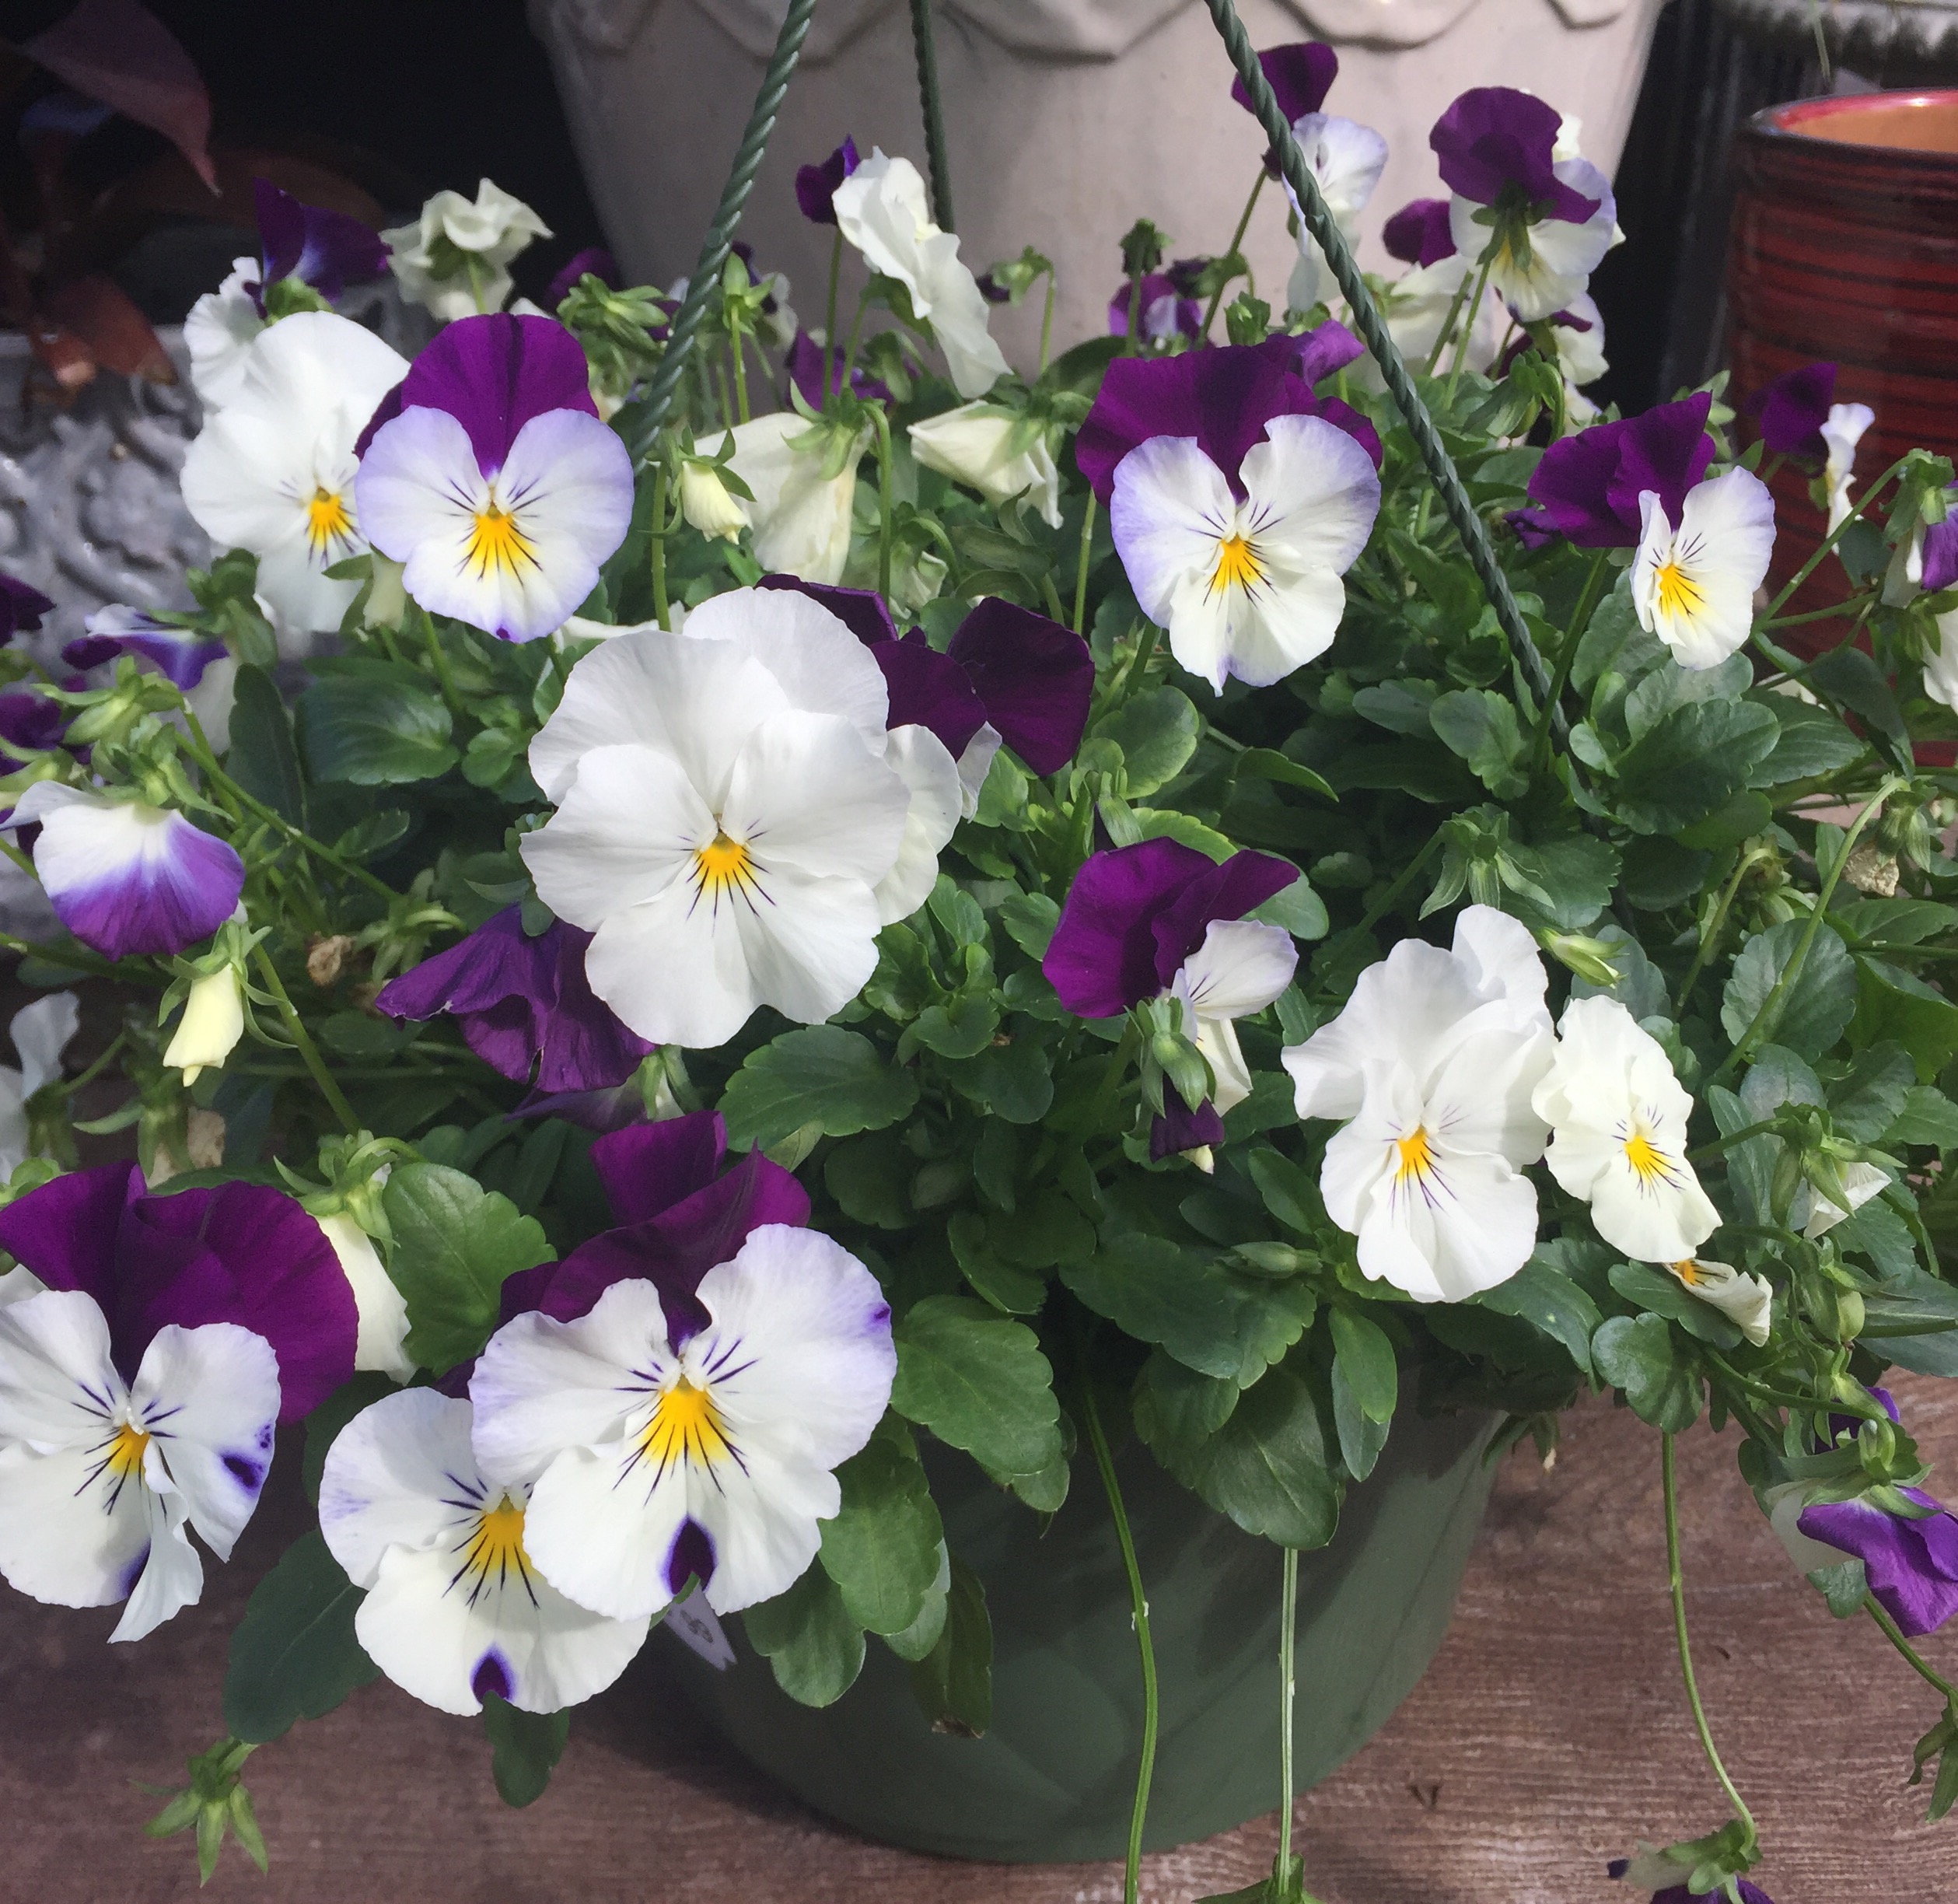
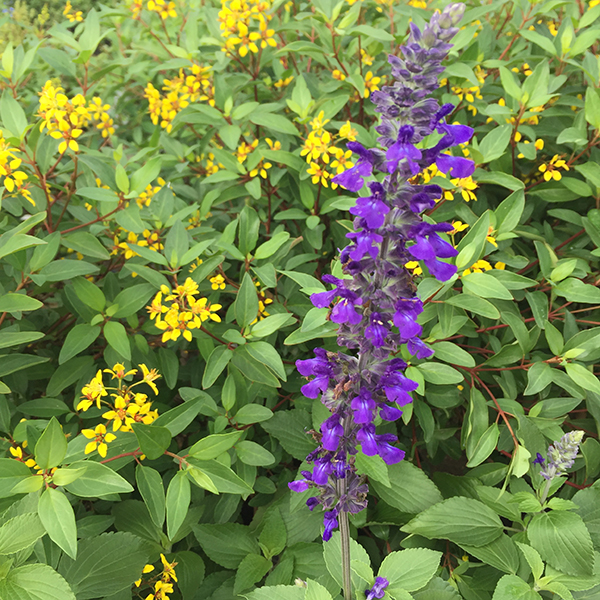
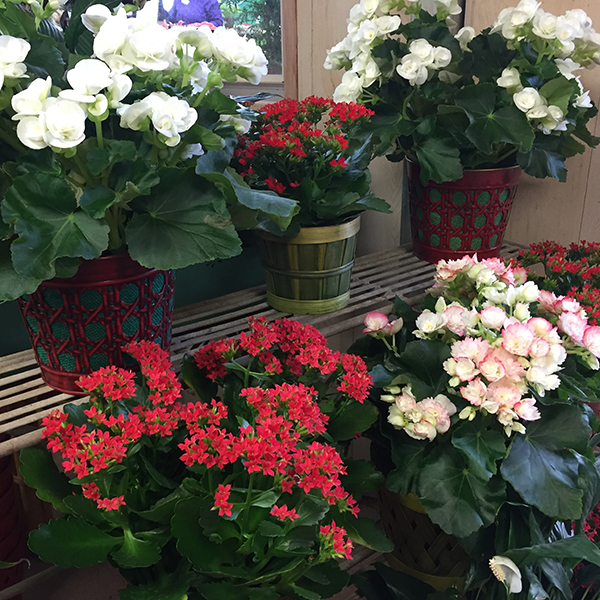

Have you read our December Garden Guide? Everything you need to know about caring for your South Texas garden this December.
GARDEN ART & STONEWARE
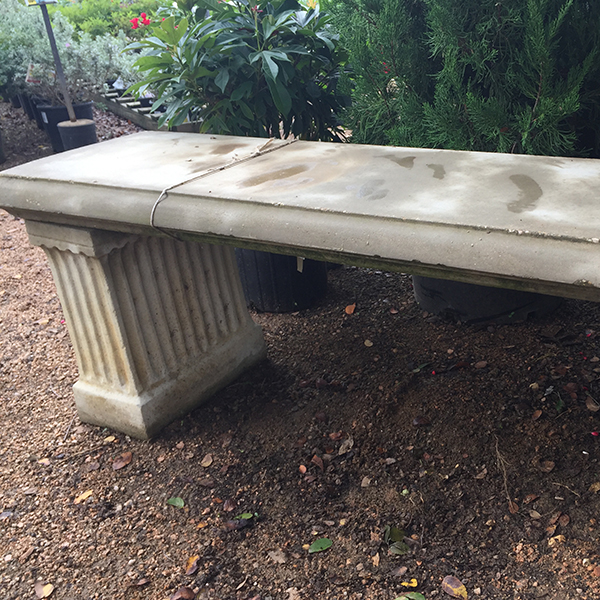
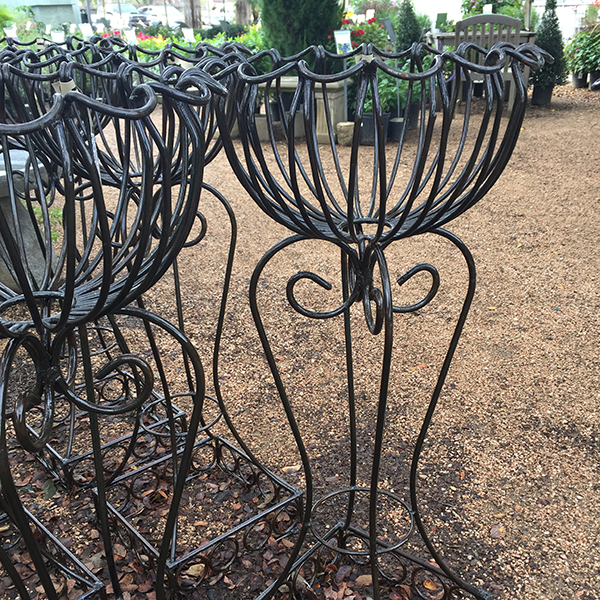
The nursery is full of non-living items, too! Any gardener on your list will love some garden art, stoneware, or statuary to enhance their outdoor space. Check out our benches and pottery, too!

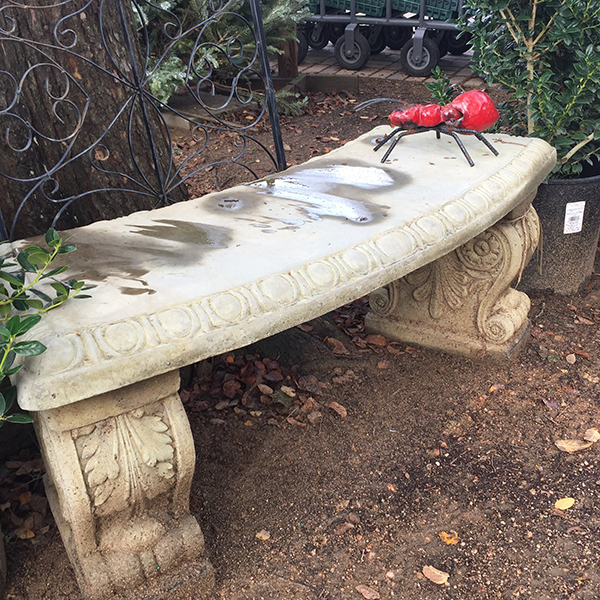
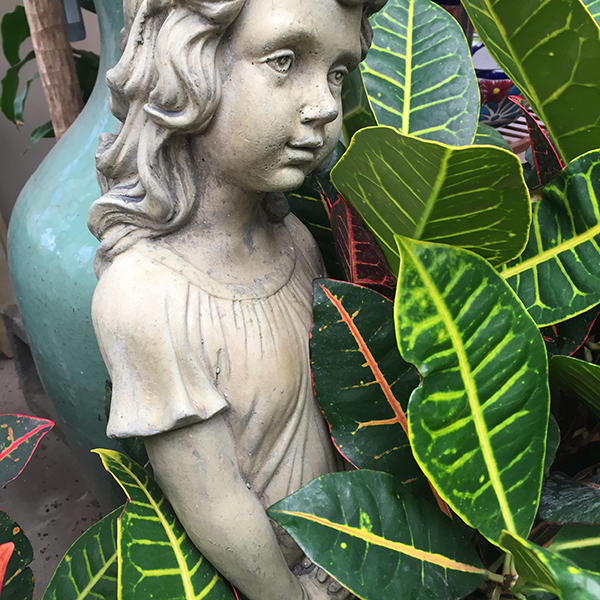

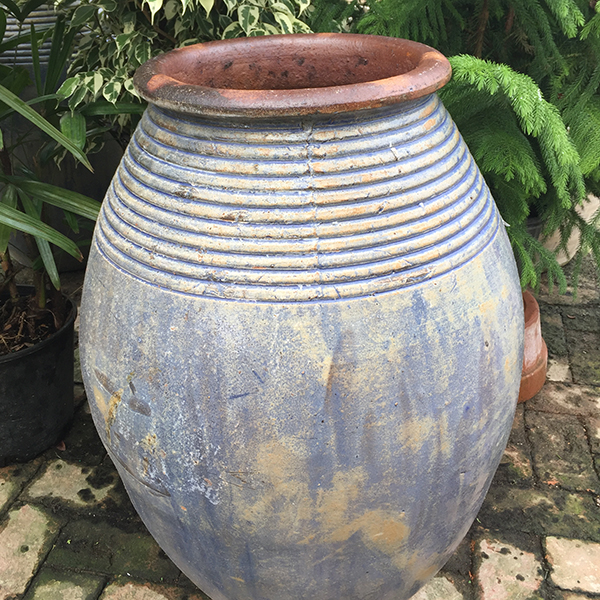
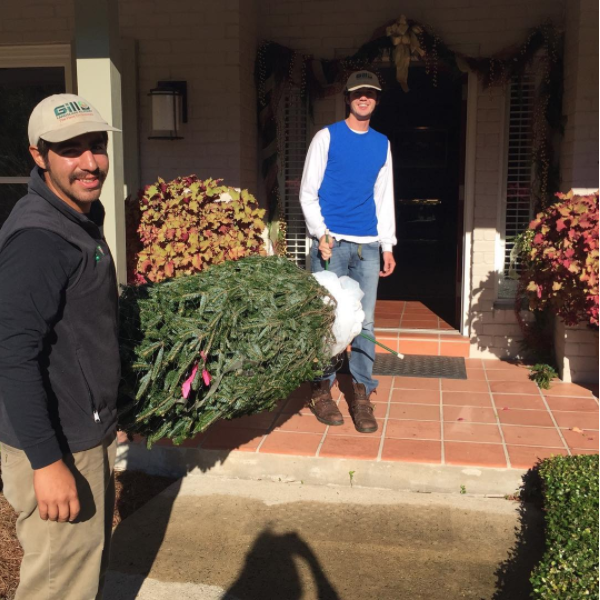
We’re still delivering Christmas Trees! Our trees are kept in water for freshness, and are available for pick up or delivery to your home. Come in and pick out the perfect one!
Christmas Tree Care
Keep your Christmas Tree fresh for longer and your home free of stray needles!
HOLIDAY DECOR
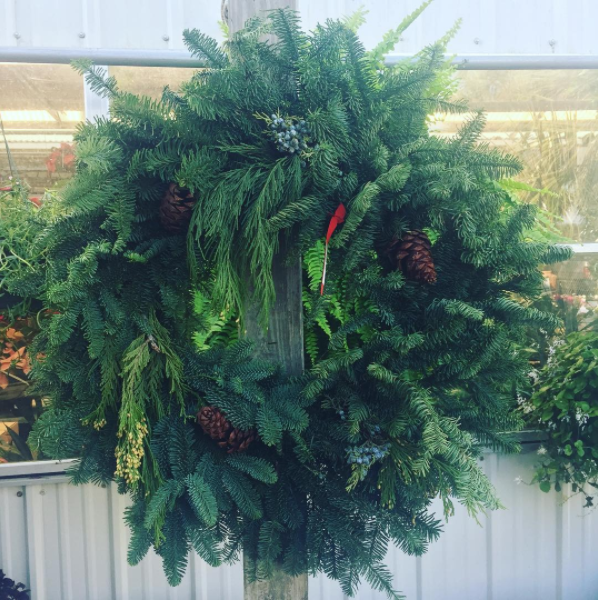
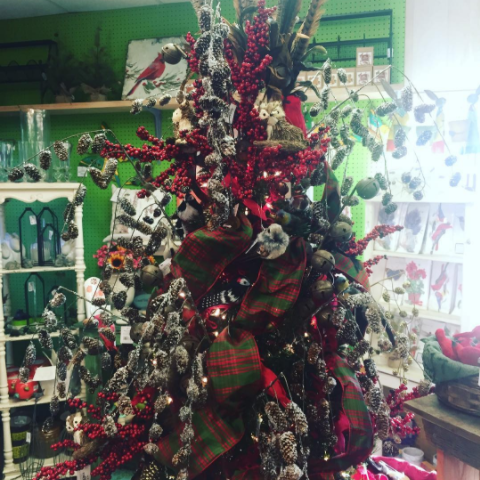
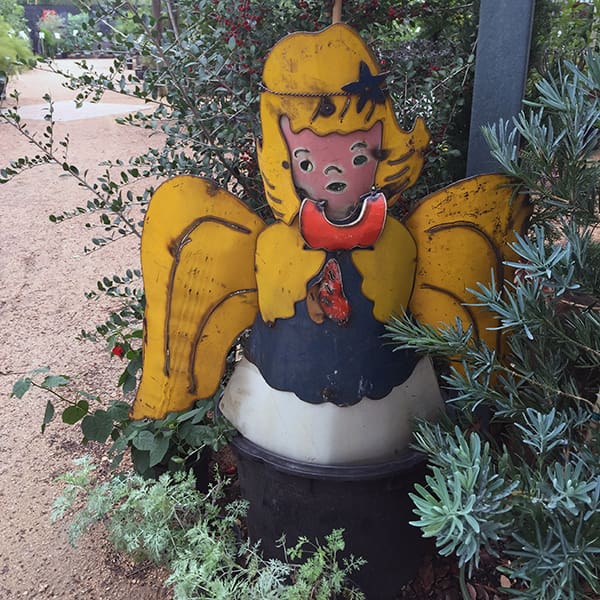
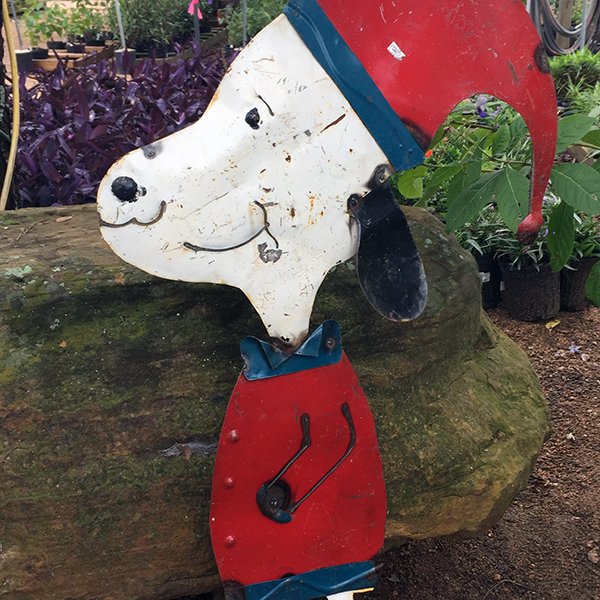
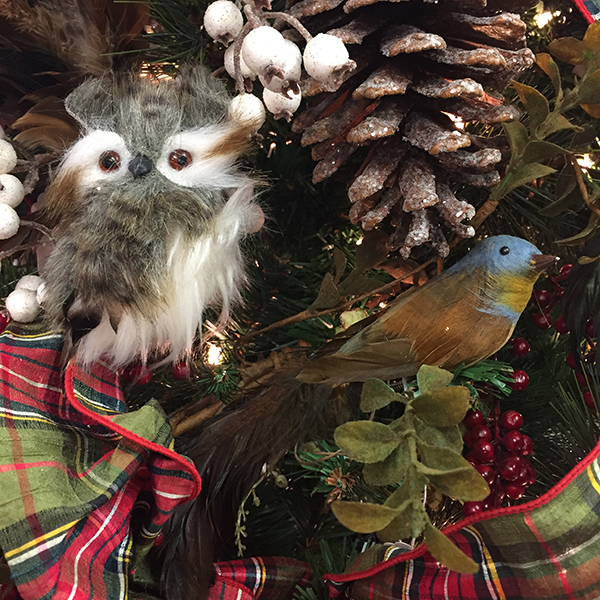
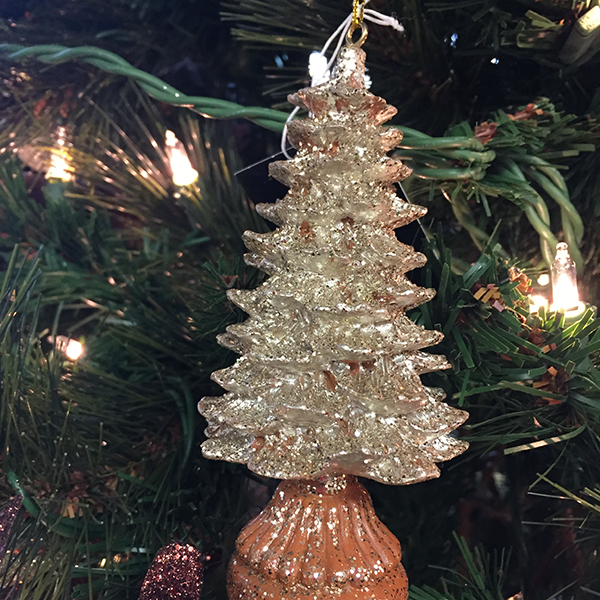
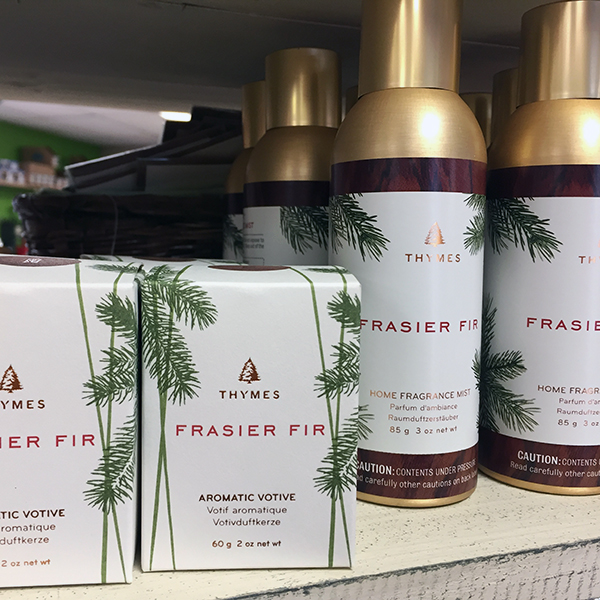
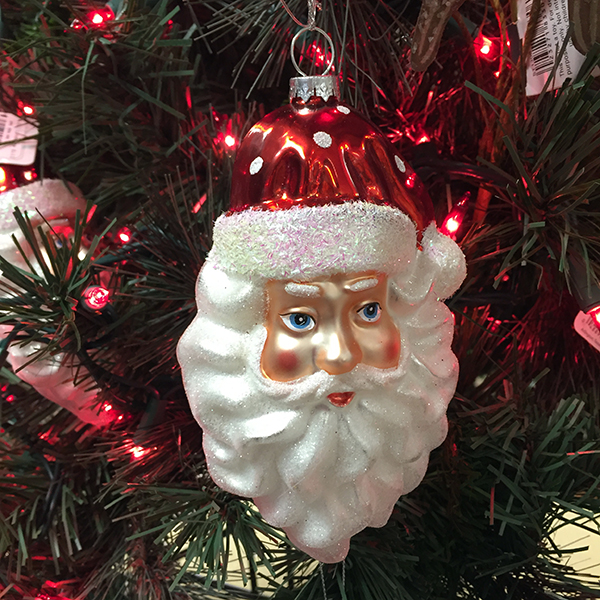
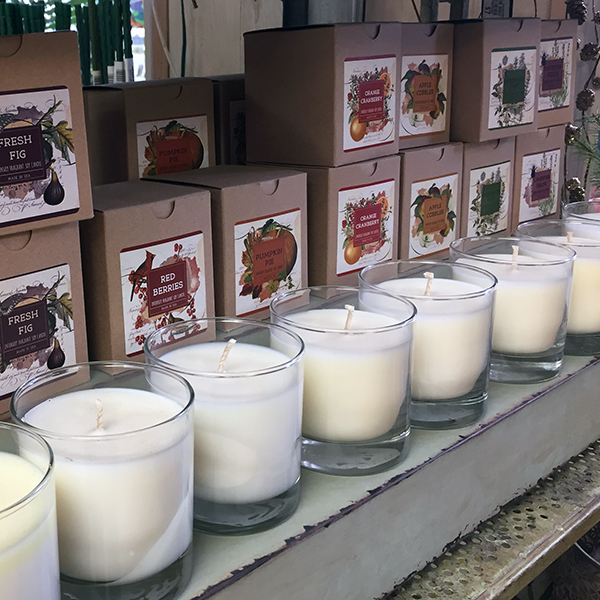
Deck your halls with holiday decor with a natural flair. We have ornaments, garden metal art, pillows, flags, fragrance, doormats – you name it!




Happy Holidays – See you in the garden!
Not flies, not moths, whitefly are about the size of gnats. If you see these little clusters of flies when you brush through your foliage, you need to control them.
Whitefly sucks the sap out of the plants – resist damage organically with Neem Oil. Mix your Neem oil in a sprayer, and spray all over the plant. Don’t miss the undersides of the leaves.
You’ll need more than one treatment – apply again in a week and then a week after that. Neem oil will also help with a variety of other soft-bodied insects like aphids and spider mites.
Happy gardening!
Poinsettias come in lots of colors and sizes, but all love to be kept in indirect light and very moist. Place inside, in front of a window and away from heaters and vents, or on the porch away from direct light.
A good way to keep watered by placing a few ice cubes on the soil every day. Only water the soil, not the foliage.
If the plant is wrapped in foil, remember to poke a few holes in the bottom and place in a saucer for drainage. Expect to see a few brown, ugly leaves – just remove when you water.
Read more about how to plant your poinsettia and enjoy again next year!
Happy gardening!