Happy Holidays, gardeners! We hope you’re having fun with family and friends and enjoying this warm weather outdoors. We’re back open regular hours December 26th through December 30th. We’ll be open 9-2 New Year’s Eve and closed New Year’s Day. Cheers to 2025!


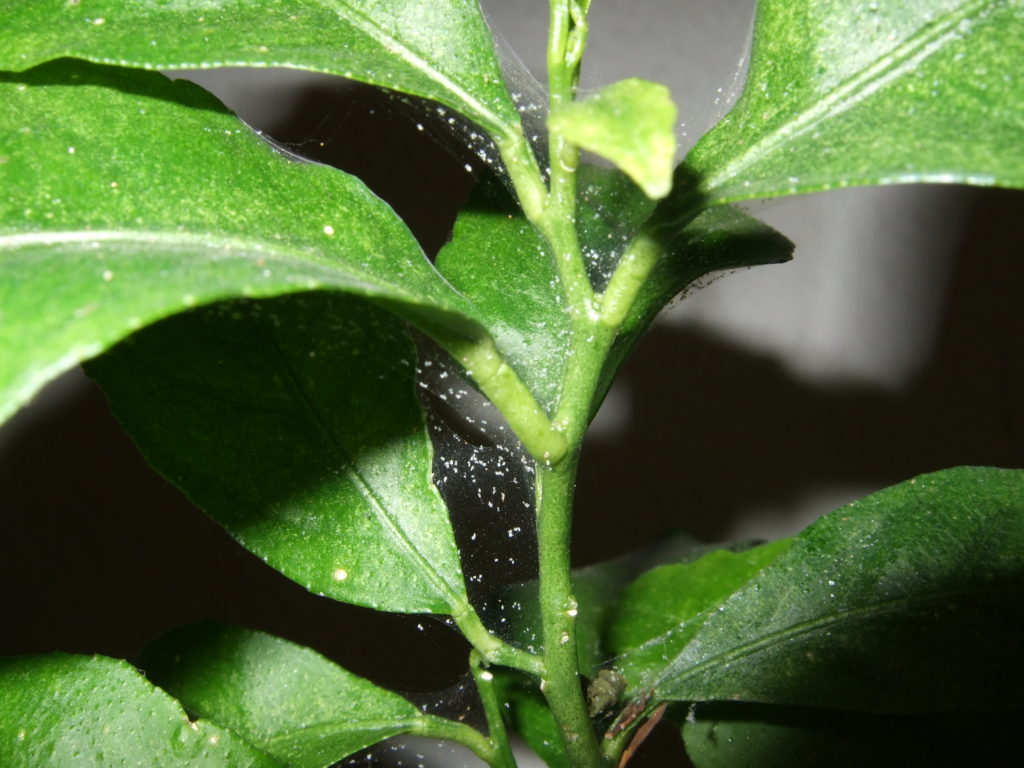
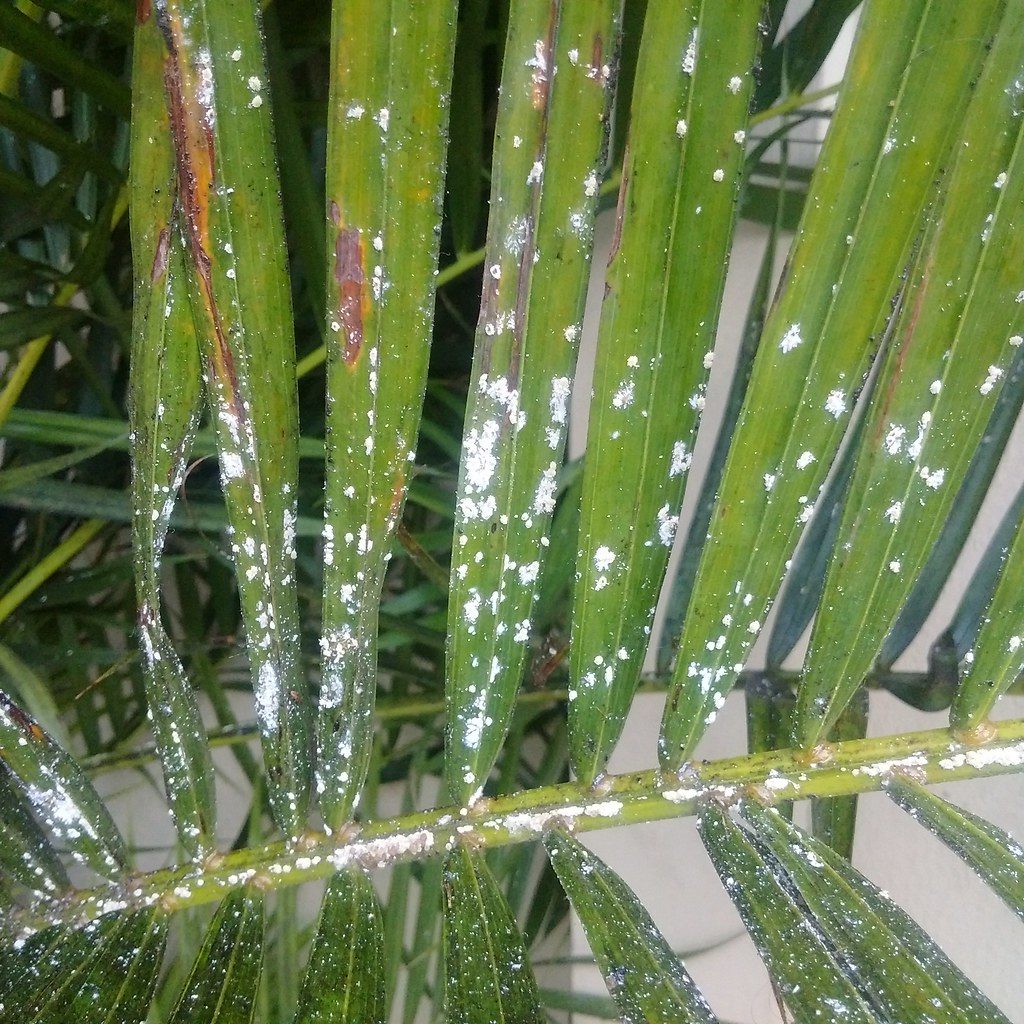 This is what a mealybug infestation looks like!