Garden Center Hours: Mon-Sat 9am - 5:30pm • Sun 10am - 5:30pm

Temperatures don’t feel like it yet, but it’s time to start making the transition into an exciting new fall planting season! There’s a lot to do in August to set yourself up for big garden success this fall and beyond. Here are our top must-do’s!

Check out our August Garden Guide for more tips and remember that trees, shrubs, and perennials can be planted 12 months out of the year! 

1. Pick Out Your Fall Veggie and Flower Seeds!

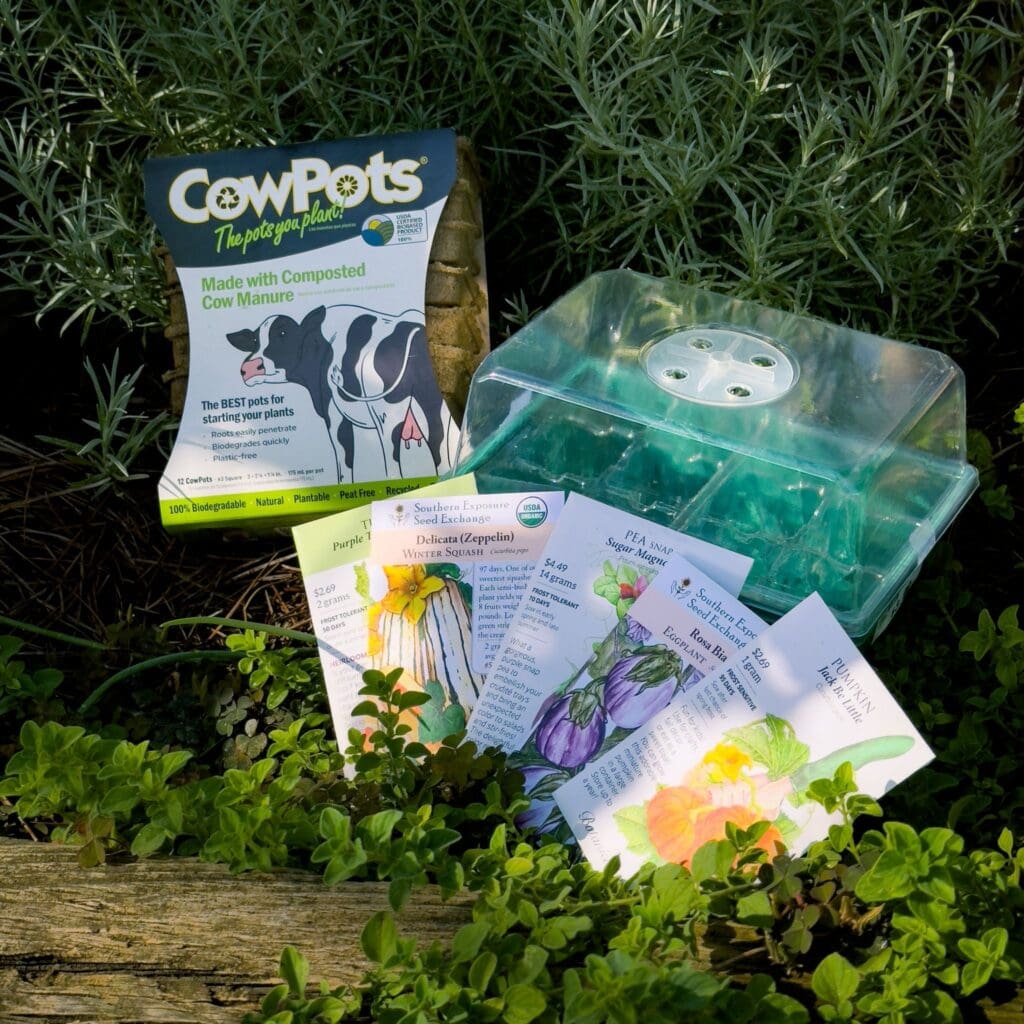
August is the time to start your fall veggie seeds! Next week, we’ll receive the new 2025-2026 seeds from our favorite seed suppliers, including heirloom vegetables, brand new releases, and wildflower seeds. Try our new Cow Pots or seed starting trays to start seeds indoors this month, move to a covered patio once they sprout, then into your garden beds once they’re robust enough to live outside. This will protect the seedlings and slowly acclimate them to outdoor temps. Our Fall Vegetable Planting Guide provides the specific seed-planting dates to help plan your fall garden. Remember – if you want bountiful fall veggies, you need to get an early start! 

2. Start Planting Now for Fall Pollinators!

Don’t wait until fall arrives to start planting for fall pollinators – start cooking now so their meal will be ready when they arrive! Important fact: birds, bats, bees, butterflies, beetles, and small mammals that pollinate plants are responsible for bringing us one out of every three bites of food worldwide. Plants attract and provide food for them to keep the cycle going. For example – plant Zinnia and sunflower seeds now, and they’ll be ready to feed migrating birds this fall. Plant salvias now, get roots established, and they’ll be gorgeous this fall and covered in hummingbirds, butterflies, and bees. If you want to provide the best benefits for the most pollinators, plant Texas natives

3. Prep Your Garden Beds

August is the time to start prepping fall veggie beds! Finish your Summer harvesting, clean out your beds, and pull weeds. To get your soil ready, we recommend mixing Nature’s Blend Compost or Cotton Burr Compost into your soil to replenish nutrients and loosen the soil before planting. About 1 bag per 12 sq. ft. is good. Once prepped, add a thick layer of pine straw or hardwood mulch, which will help retain moisture, keep weeds from sprouting, and keep the soil cooler until you’re ready to plant. As you plan your space, think crop rotation – don’t plant the same veggies in the exact same place you planted them last season, or you encourage pests and diseases. 

4. Water to Maintain Depth Moisture!

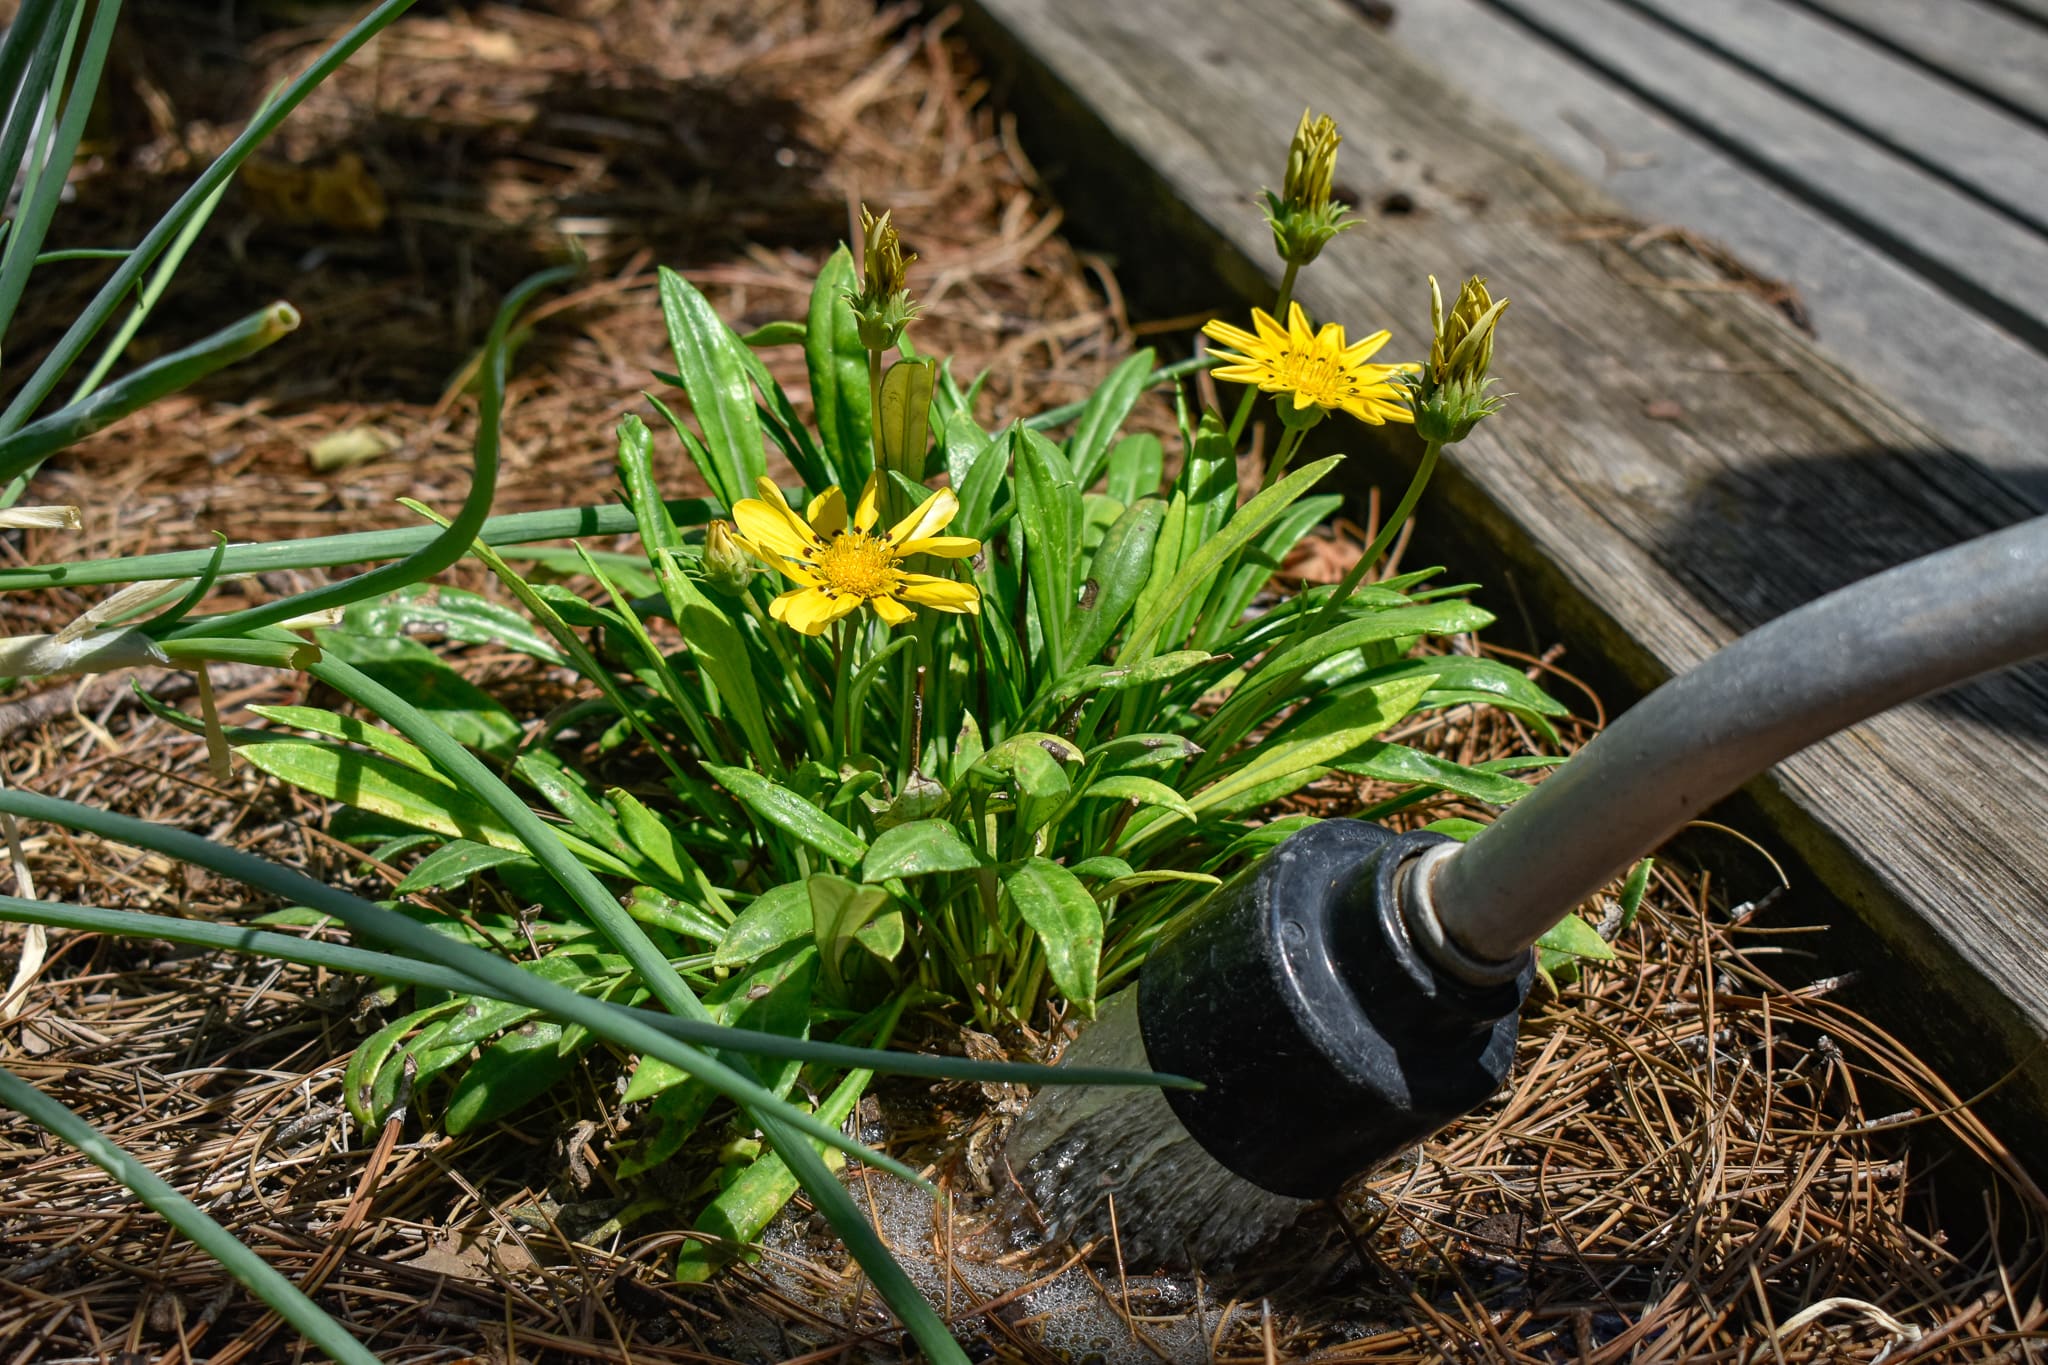
We’ve been lucky to have some well-timed rain showers this summer, which has created some depth moisture in the soil. Our goal with watering this month should be to maintain it. For lawns and established plants and trees, this means watering less frequently, but watering deeply when you water. New plantings will require water every day for the first couple weeks to get the roots established, but again, think deep drinks so the roots dive deeper. Use a water wand with a cut-off valve to make it easy on you and conserve water. Pro tip: Conserve water by watering at ground level, not spraying from above. This way, water soaks down to the roots rather than evaporating off the leaves. 

5. Mulch = Cool Roots, Dude!

Proper mulching using natural Hardwood or Pine Straw mulch has big benefits, especially during hot weather. A good 3” deep layer of mulch will keep your plants and the soil moist and cool for longer after you water or after it rains. Not just a little cooler – we’re talking more than 25 degrees cooler!! Cooler soil temps allow plant roots and beneficial microorganisms in the soil to flourish. When mulching, give the main trunks or stems of your plants a little space – mulch 3” deep throughout the bed, but no more than 1” deep right up against the main trunks/stems of plants.

6. Set Your Late Summer Lawn Expectations

In late summer in South Texas, even if you were watering quite a lot, it would be difficult to keep your lawn perfectly green. If we don’t get much rain this month, and with current watering restrictions in place, our goal shouldn’t be perfect green – our goal should be alive! If you can haul or find someone to haul recycled effluent water to apply to your lawn, you’re in good shape. Applying water once every 2 weeks at a half inch depth is sufficient. Again, don’t expect lush and green, but it will keep your lawn alive. Our lawn watering schedule is currently full, but we may be able to help connect you with others who are providing the service. Also, keep in mind that current watering rules allow you to hand-water your trees. Since trees should be watered at the drip line, watering trees properly can be a way to get some water on the lawn too. 

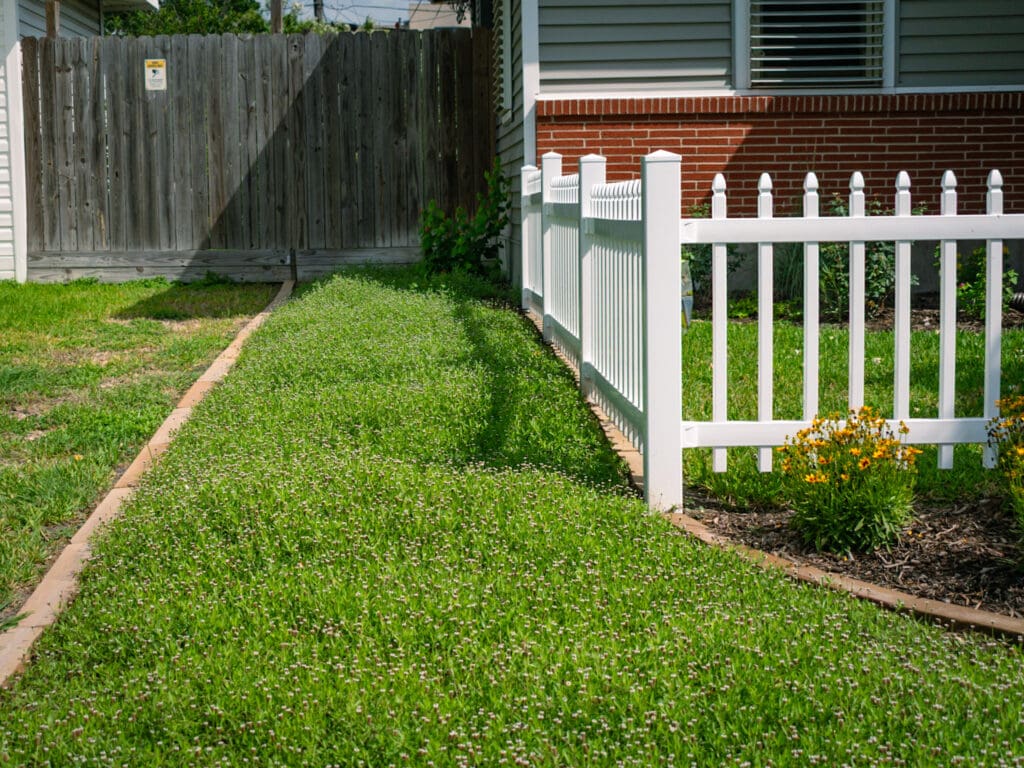
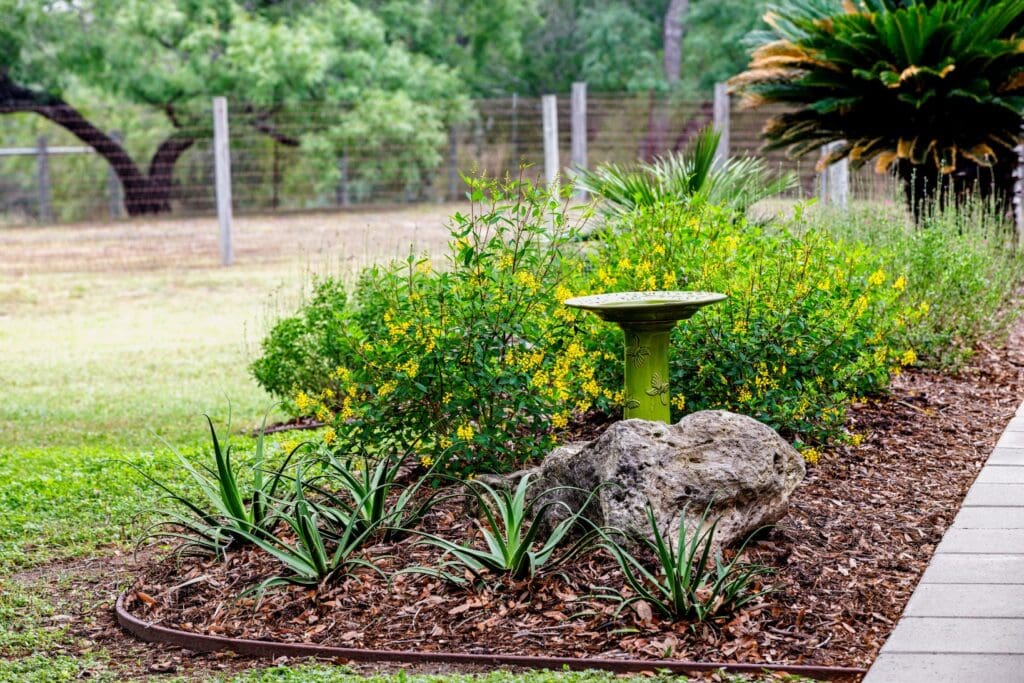
This is also a great time to think about whether you need or want all of your lawn space. Consider reducing lawn space by increasing your planting bed space, adding new planting areas, using native groundcover like frog fruit to replace lawn areas (pictured), or creating space for wildflower seeding – lots of other options that are more beautiful and more beneficial than a traditional lawn. 

Start your engines…fall planting season is here!! September is the best time to plant almost everything – veggies, trees, shrubs, natives, hummingbird plants, and more. Here are our top 7 must-do’s in September as we head into fall, our favorite South Texas gardening season!

1. Ready, Set, PLANT Veggies, Herbs, Citrus, and Fruits!

It’s time! Tomatoes, peppers, & warm weather edibles should be planted early in September at the latest. Plant cool weather veggies & herbs anytime in September and remember to shelter them from still-intense sun and keep watered. When planting, you can’t go wrong with organic BioTone starter fertilizer + a good handful of Earthworm Castings. Neither of these require precise measurement, and they make an incredible combo for building stronger, deeper roots, preventing pests, and creating an active soil environment for plants to thrive.

Here’s our Fall veggie planting schedule. And save space for citrus trees, figs, and other fruit trees to round off your garden grocery store! They’ll all be arriving before or right around mid-September. 

2. Make Way for New Growth with Light Pruning and Clean-up

Chances are you have established plants that could benefit from a clean-up after working so hard all summer. Wait until about September 15th and give them a light pruning to make way for new growth this fall. A good rule of thumb for most plants is to prune up to 1/3 (not more) in the fall, then wait until January to do a heavy pruning/cutback. If you have questions about how to prune specific plants, you know who to call! 

3. Plant Trees and Shrubs for the BEST Start

Plants that are cold hardy (trees and woody shrubs) will benefit greatly by planting during our fall season. They’re under less heat stress, and they grow more roots through the fall and winter, making them stronger and ready to take off next spring. More roots, stronger plants, and less watering! Oak trees, Crape Myrtles, Hawthorns, Yaupon Holly, Plumbago, Boxwoods and a host of other trees and shrubs should be planted starting this month for the best possible start.

4. Plant to Support Pollinators!

We’re bringing in lots of new plants this month with our pollinator friends in mind! While you’re choosing what to plant, consider adding Texas Natives like Turk’s Cap and Lantana that birds and bees love. If you want to attract and support butterflies, try native butterfly weed (Asclepias tuberosa), Gregg’s mist flower, and lots of different blooming salvias. So many gorgeous options! Bring in some pictures of your outdoor space and we can help you plan the perfect pollinator garden – big or small. You can DIY or we can plant it for you!

5. YES You Can Hand-Water and Use Drip Irrigation Systems!

Keep in mind that you can hand water all landscape plants, gardens, and trees on any day under current city watering rules. The good news is, hand watering is the best way to water as long as you’re doing it effectively. That means making sure you water at ground level, not over the top of your plants. This gets more water down to the roots, prevents water loss due to evaporation, and prevents fungal issues that can arise from too much moisture on leaves and stems. When hand watering, be sure you’re giving your plant roots a deep soaking. Water once, give it some time to soak in, then water again. Keep in mind, under current rules, you can also use drip irrigation systems for landscaped beds every other week on your watering day. The same principal applies – deep soaking!

6. Set the Table for the Fall Hummingbird Migration!

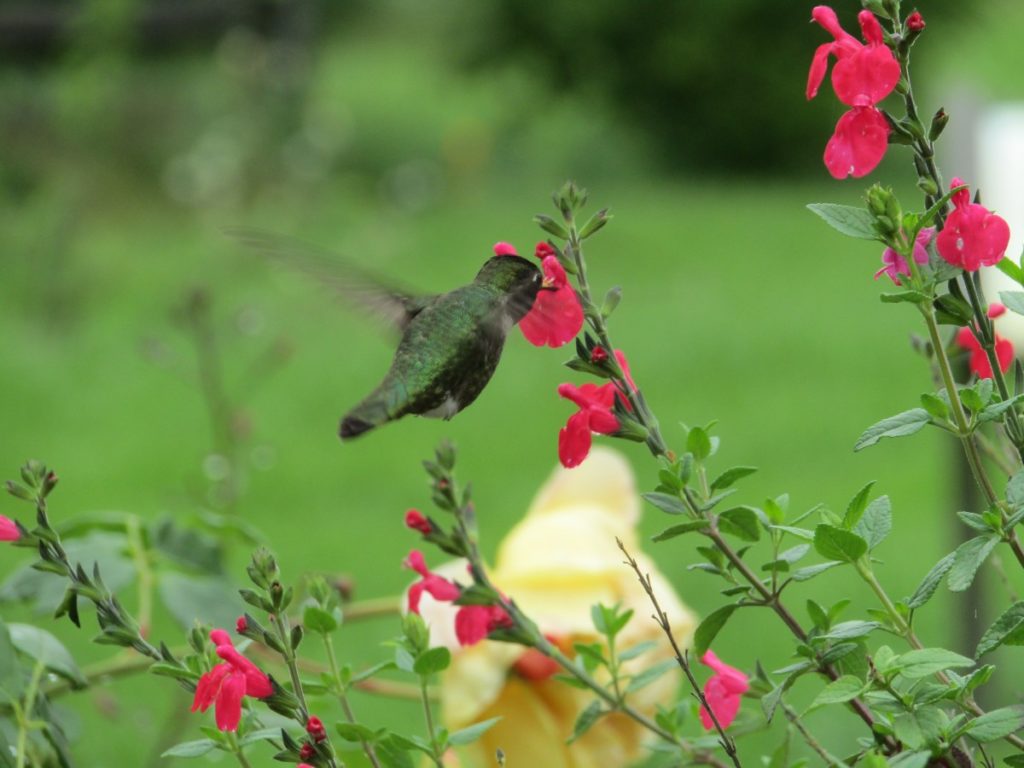
Ruby-throated hummingbirds will soon make their way through for the fall migration! These tiny birds are BIG eaters. They stop here in the Coastal Bend to fuel up before their non-stop flight across the Gulf of Mexico. Host them in your yard by planting some of their favorite foods! Hummingbirds find plants using their excellent vision and are attracted to bright colored blooms, which indicate a high-sugar food source. Some of our favs for South Texas are Flame Acanthus (aka hummingbird bush), Salvias (like native Salvia greggii and Salvia leucantha), Cape Honeysuckle, Firebush, Firecracker plant, Coral bean – the list goes on! Plant a few of these and hummingbirds will find them. And don’t forget to visit the Rockport-Fulton HummerBird Celebration September 18-21!

7. You’re Invited! Fall Garden Talks and Events at Gill’s!

Gill Garden Talks and Events are back this Fall! We’re kicking it off with DeAnna and Wyatt’s Fall Veggie Gardening Talk on Saturday, September 13th!  Based on your suggestions, we decided to do 2 veggie talks this year. Part 1 will focus on early fall veggies like tomatoes, peppers, and squash, and part 2 will focus on cooler season crops like broccoli, greens, and cabbage. Stay tuned on our events page and on Instagram and Facebook for details of each event. We can’t wait!

Holiday season is here…and some cool weather finally! These last few weeks of 2025 are sure to fly by. Our advice:  be sure to spend some time in the garden to balance out the hectic holidays. Here are our top to-do’s this month:  what to plant, gift ideas, holiday plant care, and more.  

1. Plants That Want to Be Planted in December

There’s always the BEST time to get plants growing and here’s a few that LOVE this season as much as we do!

Trees…shade, flowering, small, big, they all benefit from planting now – including living Christmas trees like Junipers and Norfolk Pines. Good root development during the cooler months of winter gives them better growth in spring and a deeper, stronger root system to withstand the summer heat.

Onions…we grow short-day onion varieties here in South Texas. Lucky for us the 1015 Texas Supersweet is one of those along with tasty Texas Early White & Southern Belle Red.

Roses…our mild winters are perfect for big, beautiful roses & the cooler temps will only make them prettier and the flower color richer.

Ornamental Cabbage & Kale…these winter classics need to be planted early this month and enjoyed through the season! Easy care, vibrant colors, and unique texture in the garden.

Alyssum…gorgeous white blooms all winter long. Did you know Alyssum flowers and leaves are edible? They have a pungent horseradish-y flavor.

Crown of Thorns…very easy to grow succulent, low-water, excellent container plant that blooms all year, including all through December.  

Other plants that require short days…some plants require short days/enough hours of darkness to bloom and look their best. Think Aloes and other outdoor succulents, Cyclamen, Camelia, native Salvia greggii, and Kalanchoes!

2. Tips for Holiday Classic Plants

Fresh-cut Christmas Trees…we give all of our trees a fresh cut and get them in water immediately to preserve their freshness. Many customers ask us for another fresh cut before they take the tree home. If you decide to have us do another fresh cut, or if you do it yourself, keep in mind that you have 10 minutes to get the tree in water before that cut seals over! Check water in your tree stand daily and keep it full. If you have pets who like to drink or splash the water, try covering with a piece of foil.

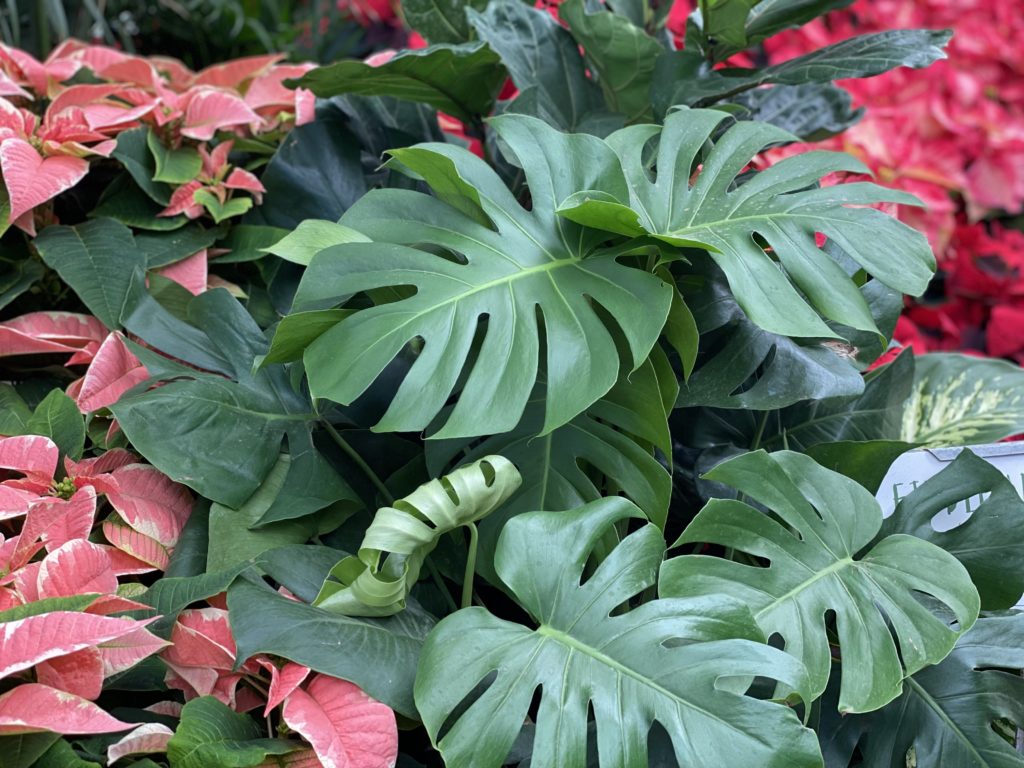
Poinsettias…Think of poinsettias as succulents – because they are! They are a type of euphorbia. That means give them a good drink, but let them dry out between waterings. Also, the leaves bruise and break easily, so avoid touching them as much as possible. So tempting to touch!

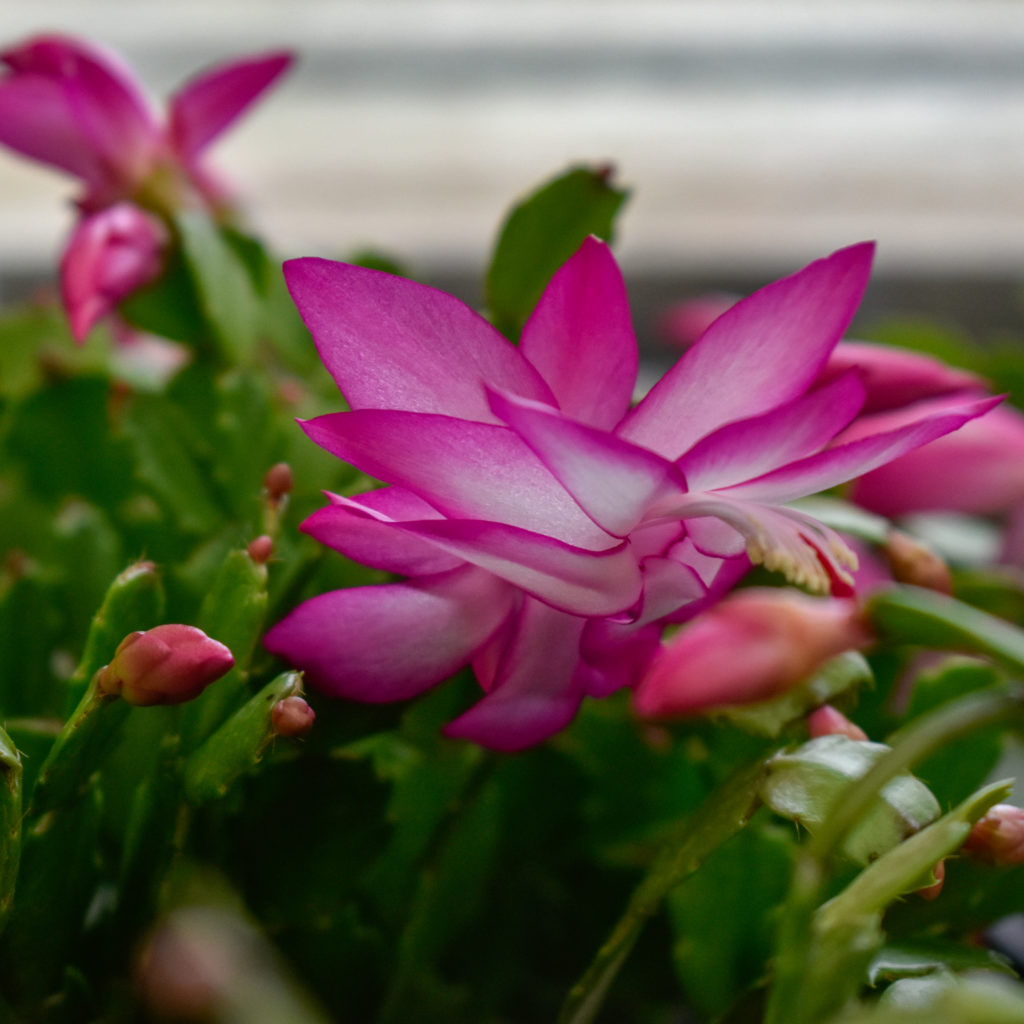
Christmas Cactus…Probably the easiest of all holiday plants, and they can last a LONG time! There are stories of Christmas Cacti that have been gifted and passed down through families for 100+ years. They like well-lit areas, but not direct sunlight. Let dry between waterings, then mist the leaves as well as water the soil when its time to water. They like to stay on the dry side!

Living Holiday Trees…Junipers, Norfolk Pines, Loblolly Pines, Magnolias, Yaupon Holly, and Ficus trees all make great Christmas trees that can be planted outside after the holidays. If you bring these in for decorating, be sure they have good bright natural light. Keep watered but not too much, and as soon as the holidays are done…take them outdoors for a breath of fresh air and get them in the ground.

3. Think Gifts for Gardeners!

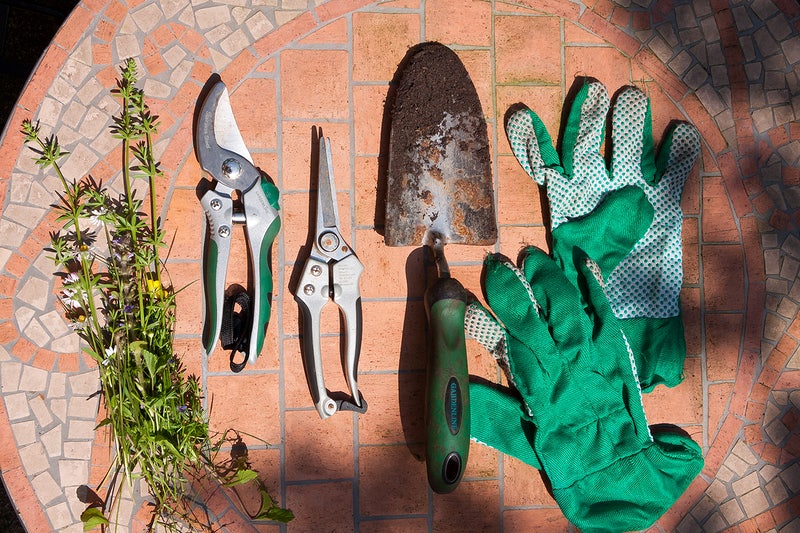
If you have gardeners on your list this year, we’ve got you covered! Nature-themed holiday ornaments, quality tools and gloves, special edition holiday cards, crystals, cute houseplant grow lights, herb and cutting re-growers, and lots more unique garden gifts. And of course, plants!! If they’re picky, you can’t go wrong with a Gill’s gift card!

4. Plant and Feed Winter Flowers

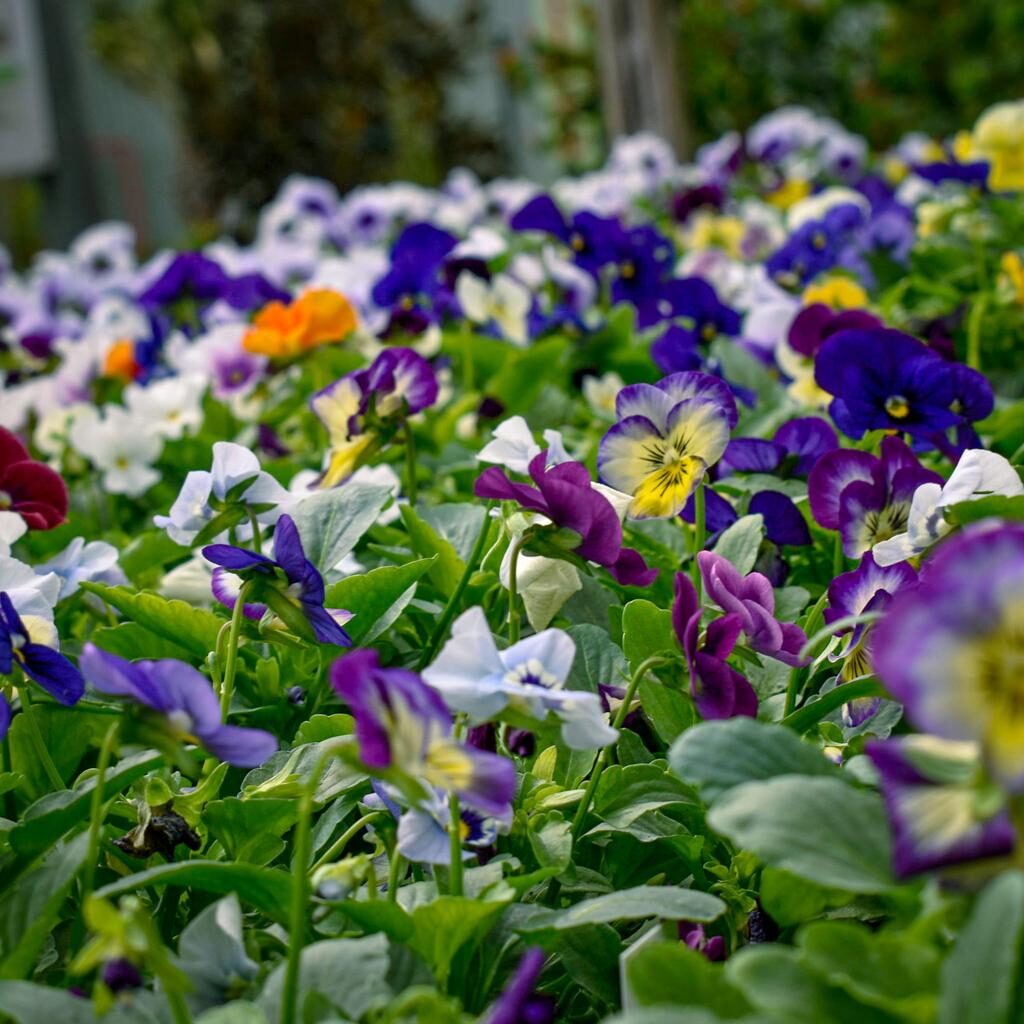
Winter flowers are AMAZING right now! They really shine in cooler weather. Violas and Pansies are breathtaking and Geraniums are full of buds and blooms. All that blooming makes them hungry, so take a moment and fertilize your beauties whether they’re in the ground or in containers. We love using granular Plant Tone once a month, then following up with liquid Hasta Gro every 2 weeks. Both are organic and give you wow results. 

5. Adjust Your Houseplant Care for Winter

Most houseplants will not experience a complete dormancy period during winter, but they will slow down growth and react to climatic changes like drier conditions inside the house. Give your houseplants more light and less water as temperatures and the amount of daylight hours drop. Dust/shine leaves regularly to ward off insects. Cooler temps = drier conditions and less of the humidity that houseplants love. Try grouping them together to create more humidity, or use a humidifier. When bringing patio plants inside for cold snaps, be sure to treat with All Seasons Horticultural Oil spray to prevent any pests (like scale insects) from hitching a ride indoors.

6. Start Thinking About Frost Prep!

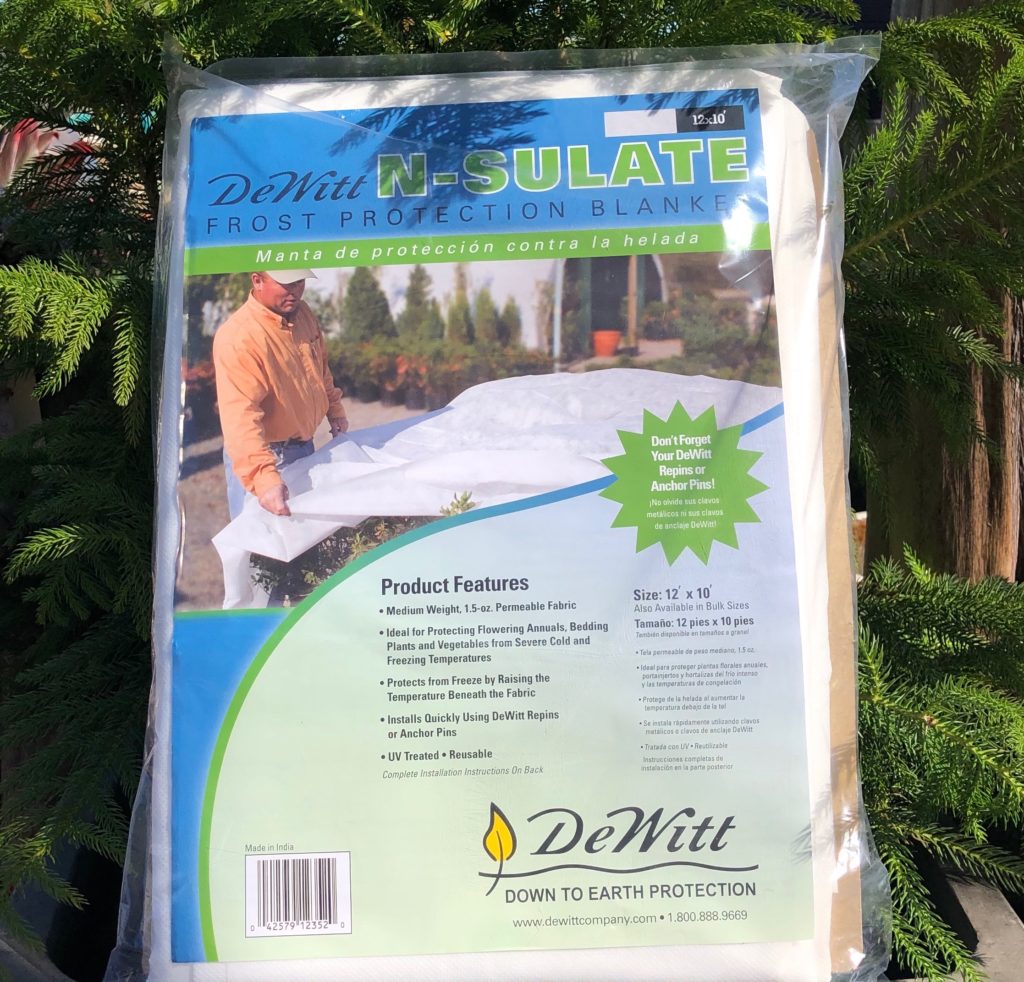
We typically don’t get a frost until January or February, but there’s always a chance! Be sure you’ve got your frost blankets or frost cloth ready to protect any tender outdoor tropicals and new plantings. Mulch beds at 2-3″ deep to help seal in warmth. And don’t prune yet! Remember that pruning signals to a plant that it’s time to put on new growth. Instead, plant leaves need to harden off and go dormant for the winter. Foliage that you leave on the plant will help insulate it against cold weather.

7. Winter is the Perfect Time for Hardscaping

While you can certainly still plant in December, many folks gravitate toward completing hardscape projects this month, like flagstone patios, paver driveways, stone pathways, stone firepits, and more. These elements add structure and functionality to your garden spaces – plus they don’t need water or TLC. If you’re considering DIY, we can advise you on proper construction steps and things to consider, plus supply you with the materials you’ll need. If hardscaping sounds like too much hard work, our Landscape Designers and crews can handle everything for you. Give us a call or contact us here to get your project started.  

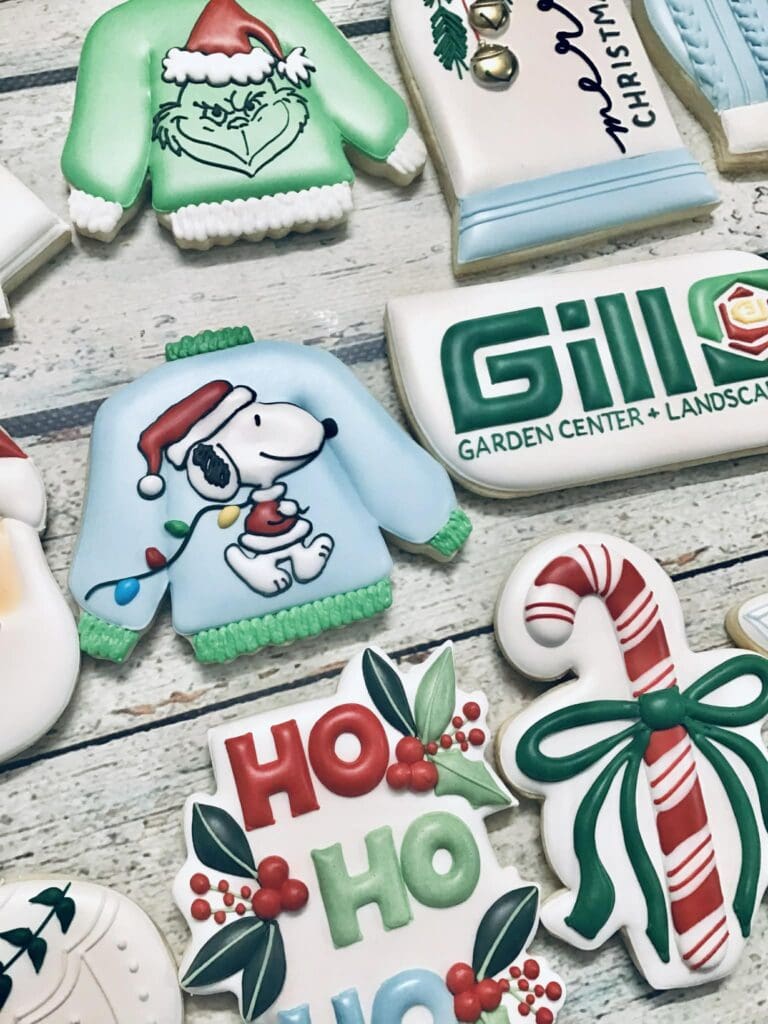
Happy Holidays, gardeners! We hope you’re having fun with family and friends and enjoying nice weather outdoors. We’re back open regular hours December 26th through December 30th. We’ll be open 9-2 New Year’s Eve and closed New Year’s Day. Cheers to 2026! p.s. – check out these amazing cookies from our Gill holiday party! 


Yay for May! Everything’s growing and blooming and supercharged by recent rains! We hope you are too. May is Mental Health Awareness Month, which is a good time to think about the peace of mind that gardening brings us. Gardeners know all the research is true – gardening is one of the healthiest, most satisfying, and most fulfilling things humans can do! Here are our Top 7 Must Do’s this May to keep you and your garden feelin’ good.

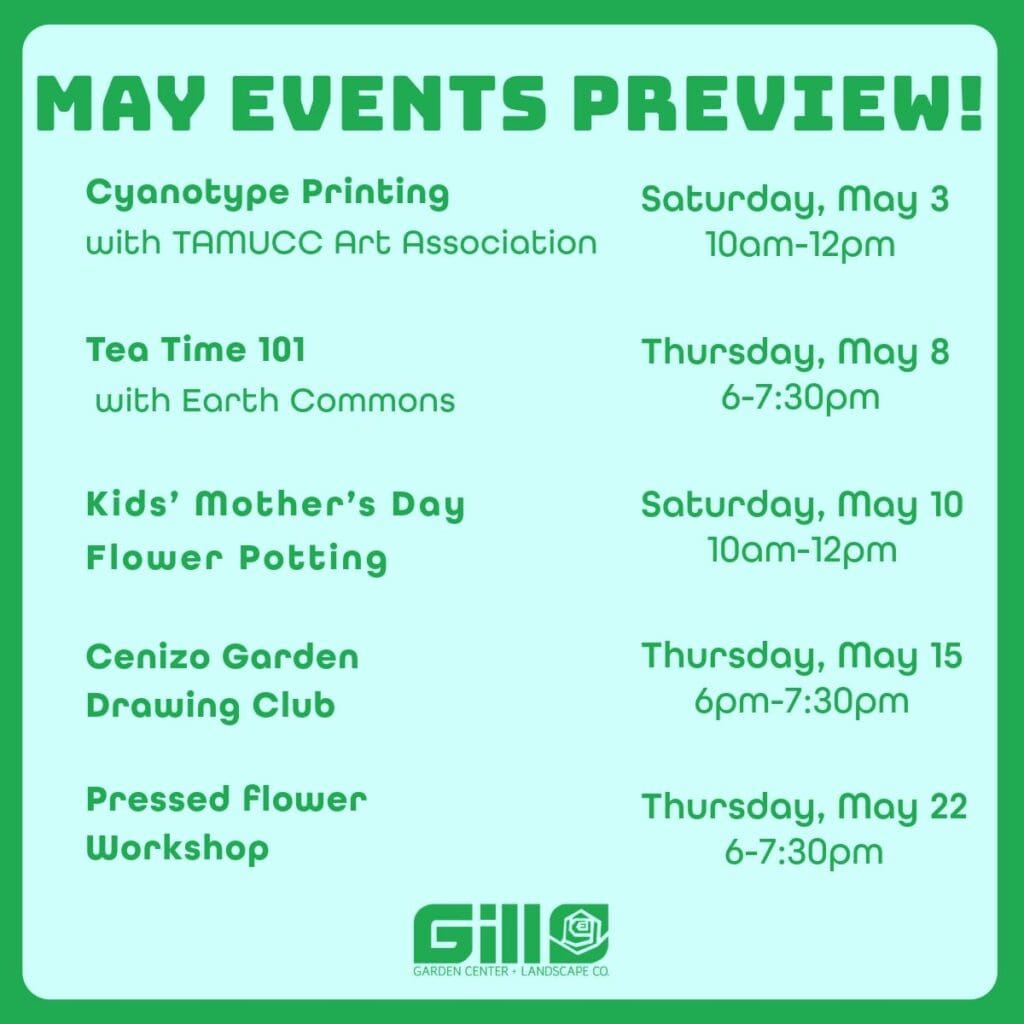
1. Join Us for Workshops & Events!

We’ve got a big May planned here at Gill’s with another round of fun workshops and events. Next weekend, on Saturday, May 9th, we’re inviting kids to come pot up a free flower for Mom for Mother’s Day. The following week, we’re hosting our first ever Ikebana workshop led by our fav local floral designer, Julia Prohorova aka Wild Veggie Bouquet! We’ve got Bigfoot’s Rockeaters coming for a cactus growing talk later this month, plus round 2 of our Nightbloom Market after-hours shopping event – this time with more vendors! Click here for more info, RSVPs, and tickets!

2. Plant Blooming Perennials and Trees

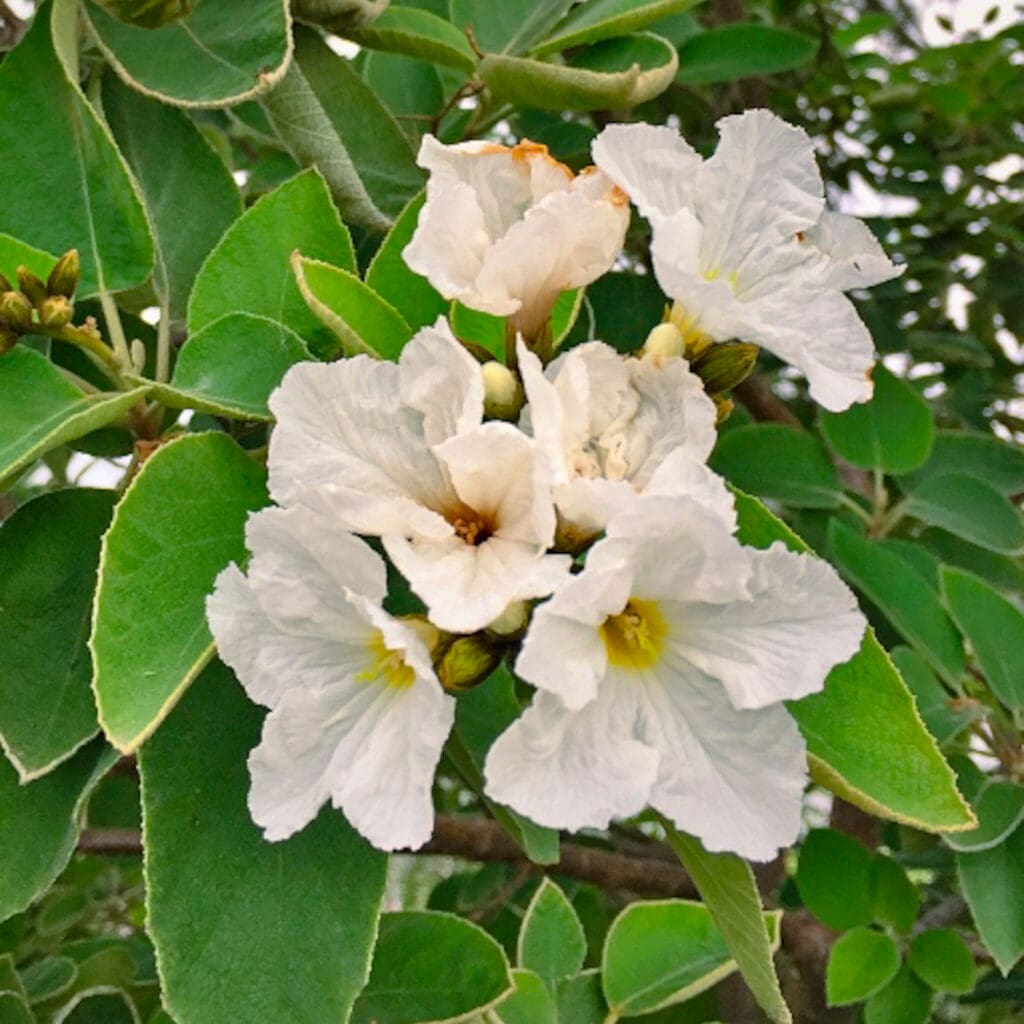
It’s time to plant lots of different blooming perennials and blooming trees. Get them established in May so they are rooted and acclimated to withstand warmer temps this summer. Staples like Esperanza, many varieties of Salvia, Lantana, and tons more are all blooming beautifully right now. And blooming native trees like Retama and Wild Olive are looking great right now. Added bonus:  blooming perennials and trees attract lots of butterflies and hummingbirds!

3. Plant and Harvest Veggies

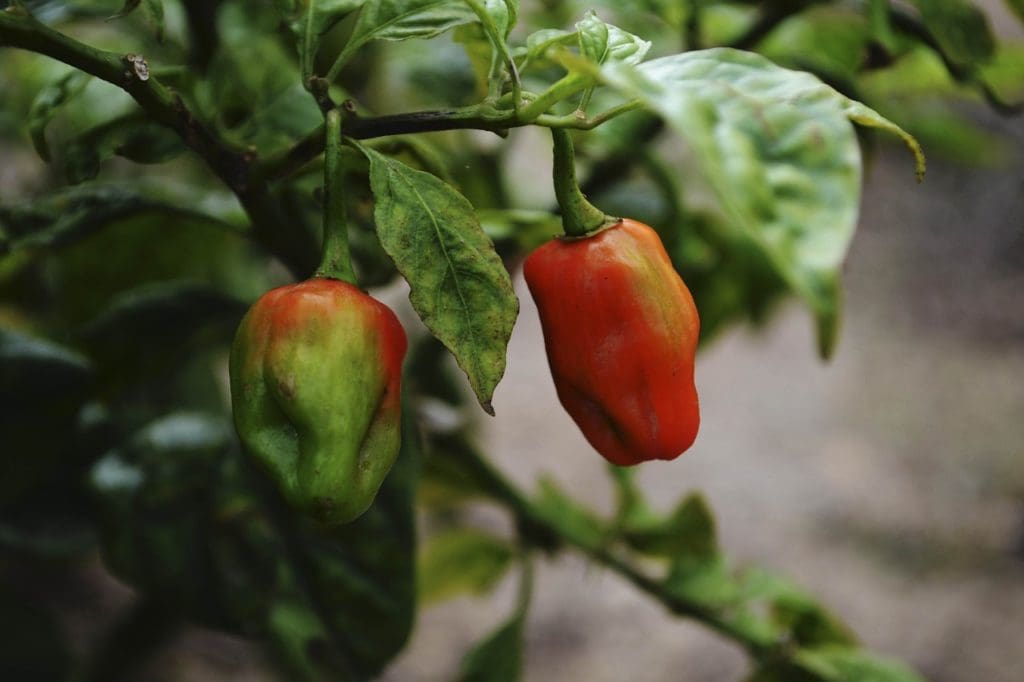
Warm weather veggie time! Plant all kinds of peppers, zucchini, squash, melons, and okra this month for continued harvesting into the summer months. If you planted tomatoes, cucumbers, and other early spring veggies, you’ll be harvesting now or very soon. Be sure to harvest often! It keeps birds & insects from finding them first, and helps redirect energy to produce more fruit. If you do have insect issues in your veggie garden, our go-to organic control is Spinosad soap – safe for food but takes care of a lot of common bad bugs. 

4. Mulch for Many Reasons!

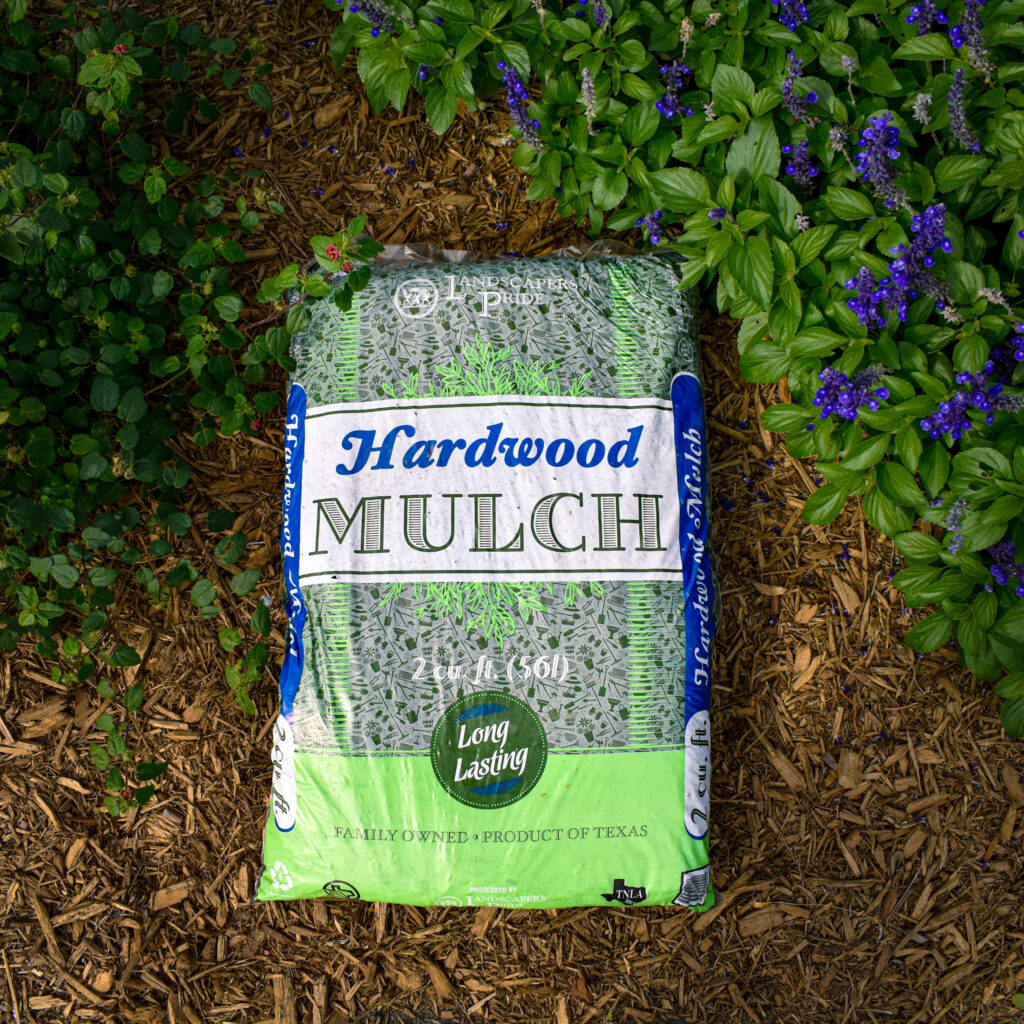
We all know that fresh mulch is the quickest garden makeover! But did you know that applying a proper 3” layer of natural mulch keeps underlying soil temps more than 20 degrees cooler?! A good mulch layer keeps weeds at bay, and as it breaks down over time, it add nutrients to your soil. And perhaps most importantly right now, a good mulch layer retains moisture, which means big water savings. 

5. What About Watering?

Speaking of watering, despite long-term drought conditions and potential water emergencies in the news, we need to continue to water smartly. Watering consistently now (just enough) will help maintain depth moisture, make the most of rainfall, and help plant roots grow deeper – all of which will reduce water needs and save water in the long run. Does all of our plant water need to come from the tap? Nope! You can conserve a lot of city water by collecting rainwater, A/C condensate, water from dehumidifiers, and re-using gray water from washing machines and dishwashers. If you’re interested in collecting a lot of rainwater, the Gill’s landscape team installs custom rainwater collection systems using stainless steel cisterns that are very attractive in the landscape and last a lifetime. Just 1″ of rain on 1,000 square feet of roof space can catch 600 gallons of rainwater. Get in touch!

6. Set Your Mosquito Traps!

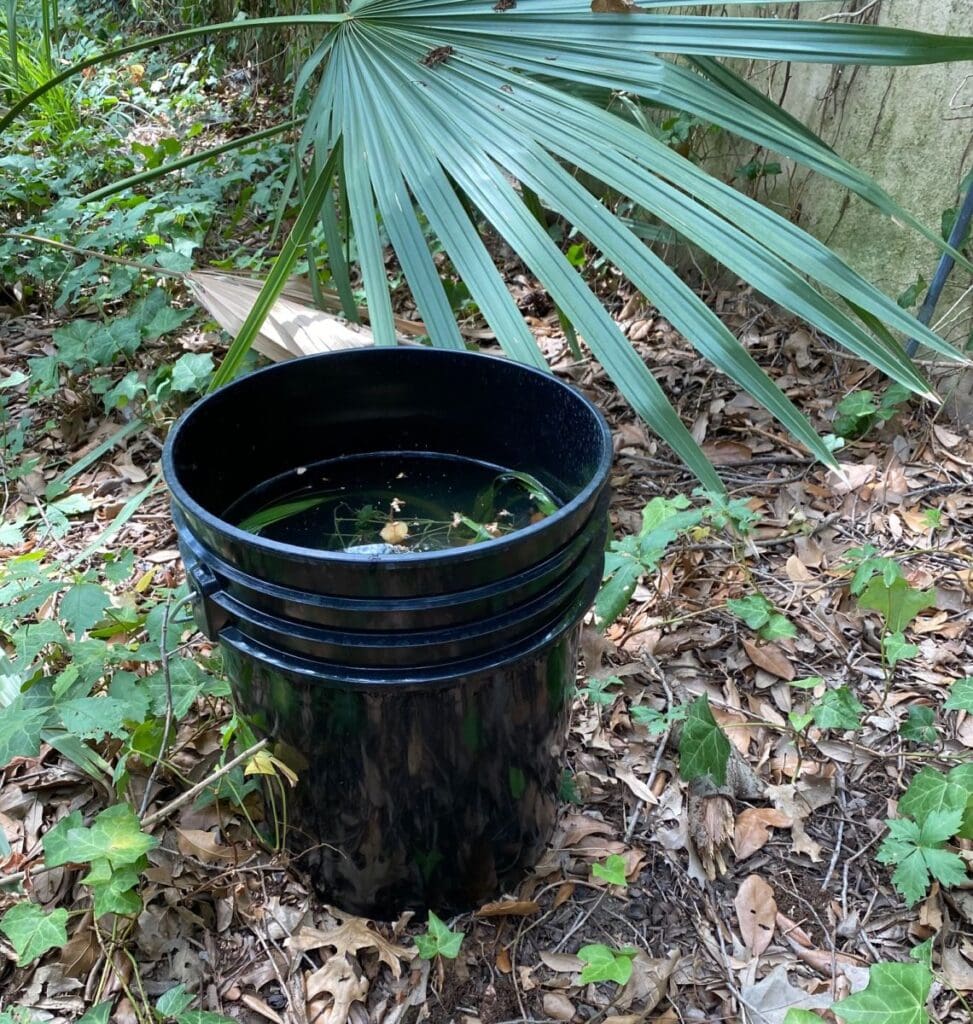
We are big fans of the simple bucket mosquito trap. Just fill a bucket 3/4 with water, add a good handful of lawn or plant clippings, and toss in a Mosquito Dunk or Mosquito Bits. These dissolve in the water and release bacteria that target mosquito larvae and kill them before they hatch. And they’re organic and not harmful to birds, bees, pets or humans! Set a few of these traps, sprinkle some organic Mosquito Beater granules around walkways and patios, and use Skeeter Screen incense sticks near where you’re working or hanging out outside. Remember that using chemical mosquito foggers kills all the good bugs too, some of which help control mosquitos and other bad bugs.

7. Gifts for Mother’s Day and Graduations

Let us help you find something pretty, useful, or both for the gardening moms and grads in your life. Pottery, birdbaths, wind chimes, quality garden tools, hats, gloves, garden decor, plantable greeting cards, gardening books – lots of options. You can purchase Gill gift cards online here. Or come find the gift that gardeners love most – plants 🙂

Starting your first cutting garden may be much easier than you would think. Planning your garden is the best way to start: a 3 foot x 10 foot garden bed will produce more than enough flowers to make a bouquet for yourself and a friend each week. Your garden plot must be in a place that receives at least 6-8 hours of sunlight every day. If you are unsure about the amount of full sun a certain spot receives each day, dedicate a day to checking the same spot hourly: from 8am until 5pm. Take notes each hour on what the sun conditions in that spot are. This may sound menial, but when planting near trees, the sunlight can be tricky! The next thing to consider is the location of your garden in reference to a viable water source. Keep it simple for yourself rather than having to constantly drag a garden hose. The final thought in choosing a location for your cutting garden is to place it out of sight. This may sound crazy to you, but will you be able to cut the beautiful flowers if you can see them from your favorite spot in the house or on the porch?

Creating your garden bed is the most important part of starting to grow any plants, especially cut flowers. You will need enough compost to add 6 inches to your 3’ x 10’ bed and enough mulch to cover 3-4 inches to cover your 3’ x 10’ bed. Feeding your plants with fertilizer is not the same thing as feeding your soil, you must plan to continuously add compost to be feeding your soil. You should be mindful of the hundreds of thousands beneficial microbes in the top 6 inches of your soil and your goal should be to constantly feed them and keep them in your garden as they are helping to keep the bad bugs away and to keep your garden soil aerated and stronger. By continuously adding organic matter, you are setting your garden up to become more self-sustainable each season.


screenshot-2016-09-08-12-01-36

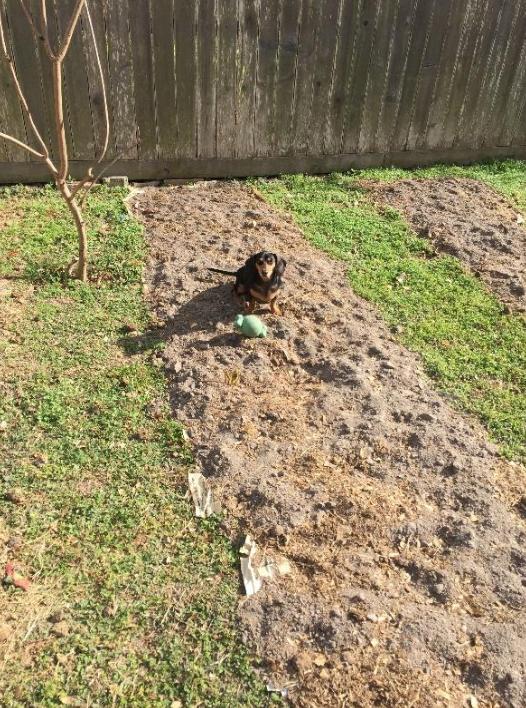
My sweet boy, Baylor, always loves to inspect my freshly prepped garden beds. Photo courtesy of The Honey Bee & the Hound

To start making your 3’ x 10’ garden bed, first you must clear the designated area of any vegetation. Burn Out and Horticultural Vinegar are great organic herbicides. Once your bed area is free and clear of grass and weeds, you will start turning the soil in your bed simply by using a shovel. You will dig down as far as you can and place the shovel-full of dirt and make a pile of the dirt you have dug out. You should be digging out 3”-6” of soil. Next you will need a fork to put in the very bottom of the bed you have dug out to aerate and open the sub-soil. Your goal should be to make as many little holes in the very bottom of the bed as possible. Now you will need to get some compost, such as Cotton Burr Compost, to add about 3” of compost to the bottom of the newly dug-out bed. After you have added some compost, you will now add back in the soil that you have dug out to begin with. To top off your bed, you will add another 2”-3” of compost. Your end result should be a 3’ x 10’ bed that is raised about 6” above the ground. While this method of “double-digging” is much more labor-intensive than using a piece of machinery such as a tiller, but it more beneficial for your garden in many ways: it protects the beneficial insects and tiny microbes living in the top six inches of your soil that protect your plants from harmful pests and keeps the soil a healthy, living, necessary part of your healthy, happy flowers. It also helps to keep you accountable for your care of your garden – when you put that much work into starting a garden, you are bound to keep it up and to love and care for it often!

screenshot-2016-09-08-11-31-47

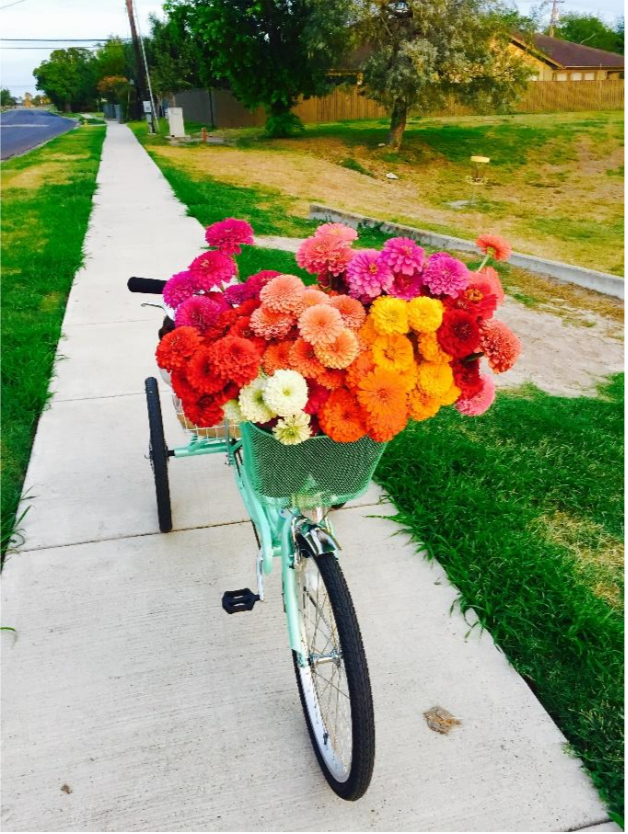
My favorite activity these days is riding around to find someone to share my flowers with! Photo courtesy of The Honey Bee & the Hound Cut Flower Farm
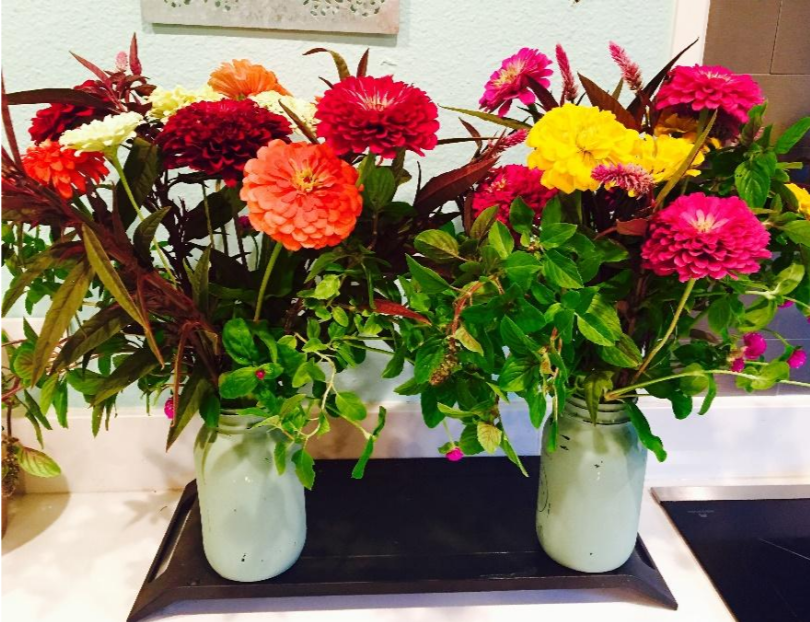
Next is the fun part: picking out the seeds to plant in your brand new garden bed! My three recommendations would be a Zinnia (Pumila Cut & Come Again), a Basil (such as Petra), and a
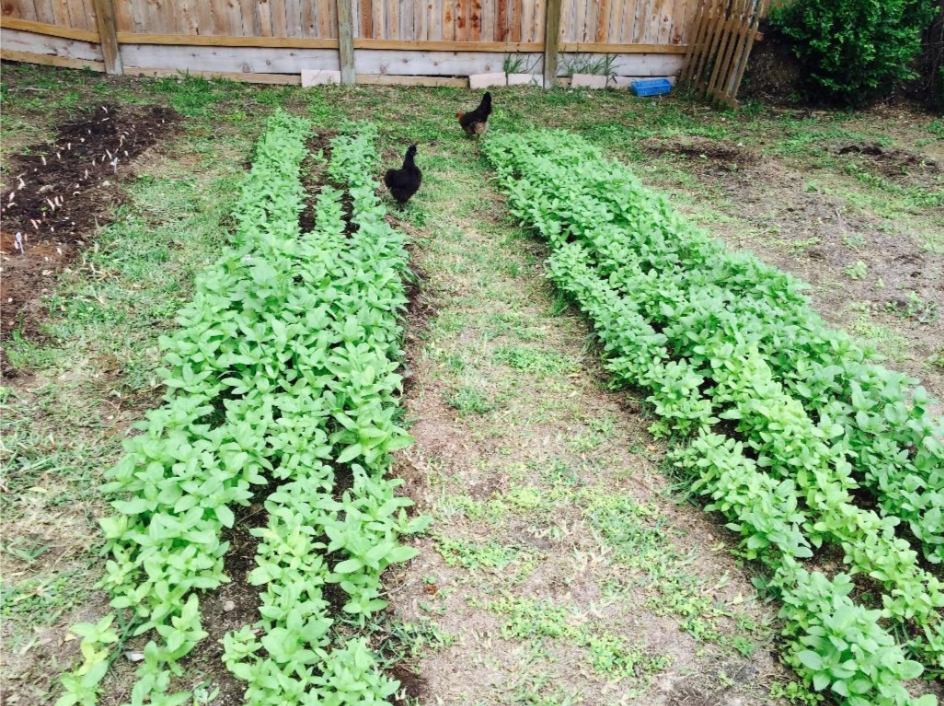
Sunflower. You will plant all of your seeds on a 6” x 6” grid. This will give the plants enough room to fully grow in while utilizing every bit of your space. With this combination of flowers you will easily have flowers for a bouquet that smells good and will come back week after week in your garden.

screenshot-2016-09-08-11-32-01

Fresh bouquets of zinnia and basil – photo courtesy of The Honey Bee & the Hound Cut Flower Farm

In order to maintain your new cut flower garden, you must stay on top of the weeds! The easiest way to get ahead of the weeds is to begin mulching your garden when your seedlings have grown 6” tall. Add 3” of mulch at a time using grass cuttings and old leaves that you have collected. This should allow you to have a whole season of no weeding necessary!

screenshot-2016-09-08-11-32-14

Enlisting your feathered ladies to help keep the weeds and pests down is always a good idea as long as they do not try to sit on your seedlings! – Photo courtesy of The Honey Bee & the Hound Cut Flower Farm

Lastly, when you go to cut your flowers be sure to do it in the cool part of the early mornings or late evenings. If you cut during the high noon sun, your flowers will likely wilt. Allow your flowers to sit in a bucket of water for at least six hours before beginning to arrange them in a bouquet. This allows them to get maximum hydration. Once you have gone through a season with your first cutting garden, I encourage you to begin looking for the seeds of the flowers that your mother and grandmother grew. This is what helps to make me feel so connected with my cutting gardens – I can cut the same bouquet that my late grandmother used to put on her dining room table and it makes me connect with her in a very special way. Enjoy!

To learn more, be sure to come to Gill’s on Airline this Saturday (September 10, 2016) for Emily’s Garden Talk:

”From Beginning to Bouquets – Cultivating Cut Flowers”

If you would like to connect with a local cut flower farm, visit

www.thehoneybeeandthehound.com

screenshot-2016-09-08-11-32-29-Emily Capule, Flower Farmer and Gill’s Landscape Design Assistant