January is time to start veggie seeds for your spring garden! There are few things more rewarding than growing and eating beautiful vegetables all from tiny seeds. Yes, it takes some TLC, but so worth it! Here are our tips for getting started.
Gather Your Simple Seed-Starting Supplies
You don’t need much! First, containers. We love using these simple seed-starting trays with lids to create a mini greenhouse. Folding plastic take-out containers with lids work well for this too, just make sure you poke some vent holes. We also like using peat pots which you can plant straight into your garden bed once they’re ready. Next, you’ll need a good quality seed starting soil. We use Espoma Organic Seed Starting Mix with great results. Seed starting soil mixes are very light and fluffy to allow tiny roots and sprouts to easily push through. A couple of other things that come in handy are a spray bottle or mister for water, and a popsicle stick. We recently set up a seed starting station here at Gill’s – purchase your seeds and container, and use our soil & supplies at no charge!
Choose Your Seeds – So Many Unique Options!
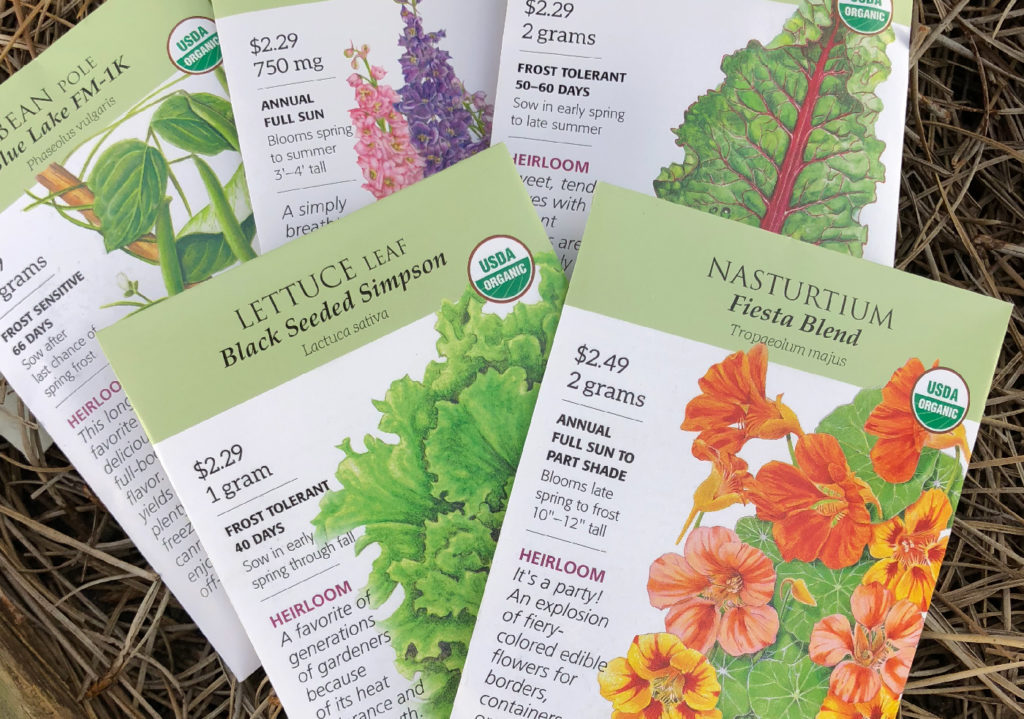
A big advantage of growing veggies from seed is that you have so many more options! We just got all our new 2025 seed packets and we’re so excited about new varieties, including Brandywine tomatoes from Southern Exposure Seed, and Cosmic Purple Carrots and Matador spinach from Botanical Interests, all of which are great to start right now. When choosing seeds, think about garden space. The seed packet will tell you the mature size of the plant, and we can help you plan your beds. It’s very important not to overcrowd your veggie garden – plants need to be able to grow to their mature size to produce fruit, and they need space for air flow and oxygen exchange. Also, you don’t want to make it easy for bad bugs to move from plant to plant.
Planting Tips + What to Expect
Fill your trays or peat pots with soil and use your spray bottle to get the soil nice and moist before you add your seeds. Since seed-starting soil mixes are so light and fluffy, if you add seeds then water, the seeds tend to float up out of the soil. Instead, add water first, then use your popsicle stick to gently press the seeds into the wet soil. Don’t press the seeds in too deep! Usually, just enough to cover the seeds with soil, but refer to the seed packet for precise depth. Then, choose a sunny window inside or a covered/protected patio to place your seedlings. Once the sprouts grow their first true set of leaves, they’re ready to transplant outside into bigger containers or directly into your garden beds.
Water Gently
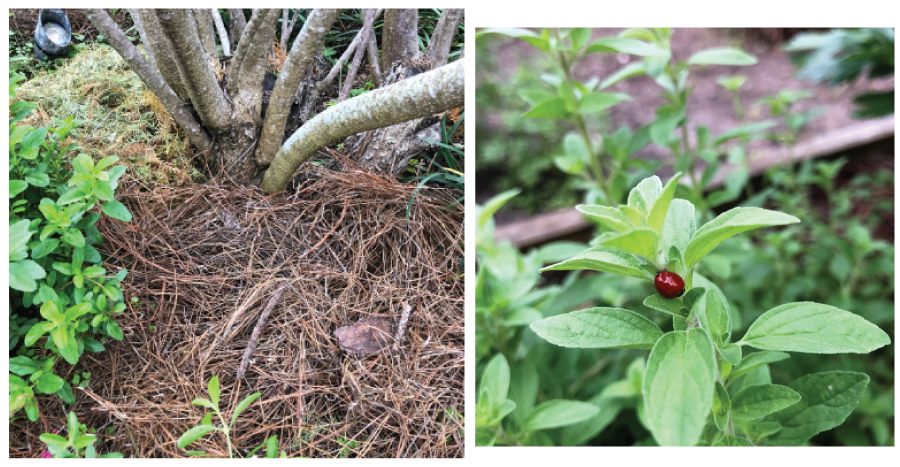
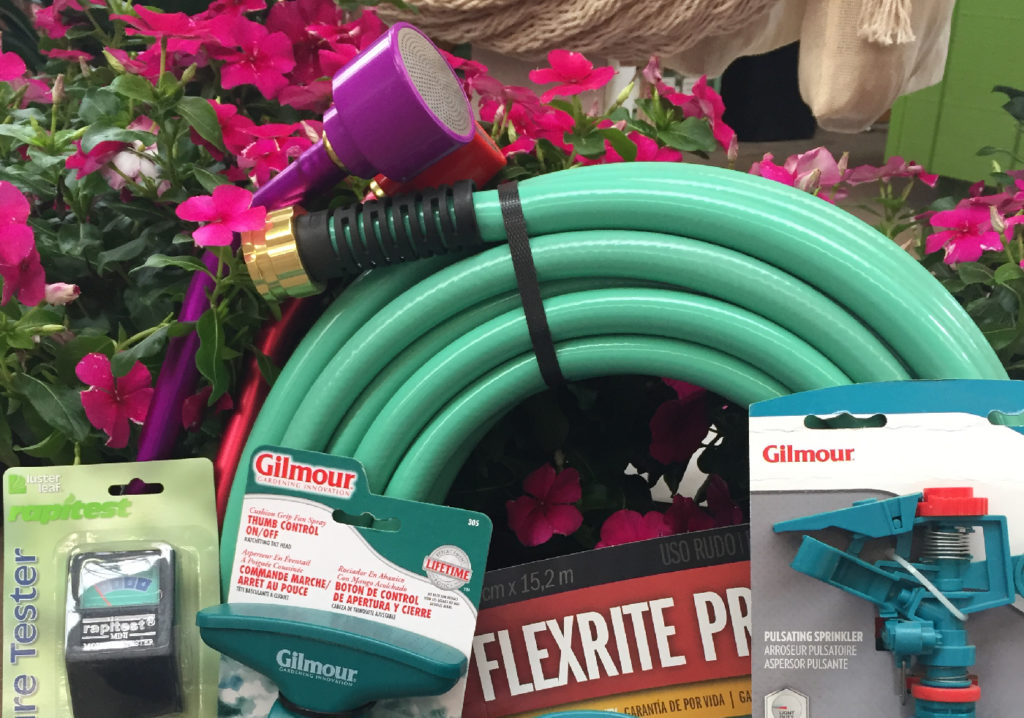
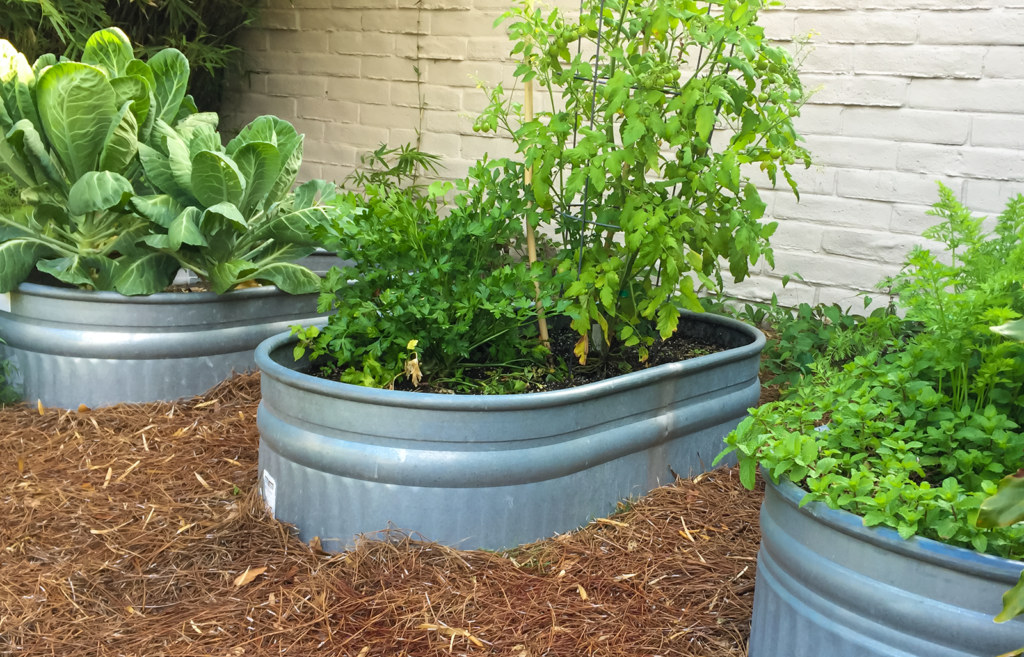
Use a mister or your spray bottle to gently water your seedlings every day to keep the soil moist but not disturb the seeds. Once they sprout, continue to keep your soil moist. Once you transplant outside, continue to water every day. When the plants get established in your garden beds, inspect them every day and determine which are thirstier than others. Soaker hoses can be a big help. Just snake them through your veggie beds and turn on the tap or use a timer. When watering by hand, think like a soaker hose – water slowly and gently at soil level. Watering over the top of your plants or splashing soil up onto the plants invites fungal disease and pests. A good mulch layer can help also prevent soil from splashing up onto your plants, plus prevent weeds and help retain moisture. We love pine straw mulch for veggie gardens because its so easy to work with and it does a great job at suppressing weeds.
Use DeAnna’s Fertilizer Schedule
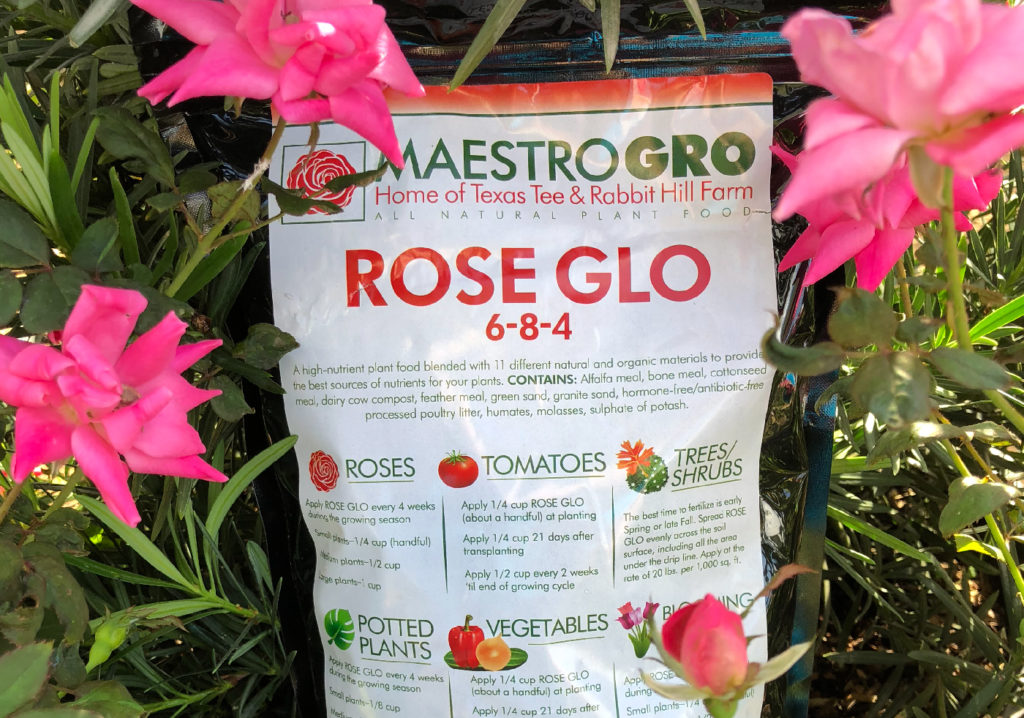
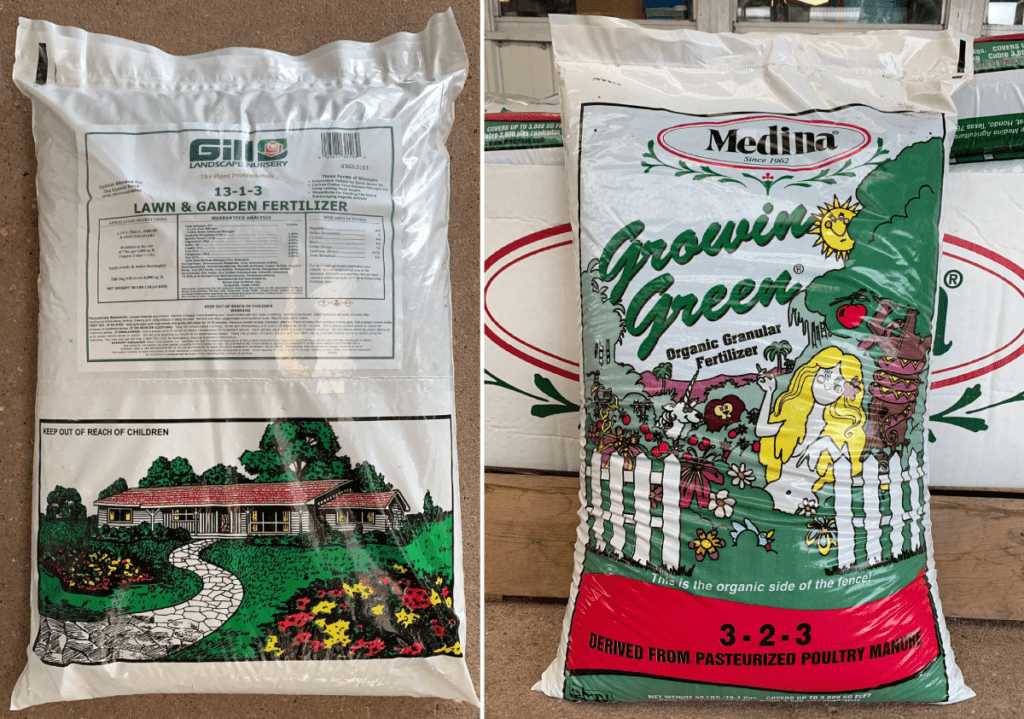
If you want your veggies to feed you, you gotta feed them! Plants require LOTS of energy to produce fruit. Remember DeAnna’s organic fertilizer schedule: granular Plant Tone on the 1st of the month, followed up by liquid Hasta Gro on the 15th. The granular fertilizer will slowly break down and feed your roots, while the liquid Hasta Gro sprayed over the leaves will make the foliage thick and strong. If you want strong plants and amazing veggie production, follow this schedule!